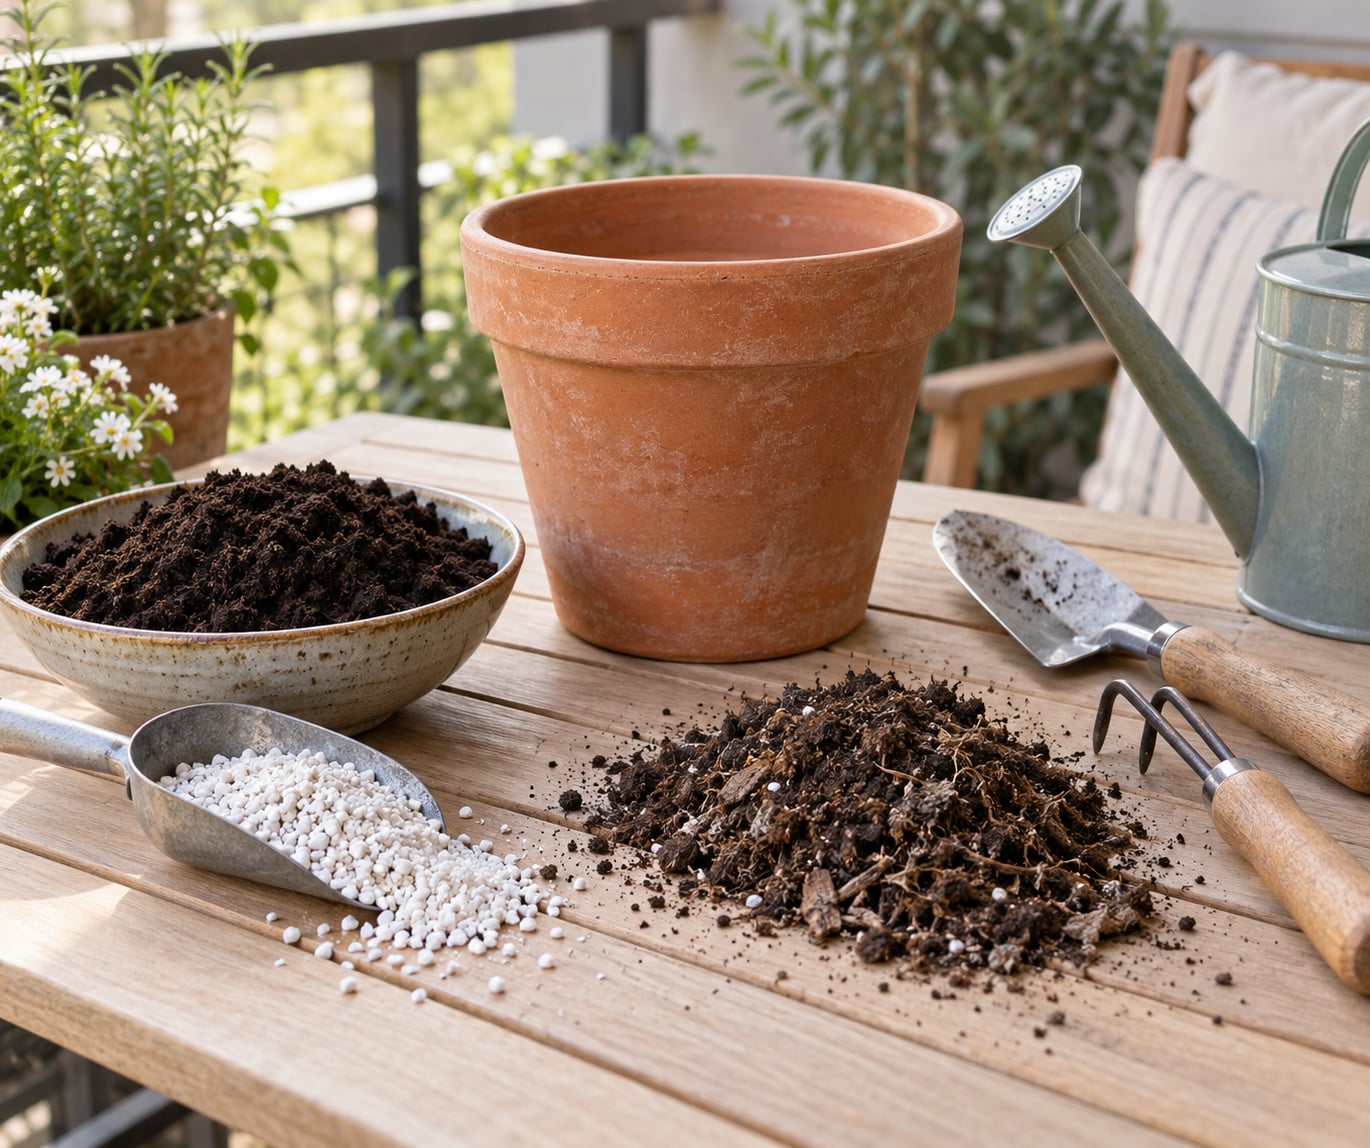
Most old potting mix doesn’t need replacing, it needs rebuilding. Pull out the dead roots, flush any salt crust with water, then work in roughly half its volume of finished compost or fresh potting mix plus a good handful of coarse perlite to reopen the air space. For a houseplant in a decorative planter that’s a twenty-minute job on the balcony.
The reason it matters is that a used mix loses two separate things at once. Its structure collapses as the peat, coir and bark break down and settle through repeated watering, and its starter nutrient charge gets consumed and leached out by the first plant that lived in it. Fixing only one of the two is the most common reason a “refreshed” plant still struggles. (Refresh notes updated for 2026.)
Table of Contents
- What You Need
- Step-by-Step: How to Refresh Old Potting Mix
- Step 1: Check whether the potting mix really needs refreshing
- Step 2: Prepare the plant and work area
- Step 3: Remove the old mix from the roots
- Step 4: Add fresh potting mix and repot
- Step 5: Water lightly and monitor recovery
- Common Mistakes
- Frequently Asked Questions
- Can old potting mix be reused?
- How do I know if my potting mix is old or depleted?
- Should I replace all the potting mix or just the top layer?
- How often should potting mix be refreshed?
- Can I refresh potting mix without repotting the plant?
- What is the difference between refreshing potting mix and replacing it?
- What to Do First
What You Need
The core list is short. Everything else is a refinement.
- Finished compost or a quality fresh potting mix to replace what got used up. Aim for compost that smells earthy and even when damp, has no sour or ammonia edge to it, and is crumbly rather than sticky.
- Coarse perlite, not the fine grade. Coarse particles keep pore space open; fine perlite just settles into the gaps you are trying to clear.
- A tarp, sheet of newspaper or a large tray to work on. Old mix is messy and it will end up on your floor otherwise.
- Gloves and a small hand rake or trowel. A fork works too, but a hand rake lets you work mix out of a root ball without stabbing it.
- A bowl or bucket for the sifted material, and a watering can for the leaching step.
Optional additions: worm castings for a nutrient boost, bark fines if you’re mixing for a plant that likes air around its roots, aged manure for heavy feeders like container tomatoes, and a slow-release granular fertilizer if the compost you have on hand is low-nutrient. Skip horticultural sand as an aeration substitute unless you want a heavier, more water-retentive mix, and skip lime unless you specifically need to raise pH.
For a houseplant in a decorative planter you need almost none of this beyond a scoop of compost and perlite. For a batch of grow bags, a wheelbarrow and a hose are the honest tools, which is the method gardeners on r/gardening describe: tip everything into a wheelbarrow, add fresh compost, and mix it through until it’s uniform.
Step-by-Step: How to Refresh Old Potting Mix
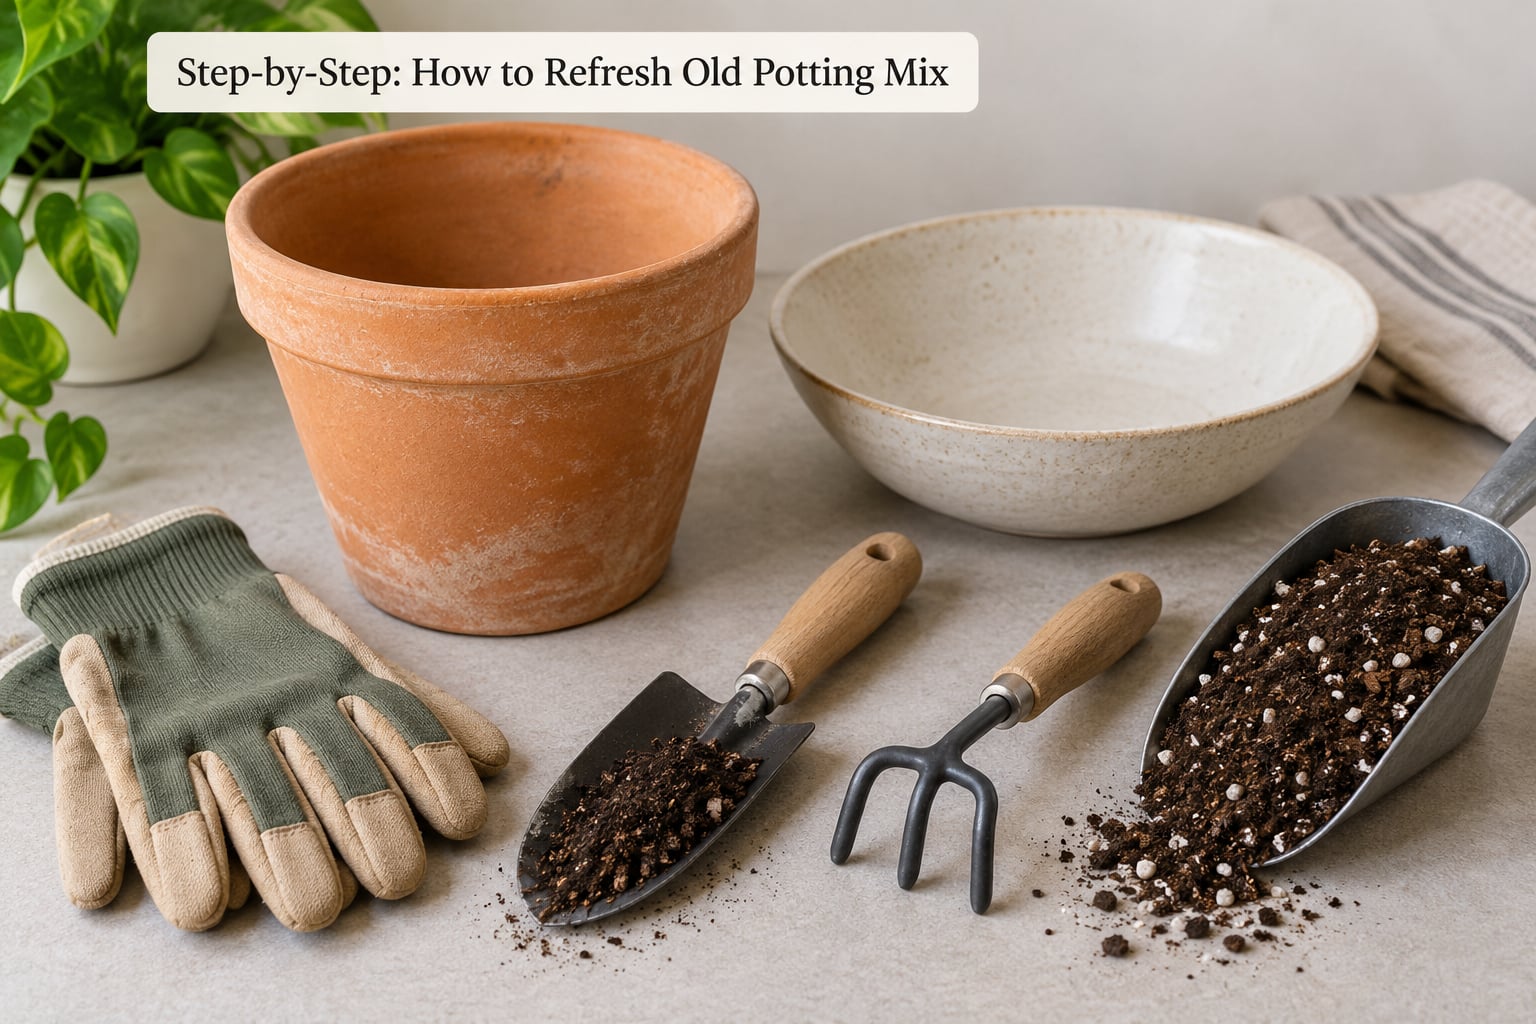
Step 1: Check whether the potting mix really needs refreshing
Start with the mix, not the plant’s mood. Pour a little water on the surface and watch what happens over a minute or two. If it beads up and runs off the edge without soaking in, the peat or coir has gone hydrophobic and needs rewetting before anything else. If it soaks in slowly and the pot stays wet for days, you’ve got a structure and drainage problem. If there’s a white or pale crust on the surface, that’s fertilizer salt, and it should be leached out before you add anything.
| What you see | What it means | What to do |
|---|---|---|
| Water beads and runs off the surface | Peat or coir has gone hydrophobic and stopped taking up water | Rewet slowly with a trickle, then soak in a tray for an hour before potting |
| Mix is dense, crusty, or the water sits for a long time | Structure has collapsed and air-filled porosity is gone | Work coarse perlite through at roughly a quarter of the final volume |
| White or yellowish crust on the surface | Fertilizer salts have accumulated past what the mix can hold | Leach with 2x the pot volume of water before adding compost or fertilizer |
| Pale, stunted growth despite regular watering | Nutrients are depleted, not just the structure | Fold in finished compost at 25-50% of the final volume |
| Sour smell, dark soggy patches, brown mushy roots | Root rot, and the mix is carrying the problem | Don’t refresh it. Dispose of it and start clean |
Before you blame the mix, rule out ordinary care problems. A pot sitting in a full saucer after every drink, a cachepot with no way for water to leave, or a plant that gets a splash of water once a week will all produce the same yellowing and droop as exhausted soil. Check that the drainage holes are open, that the pot isn’t much larger than the root ball, and that the plant isn’t simply getting the wrong amount of light.
Repotting is the better option, rather than a refresh, when the plant is badly rootbound and circling its pot, when the roots are brown or soft, when the pot has no drainage at all, or when you want a completely different mix for a plant that’s changing its mind about where it lives.
Step 2: Prepare the plant and work area
Water the plant the day before if the mix is on the dry or hydrophobic side. Moist mix slides off the root ball in one piece instead of showering grit across your workspace, and the plant isn’t going into a semi-wilted state on a hot afternoon.
Lay down your tarp or several layers of newspaper near a sink or outside. Take the pot off its saucer, tip it out, and support the root ball with one hand at the base of the stem while you work the mix loose with the other. Push down on the pot rim rather than pulling the stem, and keep the root ball as one piece.
Step 3: Remove the old mix from the roots
Crumble the outside of the root ball with your fingers first and only reach for the rake if it’s stubborn. For a root ball coming out of a container, tap the base and sides of the pot, then work the compacted layer off in handfuls. Rinse off stubborn dust with a gentle spray of water if the plant will tolerate it.
Take off the loose, spent material and any dead roots, which are brown, soft or hollow. Leave the firm white or tan roots alone, including the ones circling the bottom of the ball; those are the roots that will grow into the new mix. Try not to strip more than about a third of the root mass, since bare roots left hanging in air dry out fast and the plant will spend weeks recovering instead of growing.
If you see white webbing, small grubs, or a foul smell the moment you open it up, stop there. That mix is not getting refreshed. Extension services are clear on this point: soil that carried root rot, blight or a serious pest infestation gets replaced, not amended.
Step 4: Add fresh potting mix and repot
Mix your blend before you touch the pot, using these volumes as a starting point:
| Plant type | Finished compost or fresh mix | Coarse perlite | Note |
|---|---|---|---|
| Houseplants in decorative planters | 25-30% | 15-20% | Light feeding. Skip compost entirely if the plant is already in a rich mix |
| Container vegetables and herbs | 40-50% | 20-30% | Heavier feeders, so lean toward compost. Container vegetables use up nutrients fast |
| Long-cycle woody plants, trees, shrubs | 30-40% | 25-30% | Structure matters most here, since these sit in one pot for years |
| Seed starting and cuttings | 20% or none | 30-40% | Seed mixes stay fine and airy on purpose; don’t bury perlite at the bottom |
University of Maryland Extension puts the ceiling at about 50% compost by volume for a general refresh, and the same 50:50 figure applies if you mix old spent mix with fresh potting mix rather than compost. Anything past that tends to compact and hold too much water.
Return the plant to the same pot if the roots weren’t circling and the pot drains freely; otherwise step up one size, no more. Fill around the root ball, keeping the crown of the plant at the same depth it was at before. Firm gently with your fingertips rather than stomping it, then water it in to settle any air pockets. Make sure nothing is blocking the drainage holes before the pot goes back on its saucer.
For large volumes, work on a tarp or in a wheelbarrow and add amendments by volume rather than by scoop: half a wheelbarrow of old mix gets a bucket of compost mixed through with a similar volume of perlite. This is the difference between a task you finish in an evening and one you abandon halfway.
Step 5: Water lightly and monitor recovery
Give it a modest watering rather than a flood. If you disturbed roots while removing the old mix, a light, evenly damp mix settles the plant in without pushing it into a wet pocket it can’t breathe in yet.
Hold off on fertilizer for two to three weeks if you added compost. Finished compost is already feeding, and adding a liquid feed on top of it in the first weeks is how people burn roots on plants that were only ever tired. After that, a slow-release granular fertilizer applied to the surface every couple of months is plenty for most indoor plants. Some growers simply top-dress with a little finished compost every month, which works well for container vegetables.
Watch for recovery over the next four to six weeks: new leaves should emerge at normal size and colour, and the plant shouldn’t stay wet for days at a time. Persistent yellowing with soil that never dries out means you have a drainage problem, not a nutrition problem, and the fix is in the pot rather than the compost.
Common Mistakes
Overwatering straight after repotting. Freshly disturbed roots plus wet mix equals a good chance of rot. Water lightly, then let the plant tell you when it wants more.
Using garden soil in containers. Yard soil is designed to compact and hold weight in a field. In a pot it does the same thing, and you lose the air-filled pore space the roots need. If you want the mineral fraction of garden soil, add it as composted material rather than as raw soil.
Removing more roots than necessary. You are cleaning off spent mix, not bare-rooting the plant. Take the loose stuff and the dead brown roots, keep the rest.
Potting into a container with no drainage. No amendment fixes this. Drill a hole or use a pot that has one, and never leave the pot standing in a full saucer.
Fertilizing immediately. Give compost two to three weeks to settle in before adding anything else, and stay light on fertilizer generally. One of the more common regrets from forum advice is overdoing worm castings or compost: too much of either, with no perlite alongside it, gives you a nutrient imbalance and a drainage problem at the same time.
Not matching the mix to the plant. A succulent or a cactus wants more grit and less water-holding material than a fern. Citrus growers tend to lean heavily on perlite for exactly that reason.
Changing everything at once. New pot, new mix, new spot by the window, and a change in watering schedule all at once means you won’t know which one helped. Change the mix, then leave the rest alone for a month.
Trying to sterilize the mix. Microwaving potting mix or pouring boiling water over it comes up regularly, and it isn’t worth doing. Extension guidance is blunt about it: the process is impractical, the mix won’t stay sterile once you open the bag, and you’d be destroying the beneficial organisms along with anything harmful. Fix problems with amendments and discard decisions, not heat.
If the mix genuinely can’t be saved, don’t bag it up and leave it by the fence. Compost it if you can, take it to a municipal green-waste or compost facility, or use it as fill dirt where no plants are expected. Between seasons, a covered bin or a sealed tarp keeps a half-used bag from getting wet and sour.
Frequently Asked Questions
Can old potting mix be reused?
Yes, if the plants that lived in it were healthy and pest-free. Remove old roots and debris, leach out any salt crust, then fold in 25-50% finished compost or fresh potting mix and work in coarse perlite if it has compacted. Reuse is not appropriate for mix that carried root rot, blight, grubs or other soil-borne disease, and it is not recommended for edible crops if the compost you are adding contains persistent herbicide residue such as clopyralid.
How do I know if my potting mix is old or depleted?
Check four things: how it handles water, how dense it feels, how it smells, and what the plant is doing. Slow drainage and a hard surface point to lost structure. A white crust on the top means fertilizer salts have built up. A sour smell with dark soggy patches and brown roots means rot, and that mix gets discarded. Pale, stunted growth with otherwise healthy watering usually means the nutrients are simply gone.
Should I replace all the potting mix or just the top layer?
If the structure is still good and you just want to feed the plant, a two to three centimetre top-dressing of finished compost is enough, and you skip the repot entirely. If the mix is compacted, waterlogged, or breaking down as a substrate, a partial top-up does nothing for it. Drainage problems live in the whole pot, so refreshing in place only works when the drainage is already correct and the mix merely needs nutrients.
How often should potting mix be refreshed?
Plan on once a year for container vegetables and herbs, which are heavy feeders and cycle fast. Houseplants usually need attention every year or two, and only if drainage has slowed or growth has stalled. Plants in large raised beds and grow bags can go several seasons between full refreshes as long as you top-dress with compost each season and the soil is still loose and draining freely.
Can I refresh potting mix without repotting the plant?
Yes, and it is the right move for a plant you would rather not disturb. Gently scrape off the loose top layer without damaging surface roots, spread a two to three centimetre layer of fresh potting mix or finished compost over the top, and water it in. You cannot fix compaction this way, so check drainage first. If water is still slow to leave the pot, the plant needs a repot regardless.
What is the difference between refreshing potting mix and replacing it?
Refresh means amending what is already there: you add compost or fresh mix and perlite to restore nutrients and pore space, keeping some of the original material. Replacing means starting from an empty pot with new mix. Refresh when the plant is healthy and the mix is only tired. Replace when there was disease or pests, when the roots are compromised, or when the mix has physically broken down into something closer to clay than a growing medium.
What to Do First
Pour water on the old mix and watch it for a minute. That single test tells you whether you have a structure problem, a salt problem or a nutrient problem, and each one has a different fix.
If the plant is otherwise healthy, clear the debris, add compost and perlite at the ratios above, and put it back in the same pot at the same depth. Hold fertilizer for two to three weeks, then go back to your normal routine.
If drainage is slow, the pot has no hole, or there was root rot in there, don’t refresh. Replace the mix, and take the plant out of that container entirely if its roots were compromised. That is the case where learning how to refresh old potting mix turns into knowing when not to bother.