Thrips are tiny slender insects, usually 1-2 mm long and shaped like a grain of rice, that rasp the surface of leaves and suck out the cell contents. The pale yellowish larvae and the darker adults hide in leaf folds and new growth, and the feeding they do leaves silvery streaks, bronze patches, and tiny black droppings behind. Working out thrips on houseplants how to identify them takes about ten minutes with a hand lens and a sheet of white paper, and the rest of this guide walks through that check and what to do next.
The thing that trips people up is speed. A disturbed adult thrips does not sit still for a photograph. It drops, darts for a fold in the leaf, and disappears, which is why so many people find damage weeks before they find a single insect.
Five signs, in rough order of reliability, tell you whether you are dealing with thrips:
- Silvery or papery streaks on leaves, often following veins or running along the leaf edge
- Bronze or brown discolouration where feeding has gone deeper
- Tiny black specks of frass, which is thrips droppings, stuck to the leaf or on the surface below
- Distorted, curled or stunted new growth, and leaves that unfurl already misshapen
- Pale yellow or white larvae and fast-moving dark adults, usually tucked in furled leaves, leaf axils or flower buds
One sign on its own means very little. Silvery streaks plus black specks together is the pairing that usually convinces people, after weeks of blaming overwatering.
Table of Contents
- What You Need to Identify Thrips on Houseplants
- Step-by-Step
- 1. Inspect the leaves, stems and flowers where thrips hide
- 2. Confirm the infestation with a white paper tap test and rule out lookalikes
- 3. Isolate the affected plant from the rest of the collection
- 4. Remove pests and badly damaged plant material
- 5. Treat repeatedly and monitor new growth
- 6. Prevent reinfestation after treatment
- Common mistakes that keep infestations alive
- Frequently Asked Questions
- What do thrips on houseplants look like?
- How can I tell if thrips are on my indoor plants?
- Are thrips on houseplants harmful to people or pets?
- What is the best way to get rid of thrips indoors?
- Will thrips damage my houseplant permanently?
- How long should a plant stay isolated after treating thrips?
- Conclusion
What You Need to Identify Thrips on Houseplants
A thorough check only needs a handful of things, and most of them are already in a kitchen drawer.
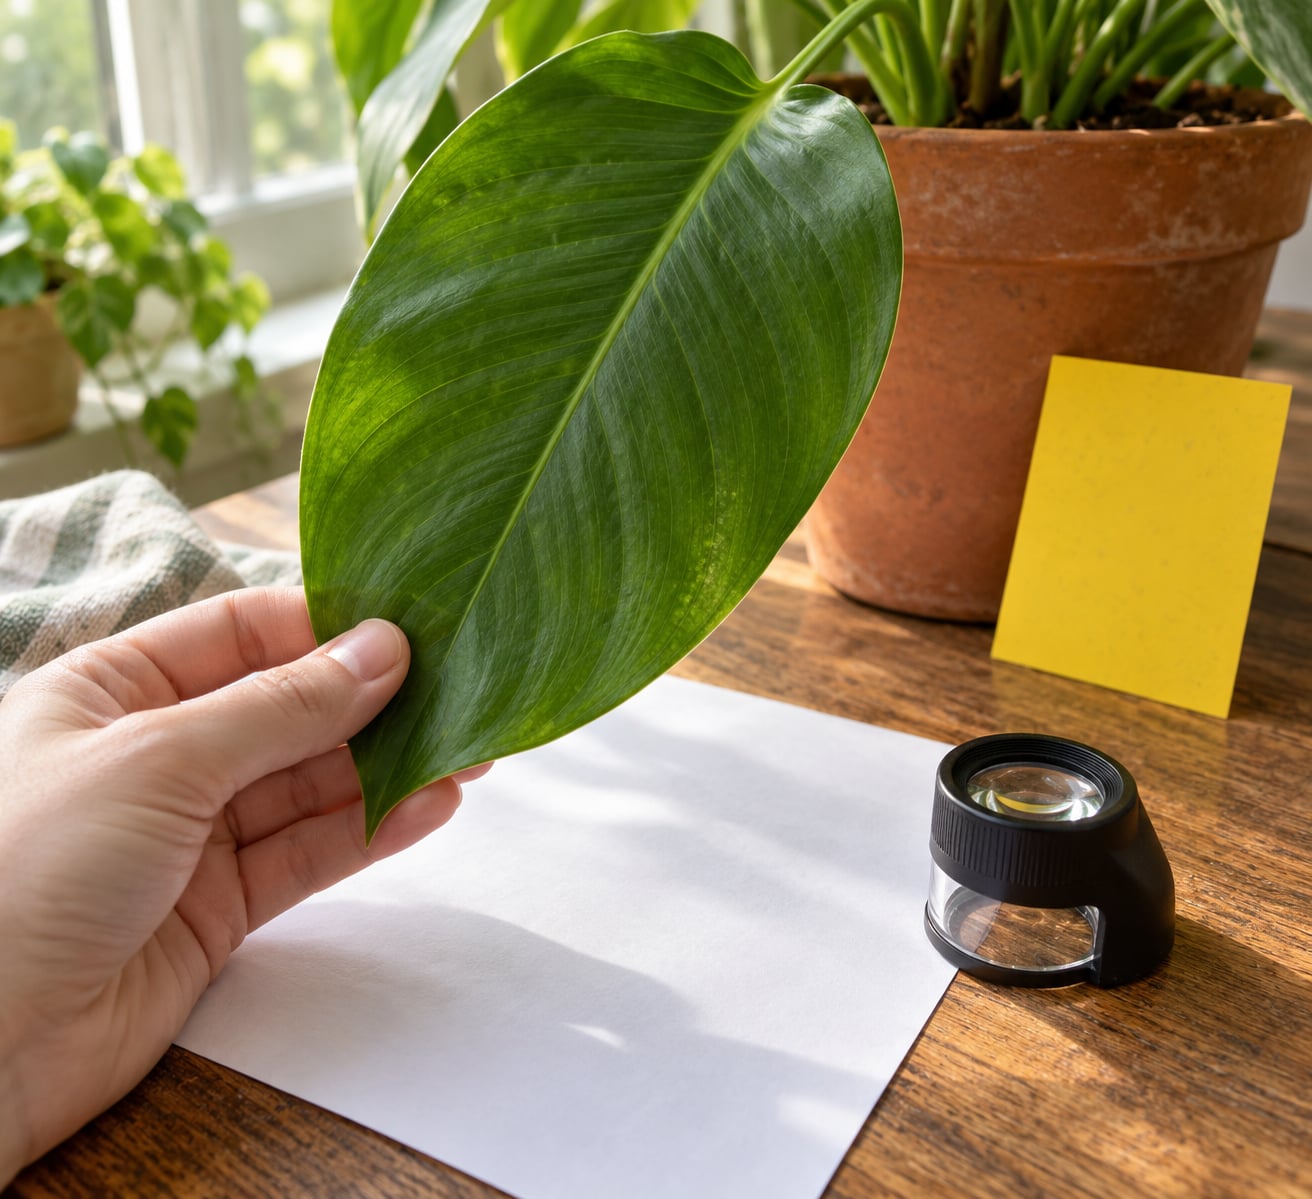
- Bright light or a hand lens. A cheap 10x loupe is enough to confirm the body shape, and window light matters more than lamp light.
- A sheet of white paper plus a card, pencil or thin stick to tap and catch dislodged insects.
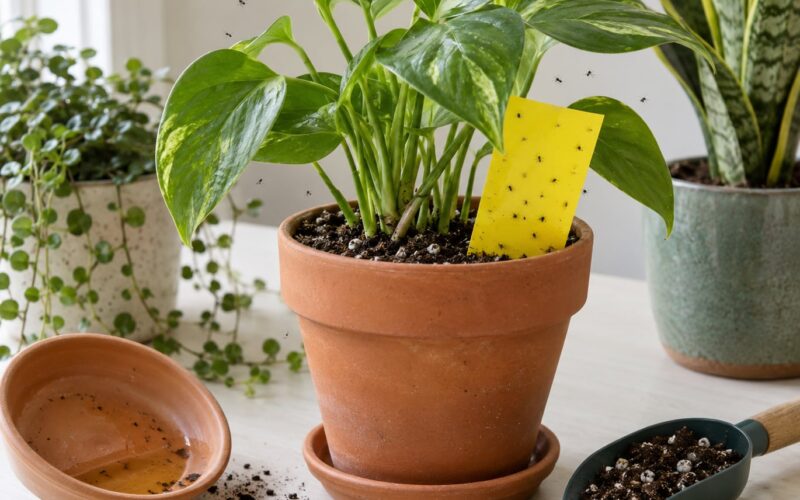
- Blue and yellow sticky cards for monitoring how the population changes over weeks.
- Clean plant shears and gloves, wiped with alcohol between plants.
- A plastic bag or paper bag sealed for throwing away infested leaves.
- Insecticidal soap or a spinosad product labelled for indoor ornamental plants, plus a spray bottle or a fine mister.
- A clear workspace — a bathroom floor or a sheet of newspaper — so thrips are not shaken loose across the whole room.
No product short of quarantine stops this. Even a plant kept in a sealed room can have thrips riding in on new growth that unfurls a week after you bring it home.
Step-by-Step
1. Inspect the leaves, stems and flowers where thrips hide
Start with the underside of leaves, then move to the parts that shelter them: leaf rolls and furled new leaves, growing tips, the junctions where a petiole meets the stem, and flower buds.
What you are looking for on the surface is damage, not necessarily insects. Silvery streaks look almost like a leaf has been scuffed or rubbed with sandpaper. Where feeding is heavier the tissue turns bronze, then brown. Black frass specks sit on the shiny leaf surface and do not wipe off like dust, because they are stuck down with a residue.
On Calathea and Maranta, unroll at least one new leaf with your fingers. Pale larvae often sit inside the roll feeding, and that leaf can come out already scarred for life.
Under a hand lens, an adult thrips shows a slender body held at an angle, six legs clustered near the front, and narrow fringed wings held along the back. The larva is wingless, pale yellow to creamy white, and slower than the adult. Thrips do not jump, but they move fast in short bursts and tumble away when touched, which is often what you see instead of the insect itself.
2. Confirm the infestation with a white paper tap test and rule out lookalikes
Hold a sheet of white paper under a suspect leaf, tap the leaf a few times with a pencil, and look at what falls. Slender yellowish specks that flick and move on the paper are your answer. Do it over three or four leaves and over the soil, since larvae also drop into the pot.
If nothing falls but the damage is convincing, that is not a reason to rule thrips out. Adults are mobile and hide well; the damage often outlasts the visible population. Treat suspicious damage plus a pattern of new, distorted growth as a probable infestation and keep checking.
Before you commit, rule out the usual suspects:
- Spider mites cause fine, even stippling over the whole leaf, often with webbing in leaf axils, and the mites are round specks rather than slivers.
- Fungus gnats are small dark flies with long legs that sit on the soil, not on leaves. Larvae live in the potting mix.
- Edema and overwatering produce corky, blistered bumps on the underside of leaves, usually on plants that are kept too wet in cool conditions.
- Mineral deposits from tap water leave white chalky crust on leaf edges and pots, and wash off.
- Natural variegation and sun scorch are symmetrical or fixed in pattern. Pest damage is never symmetrical.
One more distinction saves a lot of wasted effort. Fresh thrips injury is silver and papery. Old injury turns bronze and then brown as the tissue dries, and it will look exactly the same for the life of that leaf. Brown marks on a plant you have had for a year may be a historic scar, not an active problem.
3. Isolate the affected plant from the rest of the collection
Move the plant to a separate room or a cleared corner, away from walls where foliage touches other leaves. Keep it bright and ventilated, and do not put it straight back on the shelf with the rest of your plants.
Isolation matters because a single infested plant is rarely a single infested plant. Check the neighbours that sit near or touch it, especially anything with soft new growth.
4. Remove pests and badly damaged plant material
Prune off leaves that are heavily scarred, and take flowers and badly distorted new growth. Seal everything in a bag and put it out, not into your indoor compost bin.
Then wash the plant. Either put it in the shower or sink and rinse the undersides of the leaves until the water runs clear, or wipe accessible leaves one at a time with a cloth dampened with rubbing alcohol. Rinse the pot and the saucer too, since larvae and pupae fall into them.
Wipe your shears and hands with alcohol before touching the next plant.
5. Treat repeatedly and monitor new growth
Apply insecticidal soap or a spinosad product to all leaf surfaces, undersides included, following the label exactly. In a closed room, test the product on one leaf first and wait a day to check for burn, and never spray a plant in direct sun or with the leaves still wet.
Sprays kill what they cover. They do not reach eggs laid inside leaf tissue or pupae sealed in soil and leaf litter, which is why the population seems to rebound a few days after a treatment that appeared to work. Repeat every five to seven days for four to six weeks so each new generation gets hit before it can feed and reproduce.
A second option is predatory mites, which work well in a room that is warm and stays above roughly 60% humidity. They are less predictable in a dry, air-conditioned space.
How you know it is working matters as much as the treatment. Count the adults on your sticky cards and watch the trend over two to three weeks rather than judging by fading scars, which never fade. New growth coming in clean and undistorted is the better signal.
6. Prevent reinfestation after treatment
Hold new plants in quarantine for two to three weeks, separate from the collection, and inspect them before they join a shelf. Run the white paper test on anything bought with flowers or new growth, since thrips arrive on nursery stock more often than anything else.
Keep foliage and pot rims wiped clean, water the soil rather than the leaves, and let plants dry between waterings. Thrips prefer warm, humid, still air, so a room with some airflow is less inviting than a crowded shelf.
Check leaf undersides weekly, even on plants that look fine. In warm weather, keep windows screened before they are opened wide, and be careful with garden plants and fresh cut flowers, which are common carriers.
Common mistakes that keep infestations alive
Spraying in direct sun. Leaves in hot light plus soap solution can scorch. Fix: treat in the early evening or in shade, once the leaves are cool and dry.
Using a human household insecticide on plants. Household sprays are labelled for people and pets on floors, not for the underside of a leaf where thrips feed. Fix: use only a product labelled for ornamental plants or edible crops, and follow its label.
Applying product more often than the label allows. Extra coats do not reach hidden eggs and can burn foliage. Fix: set a calendar reminder for each repeat application and stick to the interval on the label.
Judging success by whether damage disappears. Scars never disappear, so you end up re-treating a clean plant. Fix: track the tap test and sticky card counts over weeks instead.
Returning the plant to the collection too early. Two weeks is usually too soon when eggs were present. Fix: keep it isolated until you see several weeks of clean tap tests and undamaged new growth.
Frequently Asked Questions
What do thrips on houseplants look like?
They are tiny slender insects about 1-2 mm long, shaped like a grain of rice. Adults are yellowish to dark brown with narrow fringed wings held along the back, and they move in fast bursts. The larvae are wingless, pale yellow to creamy white, and slower. Under a hand lens you can see six legs near the front of the body and a tapered rear.
How can I tell if thrips are on my indoor plants?
For thrips on houseplants how to identify naturally, start with silvery or papery streaks plus tiny black specks of frass on the leaf surface, especially on undersides, in furled new leaves and around flower buds. Confirm it by holding white paper under a leaf and tapping so the insects fall onto it. If you find damage but no insect, treat it as probable and recheck, because adults hide well and often leave before the damage fades.
Are thrips on houseplants harmful to people or pets?
No. Thrips feed on plant sap, not on people or animals, and they do not bite or sting. They are not known to transmit anything to humans or household pets. The real concern is plant health: thrips weaken foliage, can transmit certain plant viruses between specimens, and an untreated infestation spreads quietly through a whole collection.
What is the best way to get rid of thrips indoors?
Combine four things. Isolate the plant, remove and bag badly infested leaves and growth, rinse the remaining foliage to knock insects off, then apply insecticidal soap or spinosad to all leaf surfaces including undersides. Repeat every five to seven days for four to six weeks, because eggs laid inside tissue and pupae in soil survive a single application. Predatory mites work well in a warm, humid room.
Will thrips damage my houseplant permanently?
On leaves that were already scarred, yes. Damaged tissue cannot repair itself, so silvery and bronze marks stay for the life of that leaf. Recovery shows up in new growth, which comes in clean and undistorted if the pest has been controlled. Pruning badly affected leaves speeds up that signal, and it also removes some of the larvae living on them.
How long should a plant stay isolated after treating thrips?
Keep it separate for at least three to four weeks after your last treatment, and longer if tap tests still catch anything. Quarantining for two to three weeks is standard practice for new plants that have not been treated at all. Judge the end of isolation by trend: falling tap-test and sticky card counts across several weeks, plus clean new growth, not by fading scars.
Conclusion
Start by isolating the plant, away from every other pot in the room. Work through the leaves with a hand lens and a white paper tap test, and treat silvery streaks plus black frass specks as thrips until you have good reason not to. Prune and bag the worst growth, start a label-compliant treatment on the leaf undersides, and repeat it on schedule for several weeks. Track tap tests and sticky cards rather than fading scars, and expect the confirmation in the new growth, not in the damaged leaves.