To save an overwatered plant, get it out of the saturated soil, cut away every soft brown root, and repot it in fresh, dry, well-draining mix inside a pot that actually drains. Then leave it alone until the top few centimetres of soil feel dry. Most plants pull through if more than half of their roots are still firm and pale, and the clock is already running.
The reason so many houseplants die from too much water is a bad visual cue. A drooping, yellowing plant looks thirsty, so the instinct is to water it again, and the second watering is often what finishes the job off. Overwatered leaves are soft and cool to the touch; an underwatered plant’s leaves are crisp and papery at the edges. That single check saves people from months of mistaken diagnosis.
Table of Contents
- How to Save an Overwatered Plant: What You Need
- Step-by-Step
- 1. Move the plant out of the wet pot
- 2. Check whether the roots are damaged
- 3. Remove saturated soil and open up the drainage
- 4. Trim damaged roots and choose fresh potting mix
- 5. Place the plant in brighter but indirect light
- 6. Wait before watering again
- 7. Watch for recovery or signs that the plant cannot be saved
- Common Mistakes
- Frequently Asked Questions
- Why are the leaves on my overwatered plant turning yellow?
- Should I fertilize an overwatered plant while it recovers?
- How long does an overwatered plant take to recover?
- Can I put the plant back in the same pot after repotting?
- What should I do in the weeks after repotting an overwatered plant?
- Conclusion
How to Save an Overwatered Plant: What You Need
Gather these before you touch the plant. Having them ready means the root ball spends minutes out of the pot rather than an hour, and roots that sit in open air start drying and suffocating faster than you would like.
- Fresh, dry potting mix suited to the plant — a standard indoor mix amended with perlite or pumice, or a gritty mineral mix for succulents and cacti
- A clean pot with drainage holes in the base, no more than one size larger than the root mass you end up with
- A clean trowel, a sharp knife or sterilised scissors, and a pair of gloves
- A shallow tray or saucer to catch runoff, plus old newspaper or a paper towel
- Room-temperature water for the first watering after repotting
Timing matters more than anything else on this list. Begin as soon as you notice a combination of yellowing lower leaves, a pot that feels heavy for its size, or a sour smell near the soil. Waiting gives the rot time to spread into roots that were still salvageable yesterday.
One rule resolves the argument you will find everywhere online about whether to repot immediately or let the soil dry first. If the soil is only slightly damp and the roots are firm and pale, let the pot sit for two or three days with good airflow and skip the repot. If the soil is soggy, sour-smelling, or the roots are brown and mushy, repot today. Partial dryness can be fixed by air; rot cannot.
Step-by-Step
Seven steps, in this order. The sequence matters because each one depends on the last: you cannot judge root damage until the plant is out of the pot, and you cannot choose the right pot size until you know how much healthy root is left.
1. Move the plant out of the wet pot
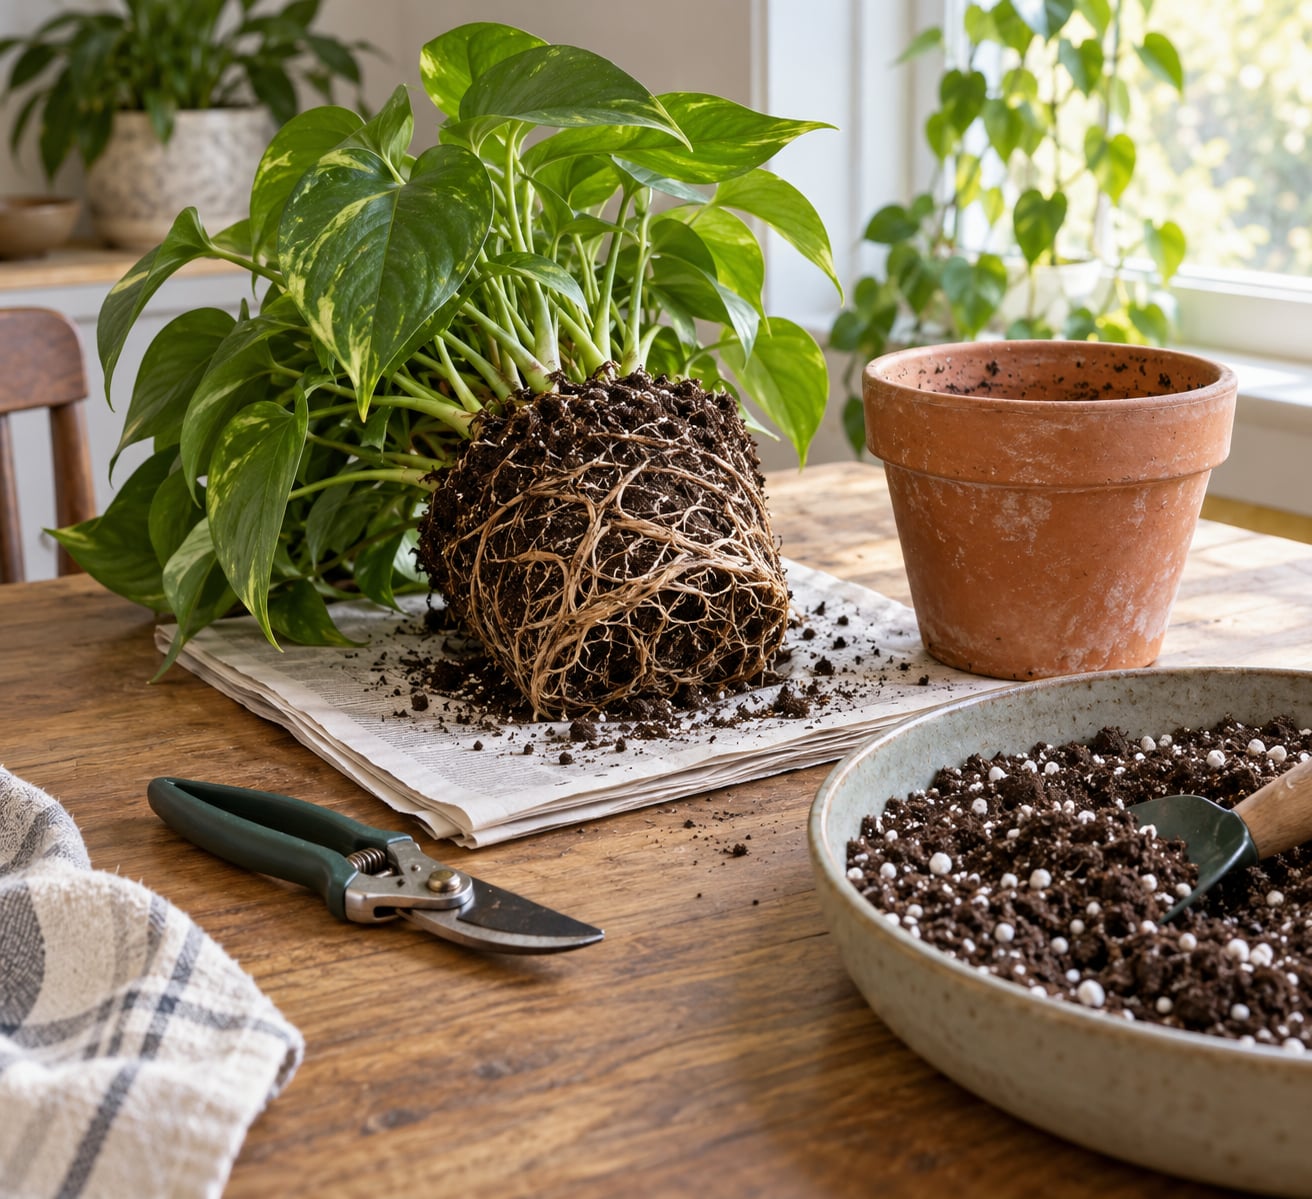
Support the root ball with one hand, tip the container sideways, and slide the plant free rather than pulling it upward by the stem. Saturated soil clings, so work the edges of the pot loose with a trowel if the plant will not release.
This is the moment to see what you are dealing with. Soggy soil packs down into a dense, slippery mass. Standing water in the saucer means the pot has been sitting in a bath. Healthy roots smell like plain damp earth; damaged ones smell sour, like wet cardboard left in a bin.
2. Check whether the roots are damaged
Slide your fingers into the root mass and separate it gently. Firm, pale tan or cream roots are alive and should be kept. Dark brown, black, slimy, or soft roots have rotted, and they will not come back.
Roughly half healthy roots is the usual dividing line between a hopeful rescue and a slow loss. A mostly healthy ball can often be conserved without heavy trimming, so if the plant comes apart with firm roots throughout, resist the urge to cut.
3. Remove saturated soil and open up the drainage
Work the old soil out of the roots with your fingers, or rinse it away under lukewarm water if it will not shed. Then check the pot: clear any compacted soil plugging the drainage holes and confirm water runs straight through the base when you tip it.
Before you go further, look under the pot. If the container is sitting inside a decorative cachepot or saucer with water pooled at the bottom, that standing water has been the cause all along. Empty it now and keep the inner pot raised off the saucer base so it can drain fully.
4. Trim damaged roots and choose fresh potting mix
Wipe your blade with alcohol before cutting, then remove every mushy or dark section back to firm, pale tissue. Snipping back past the brown into healthy root costs the plant less than leaving rot in contact with it.
Refill the cleaned pot with fresh dry mix amended with roughly a quarter to a third perlite for leafy houseplants, or a mostly mineral mix for succulents. Set the plant at the same depth it was growing at — burying the stem deeper invites rot at the soil line. Stop when the pot is filled and leave a centimetre of headspace so you can water without pushing mix over the rim.
Succulents and cacti want a different path. Rest them on a bed of dry gritty soil without burying them at all, skip the initial watering, and let the cut base callus over before you plant anything.
5. Place the plant in brighter but indirect light
Move the recovering plant to a warm spot with plenty of light but no harsh midday sun. Roots that have lost root function cannot process water fast, and direct sun on that wet root ball adds heat stress on top of everything else.
Brighter indirect light is not a punishment. More light means the soil surface and the damp root ball lose moisture faster, which is exactly what you want while it dries back to a normal rhythm. Keep the plant away from radiators, vents and draughty doorways.
6. Wait before watering again
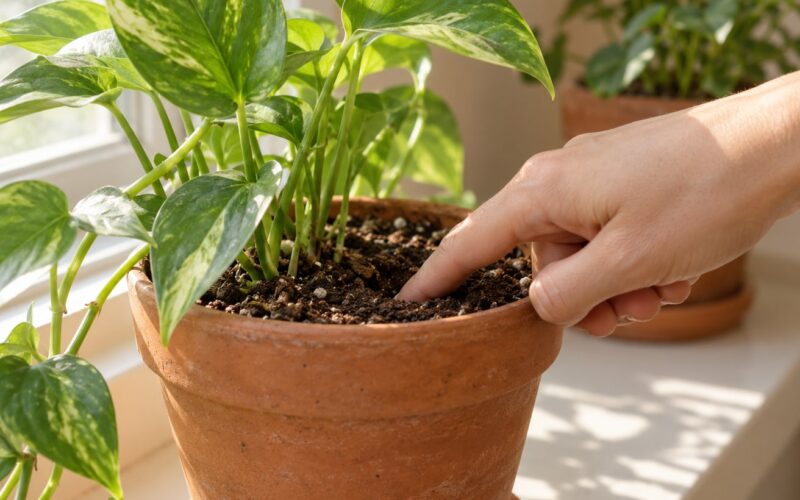
Do not water by calendar. Put a finger two to three centimetres into the soil and water only when it feels dry at that depth and the pot has lost most of its weight. Then water thoroughly until it runs out of the base, and empty the saucer after ten minutes.
The first post-repot watering should be a deliberate one. Give the root ball enough water to settle the mix, no more, and skip the tray of pebbles under the pot unless the plant itself sits above the water rather than in it. Saturated soil plus trapped humidity at the base is how a rescue turns back into a rescue gone wrong.
7. Watch for recovery or signs that the plant cannot be saved
Good signs are firm new growth at the centre of the plant within two to four weeks, leaves that stop dropping, and soil that dries out at a normal pace between waterings. Perky new leaves mean the roots are working again.
Bad signs are a stem that is mushy from the soil line upward, a persistent rotten smell weeks later, or a root ball that is majority black and collapsing. When the base is gone but healthy green stem tissue remains, cut back to firm tissue, let the cut callus for a few days, and root it in damp medium or water instead of pouring more effort into a dead crown.
Common Mistakes
Almost every repeat case traces back to one of these.
- Watering again because the leaves droop. Drooping after overwatering means the roots cannot move water, so a drink solves nothing. Wait for the soil to dry at finger depth instead.
- Adding a layer of pebbles at the bottom of the pot. Pebbles do not create drainage; they can actually raise the perched water table. Drainage comes from holes in the base.
- Moving up to a much larger pot. A big pot holds more wet soil around a small root system, which is the condition you are trying to escape. Repot into a pot that fits the trimmed root ball.
- Putting the recovering plant straight into hard sun. It scorches before it has roots to drink. Bright indirect light until new growth appears is plenty.
- Misting a wet plant. Added surface moisture slows drying and can invite fungus gnats in the damp mix. Skip misting while the plant recovers.
- Reusing the old soil or an unwashed pot. The pathogens that caused the rot are still in that mix. Bin the soil, scrub the pot with hot soapy water and a rinse, and start fresh.
A few habits going forward will keep this from happening again. Empty the saucer or cachepot every time you water. Check moisture with a finger instead of a fixed schedule, and cut watering frequency roughly in half through winter when growth slows. If you are heading away for a week, move plants away from sunny glass, where the soil bakes dry on top while staying wet underneath, and ask someone to top them up sparingly rather than fully.
Frequently Asked Questions
Why are the leaves on my overwatered plant turning yellow?
Yellowing usually starts on the lower, older leaves because those are the ones furthest from the light and oldest. Waterlogged soil drives out the air roots need, so the plant shuts down nutrient uptake and drops its oldest leaves first. Soft, cool, slightly translucent leaves point at overwatering. Dry, crispy, brown-edged leaves point at underwatering. Push a finger two centimetres into the soil before deciding — if it comes out damp, hold off on water.
Should I fertilize an overwatered plant while it recovers?
Wait at least four to six weeks, and only if the plant has put out new, firm growth. Damaged roots cannot absorb nutrients, so feeding a stressed plant adds salt to already-compromised soil and can scorch what roots remain. If you are repotting as part of the rescue, fresh potting mix carries enough nutrients for the recovery period on its own. Resume feeding at half strength once growth is normal again.
How long does an overwatered plant take to recover?
Most rescues show signs within two to four weeks: firm new growth in the centre, fewer dropped leaves, and soil that dries out at a normal rate between waterings. Leaves that were yellow at the rescue point will not green up again, so judge progress by new growth rather than by old leaves. A plant that has lost most of its root system can take two or three months to rebuild a full canopy, and some never fully recover the leaves they lost.
Can I put the plant back in the same pot after repotting?
Yes, after you clean it well. Scrub the pot with hot soapy water, rinse it thoroughly, and check that the drainage holes are fully open before reusing it. If the pot is glazed ceramic without drainage holes, use it only as a cachepot with an inner pot that drains. If the root mass shrank noticeably after trimming, move down a size rather than reusing the original pot, since extra room means extra wet soil.
What should I do in the weeks after repotting an overwatered plant?
Keep it in brighter indirect light, resist watering until the top few centimetres feel dry, and empty any saucer after each drink. Do not fertilize for four to six weeks and do not repot again unless something is clearly failing. Watch for firm new growth as your main progress signal. If leaves keep dropping weekly after a month, unpot and check the roots again — a second inspection often reveals rot that was missed the first time.
Conclusion
Start with the pot, not the watering can. Lift the plant out, feel the roots, cut away anything soft and dark, and put it back into a pot that drains into dry, airy mix. Then watch the soil instead of a calendar. A plant with firm pale roots on most of its root ball has a good chance of coming back, and steady new growth over the next month is the signal that it did.