Air plants care and display ideas go together, because where you put a tillandsia decides how much light and airflow it gets, and that decides whether you water it with a soak or a spray. Give an air plant bright indirect light, a ventilated holder, a 5 to 10 minute soak in dechlorinated water, and a full dry-down, and it will keep going for years in almost any room of the house.
Most losses trace back to one place: moisture sitting at the base. In r/airplants threads, rot keeps coming up as the number one killer, and the fix is always the same, take the plant out of the display, dry it properly, and give it moving air. Display first and worry about watering later is how a lot of pretty glass globes end up as expensive brown sticks.
Below are 12 arrangements, ordered from easiest to most involved, with the care notes that go with each one. Every one assumes you already know the two basics: no soil, ever, and never leave a plant wet for longer than a few hours.
Table of Contents
- Air Plants Care and Display Ideas at a Glance
- 1. Create a Beginner-Friendly Bathroom Display
- 2. Build a Layered Living Room Shelf Arrangement
- 3. Use a Hanging Glass Orb Display
- 4. Make a Minimal Coffee Table Centerpiece
- 5. Display Air Plants in a Wall-Mounted Grid
- Air plants care and display ideas for a wall with no windowsill
- 6. Create an Outdoor Rock and Container Garden
- Hardening off air plants before they go outside
- 7. Style a Desk with One Statement Air Plant
- 8. Group Different Air Plants by Texture
- Xeric and mesic species in the same group
- 9. Use a Driftwood Display for a Natural Look
- 10. Design a Vertical Column for a Narrow Space
- 11. Create a Seasonal Table Arrangement
- 12. Build an Air Plant Terrarium-Style Bowl
- Can air plants live in a closed terrarium?
- Frequently Asked Questions
- How often should I water an air plant indoors?
- Should air plants be soaked or misted?
- Do air plants need direct sunlight?
- Should I cut the brown tips off my air plant?
- Are air plants safe for cats and children?
- What water should I use for air plants?
- Conclusion
Air Plants Care and Display Ideas at a Glance
Each display below carries a different care profile, so the table pairs the setup with its light and watering needs.
| Display idea | Best location | Light level | Watering approach | Main thing to watch |
|---|---|---|---|---|
| Bathroom group | Bathroom shelf by a window or skylight | Bright indirect, some low light tolerated | Soak, dry, return | Condensation pooling under the base |
| Layered shelf | Living room shelf | Bright indirect | Soak weekly in growth, less in winter | Crowding and blocked airflow |
| Hanging glass orb | Near a bright window or porch | Bright indirect, some direct morning sun | Take the plant out to water | Trapped water inside the globe |
| Coffee table tray | Low table away from direct sun | Medium to bright indirect | Soak and dry off-table | Being knocked over, low light over time |
| Wall grid or rail | Any wall, ideally near a window | Bright indirect, uneven at the edges | Soak in a sink or tray | Dripping water and missed corners |
| Outdoor rock garden | Patio or balcony | Bright light, some direct sun after hardening off | Rain plus occasional soak | Frost, heat, and wind scorch |
| Desk plant | Desk corner, out of direct sun | Medium to bright indirect | Weekly soak at the sink | Vents, monitor heat, small dry rooms |
| Texture grouping | Bright shelf or table | Bright indirect | Water each plant on its own schedule | Grouping plants with different needs |
| Driftwood mount | Any well-ventilated spot | Bright indirect | Soak, shake, dry fully | Wood holding water against the base |
| Vertical column | Narrow hall, stairwell, corner | Medium indirect | Remove and soak one at a time | Hard-to-reach holders, tight spacing |
| Seasonal table | Dining or entry table | Bright indirect | Soak on schedule, rotate positions | Overcrowding, blocked conversation |
| Open bowl | Bright shelf or table | Bright indirect, gentle morning sun | Soak separately, return after drying | Sealed glass and stone trapping water |
1. Create a Beginner-Friendly Bathroom Display
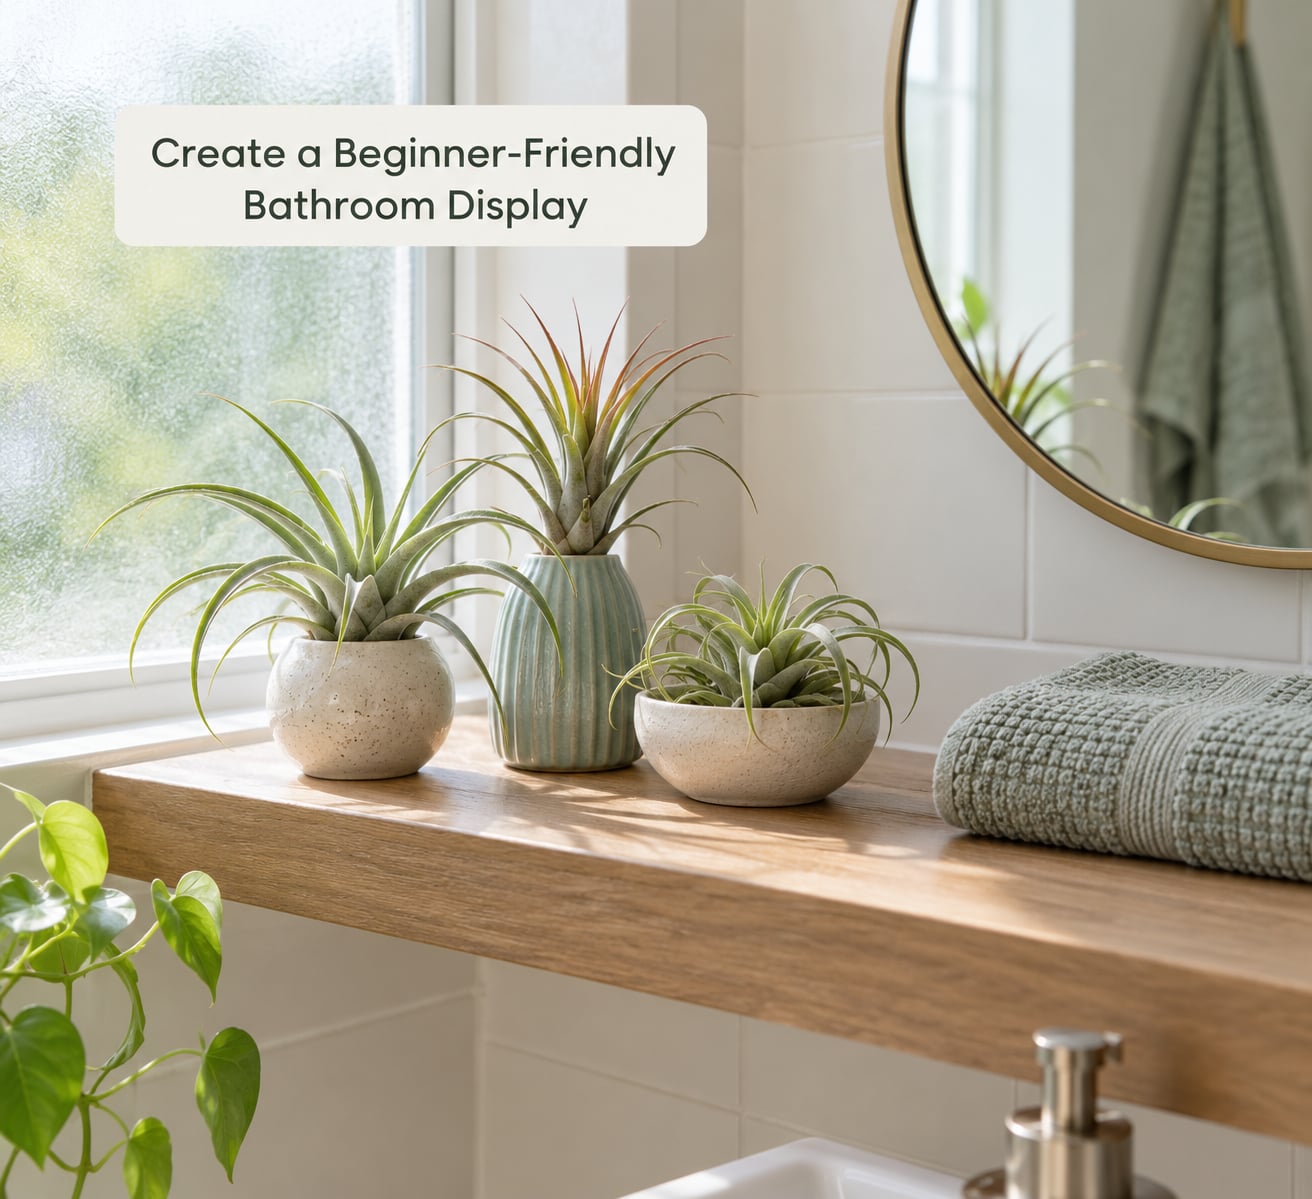
The bathroom is the easiest room to start in, because humidity and warmth do some of the work for you and the fixtures look good with plants in them. Group two or three air plants on a shelf near a window or skylight, each in a small waterproof ceramic vessel, rather than crowding them onto one saucer.
Light matters more than the humidity does. A frosted or curtained bathroom window giving bright indirect light is ideal, while a room with no window at all will keep a plant alive slowly but not thrive it.
After you water, check the base of each plant before it goes back. A plant that sits in a wet vessel overnight is the exact setup that produces rot, and the fix takes ten seconds, lift it out, set it on a towel, and leave it out until it is completely dry. Keep the vessels shallow so a few drops escape rather than sit.
2. Build a Layered Living Room Shelf Arrangement
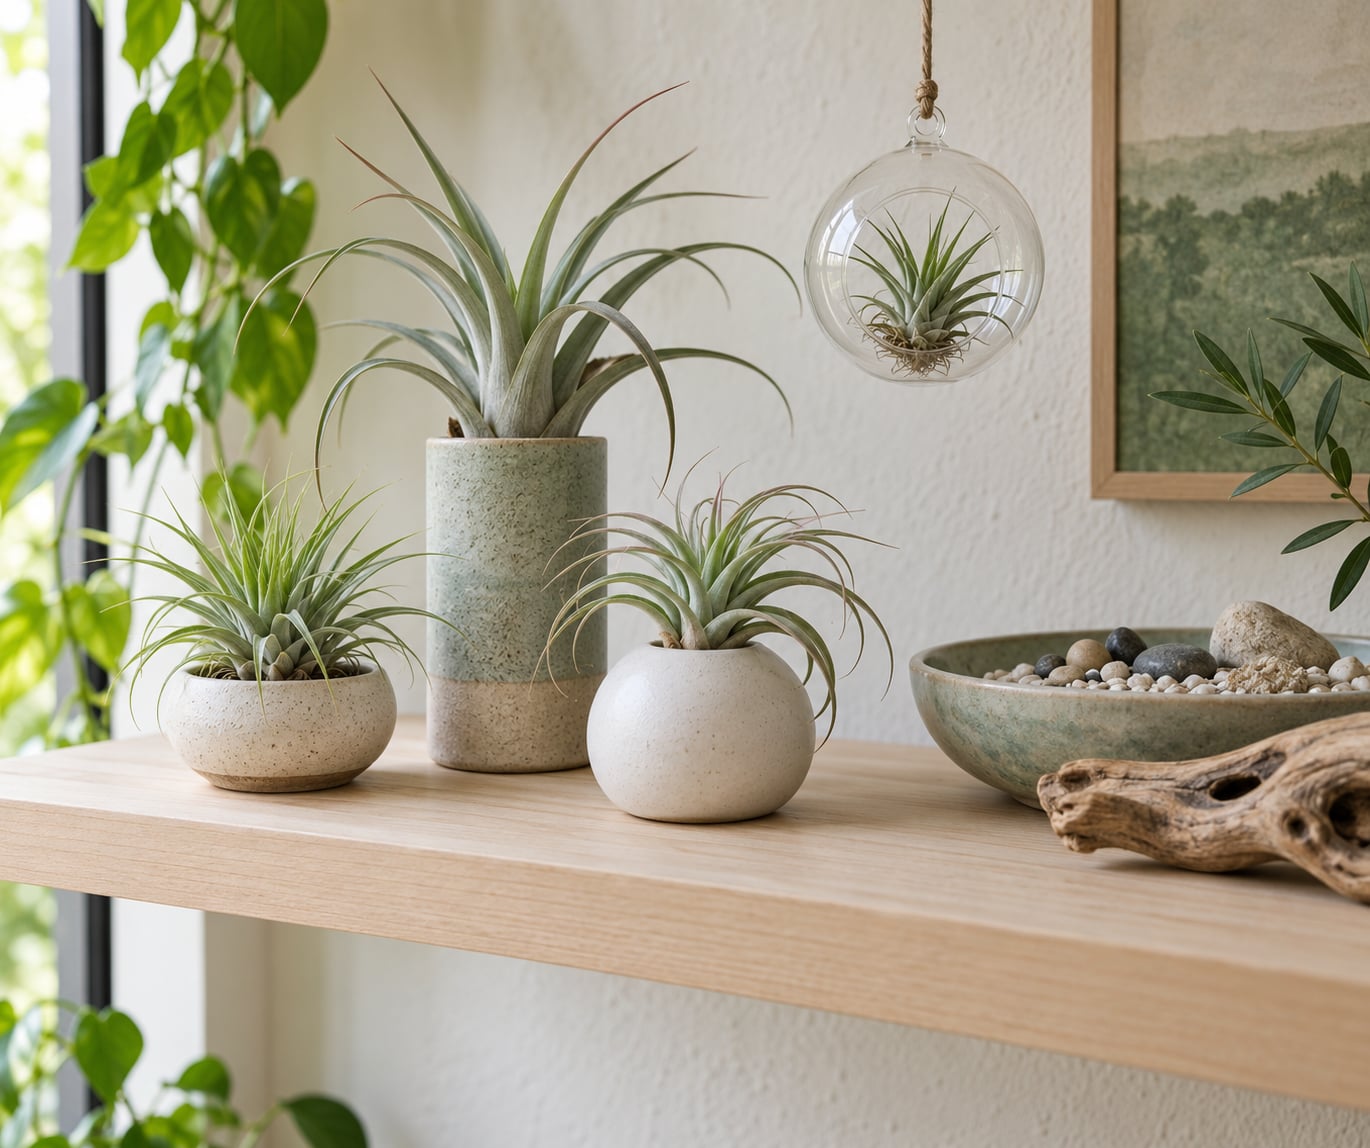
A layered shelf works because it uses height instead of floor space, and it lets you mix plant shapes without them competing. Put an upright variety at the back, a trailing one at the front edge where it can fall slightly, and a compact plant in a small pot to fill the gap between them.
Leave air between each plant. If foliage overlaps, the inner leaves stay damp after a soak and never get the circulation they need, which is the other half of the rot story.
Fill the remaining shelf space with objects that set scale. Neutral books, a stone or ceramic piece, a small vase. If two plants sit next to each other, check the one nearest the wall every few weeks, since light falls off fast there and it is the spot people forget.
3. Use a Hanging Glass Orb Display
A hanging orb shows an air plant from every angle, and it is also the display people most often get wrong. The rule is simple, water the plant outside the glass, never in it.
Position the plant so its base sits in air rather than pressed against the globe wall, and angle it so the rosette points down or outward so water runs off instead of pooling in the leaf axils. Most globes are vented at the bottom, which helps, but it is not enough on its own.
When it is time to water, take the plant out, soak it, shake it, and let it dry fully somewhere with airflow before it goes back in. Check the inside of the globe for condensation or standing water each time, and if you find some, wipe it out. Hanging orbs look best near a bright window or a covered porch where they get light and moving air.
4. Make a Minimal Coffee Table Centerpiece
A coffee table arrangement has one constraint that nothing else on this list does, it cannot get in the way of a conversation or block a remote. Keep everything low and clustered toward one end or the center of a shallow tray.
A single plant in a low, wide vessel reads calmer than five plants scattered around. If you want more, group them close together in one tray with a few pebbles or a piece of bark, and vary the heights by a couple of inches so it does not look like a row.
Watch the light over time. Most coffee tables are a few feet from any window, which is enough for a while and then not enough, especially if the plant starts stretching toward the light. Moving the tray closer to the window once a season fixes that.
5. Display Air Plants in a Wall-Mounted Grid
A wall grid is the answer for anyone who asked how to display air plants without windowsill space, and for the collectors who posted on Reddit wondering what to do with dozens of plants at once.
Air plants care and display ideas for a wall with no windowsill
Build a simple lattice from a wooden slat grid, a mesh panel, or picture-hanging wire strung in a rectangle, and attach holders with wire, fishing line, or a plant-safe adhesive. Skip copper wire, it is toxic to tillandsia, and it is the one mounting mistake that shows up again and again in forums.
Space the holders evenly, about eight to ten inches apart for medium plants, so nothing touches its neighbor. Choose holders with open sides or drainage so a wet plant can drip instead of sitting in a cup.
On an uneven wall, rotate plants a quarter turn every few weeks so the side facing the window gets its share of light. And keep a towel under the grid for a few hours after each watering, because water dripping down a wall leaves marks.
6. Create an Outdoor Rock and Container Garden
Air plants do genuinely well outdoors, which makes a patio or balcony grouping a good summer project. Set a few plants into a shallow dish of gravel and rocks, or nestle them in weather-resistant ceramic or concrete vessels, and anchor anything that looks loose against wind.
Gravel and stones are the right base because water runs straight through them. Soil, moss-heavy mixes, and sealed ceramic caches are not, since they hold water against the base for days.
Hardening off air plants before they go outside
Move plants outdoors in stages over a week or two rather than all at once. Start in bright shade for a few days, then increase morning sun gradually, and only after that allow a plant that has been indoors all year to handle direct sun.
Rain does most of the watering outdoors, but check after heavy storms that water is not sitting in the base. Bring plants in before the first frost, and remember that a container in full sun gets much hotter and dries faster than you would guess, so check them on hot afternoons rather than in the morning.
7. Style a Desk with One Statement Air Plant
One plant on a desk is the right call, because a desk already has a lot going on. Choose a small, stable vessel, wide at the base, so the plant does not tip when you move a folder, and put something underneath if the container can mark the surface.
Position it near a window but out of hard afternoon sun, and keep it clear of air vents, radiators, and the exhaust side of a laptop or monitor, since moving hot, dry air pulls moisture out of the leaves faster than you can replace it.
Water it at a sink on your normal schedule rather than at the desk. A weekly soak takes a minute, and doing it away from the keyboard keeps the whole thing dry and mess-free.
8. Group Different Air Plants by Texture
Contrasting textures make a group look intentional. Put a fine-leaved variety next to one with broad, curling leaves, and a silver or fuzzy type in the middle so the group has something to look at from across the room.
Xeric and mesic species in the same group
Texture is a display choice, not a care category, so keep the watering individual. Xeric species come from dry habitats and want longer gaps between soaks, while mesic types from wetter forests want water more often, and a group on one schedule will leave one of them wrong.
Check each plant before you soak instead of following the calendar blindly. Leaves that are thick and firm are fine, and leaves that look thin, curled inward, or papery are asking for water. After a soak, the leaves straighten out and shift from dull to a brighter green, which is the clearest signal you have that it worked.
9. Use a Driftwood Display for a Natural Look
Driftwood is the classic air plant mount because the plant naturally grows on branches and rocks, and a piece of wood reads that history instantly. Set the plant on a flat spot, nestle the base into a fork or a natural hollow, and secure it with floral wire, fishing line, or a plant-safe glue such as a tillandsia adhesive.
Moss around the base is a common choice, and it looks good, but use it loosely and keep it dry. Damp moss against the base holds moisture long enough to cause problems.
Two warnings. Never use copper wire, it will kill the plant. And if the wood is untreated, new, or sappy, seal it or keep it where it cannot touch the leaves, since resin and preservative oils can burn the foliage. A weathered piece that is dry to the touch is the safe choice.
10. Design a Vertical Column for a Narrow Space
Halls, stairwells, and the awkward corner beside a fridge are where a vertical column earns its keep. Use a tall freestanding stand, a ladder, or a wall-mounted rail, and stagger the plants up and down so the eye moves.
Every holder needs two things: a way to reach it with one hand, and enough space around it for air. If you cannot lift a plant out without unscrewing something, you will skip watering it, and skipping is how a plant quietly dies.
Water one at a time in a sink or tray, and return each plant only when it is fully dry. A column also dries unevenly, so give the lower holders a longer gap than the top ones and check them with the same leaf test rather than the calendar.
11. Create a Seasonal Table Arrangement
A dining or entry table display is easy to keep fresh because it changes four times a year. Keep the arrangement structure the same and swap the vessel and the natural materials around it, spring branches, summer shells, autumn seed pods, winter evergreens and pine cones.
Change the vessel rather than adding to the display. Crowding is the usual mistake, more plants and more material in the same footprint blocks light and conversation, and the arrangement starts to look cluttered by the second week.
Keep the footprint small enough that people can see each other across the table, and move the whole thing closer to the window in midwinter when the light drops. When you rearrange for the season, check each plant and water any that are stiff or thin before it goes back.
12. Build an Air Plant Terrarium-Style Bowl
A wide, open bowl is fine and can look great. The key word is open, because a terrarium only causes trouble when it seals humidity in and the plant cannot dry.
Can air plants live in a closed terrarium?
Short answer, not well. A sealed container holds moisture at the base and in the leaf axils continuously, and air plants adapted to drying out quickly do not handle that. If you want the look, leave the lid off or cracked, keep the vessel shallow, and take the plant out to water.
Choose materials that do not block drying. Open pebbles, coarse gravel, sand, or a piece of bark drain well, while packed soil, wet sphagnum moss, and flat stones against the base do not. Keep the plant resting so air moves around it rather than sealing it against the bottom.
Here is the quick diagnosis, and it settles most arguments about whether a plant needs water or has had too much.
| What you see | What it means | What to do |
|---|---|---|
| Leaves thin, curled inward, papery at the edges | Underwatered | Soak 5 to 10 minutes, shake, dry fully |
| Leaves soft, base dark and wet, leaves pull away easily | Overwatered, rot starting | Remove dead material, improve airflow, let dry before any more water |
| Brown or crispy tips only | Dry air, hard tap water, or salts | Use dechlorinated or rain water, raise humidity, trim tips if you want |
| Flat, wide leaves that curve outward | Underwatered | Soak and watch them straighten within a few hours |
| Red or pink tint across the plant | Normal stress coloring, often a sign of good light or a coming bloom | No action needed |
Frequently Asked Questions
How often should I water an air plant indoors?
Indoors, most air plants need a soak roughly once a week in spring and summer, and every two to three weeks in winter when the air is drier. Rather than counting weeks, test the leaves: thin, curled, or papery leaves mean water now, thick and firm leaves mean wait. After every soak, shake the plant out and let it dry completely within a few hours, ideally in a spot with moving air. Plants in dry rooms or sealed displays need more drying time, not more water.
Should air plants be soaked or misted?
Soaking is the better method for most people. Submerge the plant in room-temperature water for 5 to 10 minutes, turn it upside down, shake it hard, and let it dry fully before returning it to its holder. Misting is faster but rarely enough on its own, and a light daily spray leaves mineral spots on the leaves. Some growers avoid misting entirely because it does not meaningfully raise humidity around the plant and can invite fungus gnats and mildew. If you do mist, do it in the morning so the leaves dry before nightfall.
Do air plants need direct sunlight?
Most varieties prefer bright indirect light, roughly two to four hours a day near a window but out of harsh midday sun. A few, including xeric species like Tillandsia xerographica, tolerate more direct light once they are hardened off, while softer-leaved types can scorch and develop brown tips behind hot glass. Outdoors, introduce plants to direct sun gradually over a week or two rather than all at once. Warm temperatures between 60 and 90F and humidity above 60 percent keep leaves firm and green.
Should I cut the brown tips off my air plant?
You can trim brown tips, but the cause matters more than the cut. Crispy tips usually come from dry indoor air, hard tap water, or salt buildup, so switching to dechlorinated, rain, or pond water and raising humidity stops new browning. Trimming is cosmetic: cut just above the brown area with clean scissors and let the wound dry before soaking again. Brown tips that come with a soft, dark base are a different problem. That is rot from too much water, and the plant needs airflow and dryness, not scissors.
Are air plants safe for cats and children?
Tillandsia are generally considered non-toxic to cats and dogs, which is one of the reasons they are popular in homes with pets. That does not mean they are edible, and a determined pet can still chew on the leaves. The real practical concern is physical rather than toxicological. Many air plants are displayed in glass or ceramic where a cat can knock them over, and a falling orb means broken glass and a plant that needs emergency drying. Place high or enclosed displays out of reach and check hanging fixtures for strength.
What water should I use for air plants?
Use room-temperature water that is free of chlorine, and the debate about distilled water comes down to what you already have. Dechlorinated tap water, which is tap water left sitting out overnight or treated with a dechlorinator, is the most practical choice because it carries the trace minerals air plants use. Rainwater and pond water work well for the same reason. Distilled water is very low in nutrients, so it works in a pinch but is not better for a plant that stays in the same spot for months.
Conclusion
Start with the location, not the vessel. Pick a spot with bright indirect light and moving air, choose a holder that lets the plant dry from all sides, and set a weekly soak in your calendar with a leaf test to confirm it. Get that one plant healthy first, then build out a shelf, a wall grid, or a seasonal table around the routine that already works. Every idea above runs on the same order, light and airflow first, watering second, decoration third.