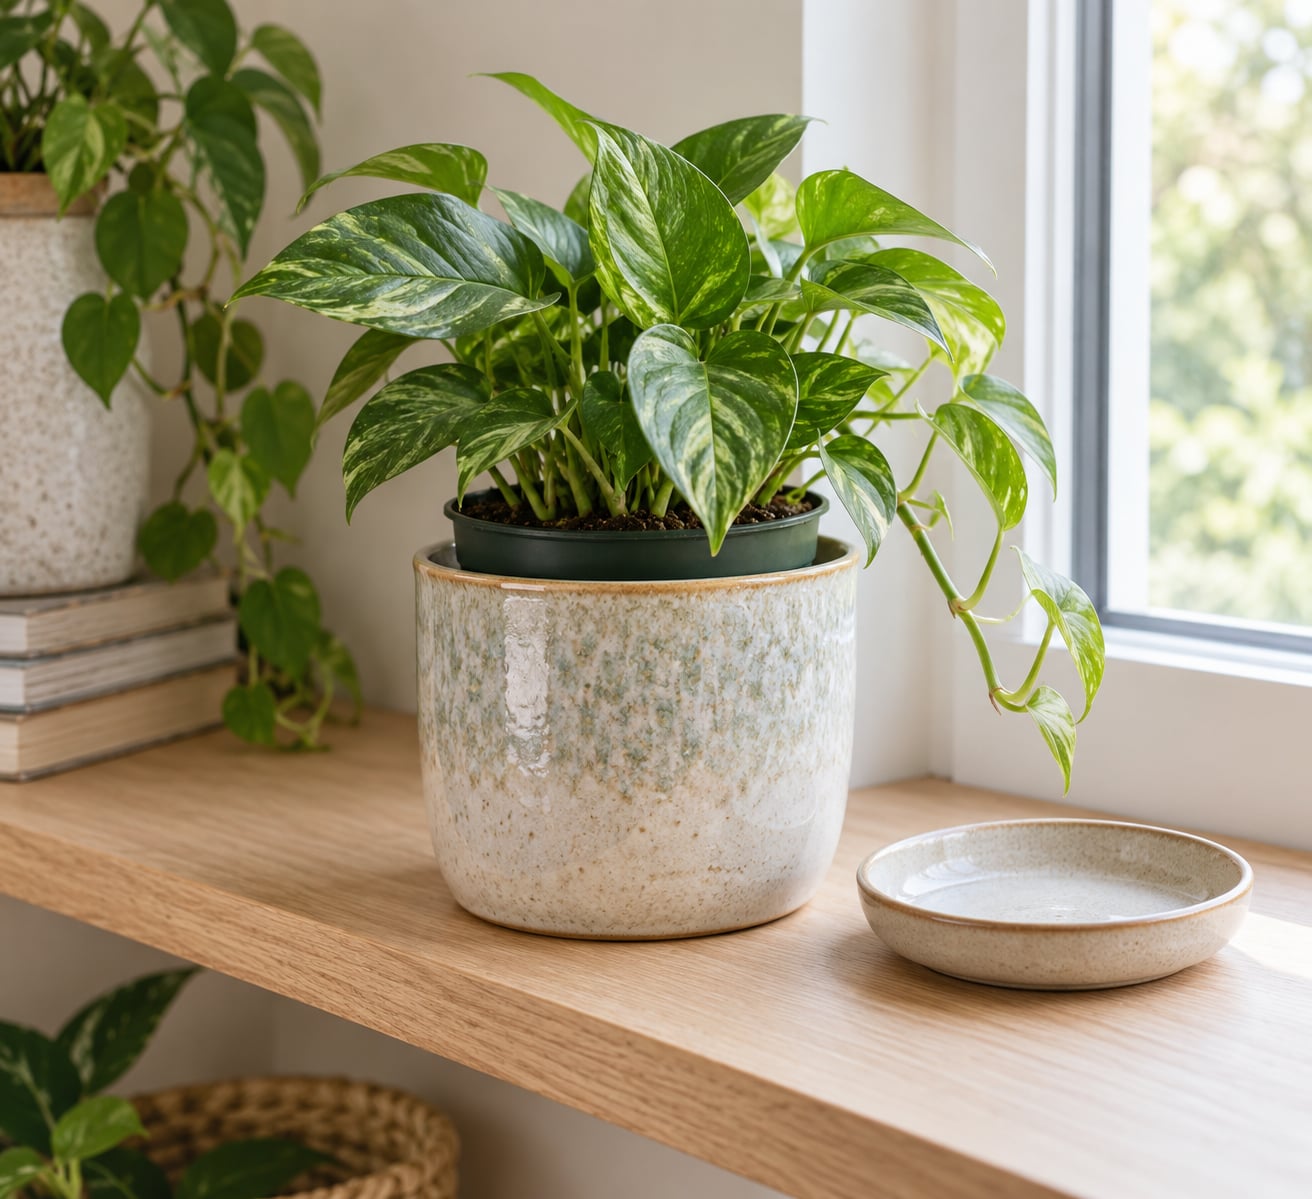
The cachepot method for houseplants explained in one sentence: the plant stays in a plain nursery pot with drainage holes, and that pot sits inside a decorative outer pot. You water the inner pot, let it drain, empty whatever collects underneath, then slide it back for display.
That arrangement solves a problem most people hit by accident. They buy a glazed ceramic bowl or a brass planter with no hole in the bottom, plant directly into it, and watch the plant decline a few weeks later. The cachepot method keeps the drainage the roots need while the pot you actually wanted to look at stays on show. Updated for 2026, and it still works the same way it always has.
Table of Contents
- What Is the Cachepot Method for Houseplants?
- How the Cachepot Method Works
- What Plants and Pots Work Best
- How to Use the Cachepot Method Step by Step
- The cachepot method for houseplants explained in seven steps
- How to Water Plants in a Cachepot
- Drainage, Pebbles, and Avoiding Root Rot
- When to Remove the Plant from Its Cachepot
- Cachepot Methods for Indoor and Outdoor Plants
- Frequently Asked Questions
- Do cachepots need drainage holes?
- Are pebbles needed at the bottom of a cachepot?
- How often should I water a houseplant in a cachepot?
- Can I plant directly in a decorative cachepot instead of using two pots?
- How do I know if my plant needs a larger inner pot?
- Can I use a cachepot outdoors?
What Is the Cachepot Method for Houseplants?
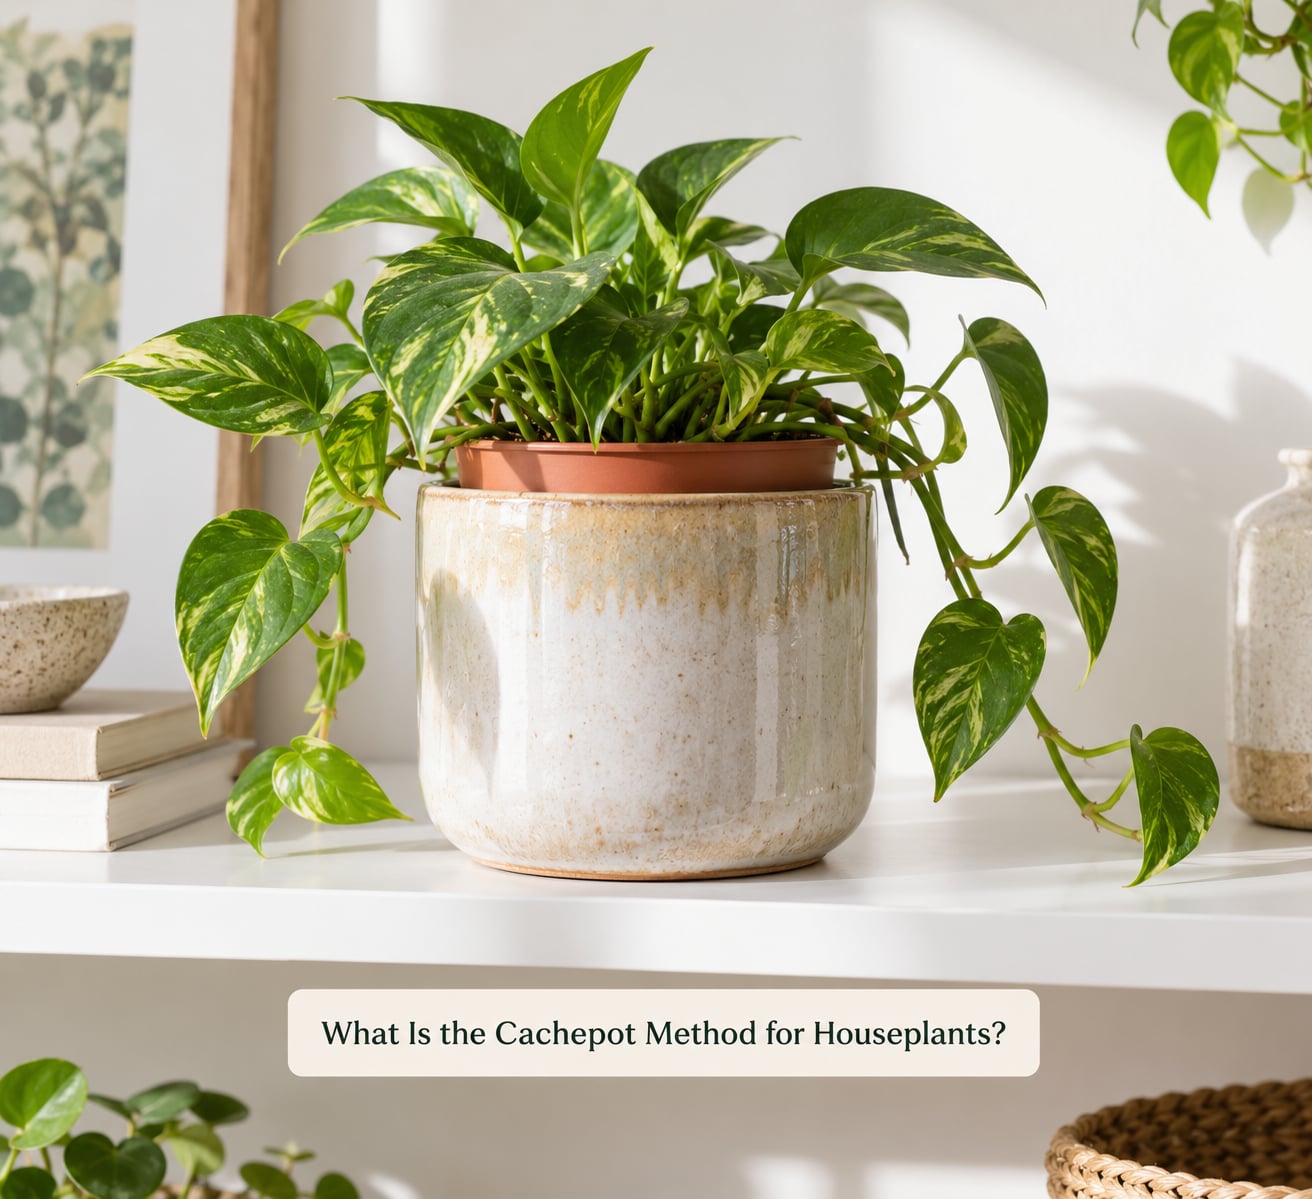
A cachepot is a decorative outer pot, usually with no drainage hole, used to hold a plain plastic or terracotta nursery pot that the plant actually grows in.
Four terms get mixed up constantly, so it is worth separating them once:
- Cachepot — the decorative shell. Its job is looks, weight and protecting your furniture.
- Nursery pot (also grow pot or utility pot) — the cheap pot with drainage holes that holds the root ball.
- Planter — a general term for any container you grow a plant in. Some planters are cachepots, some are meant for direct planting.
- Saucer — the tray under a pot. It catches drips. It does not drain anything.
The word comes from the idea of a cache: something stored and concealed. The pretty pot is hiding the functional pot, which is exactly what the method is built around.
How the Cachepot Method Works
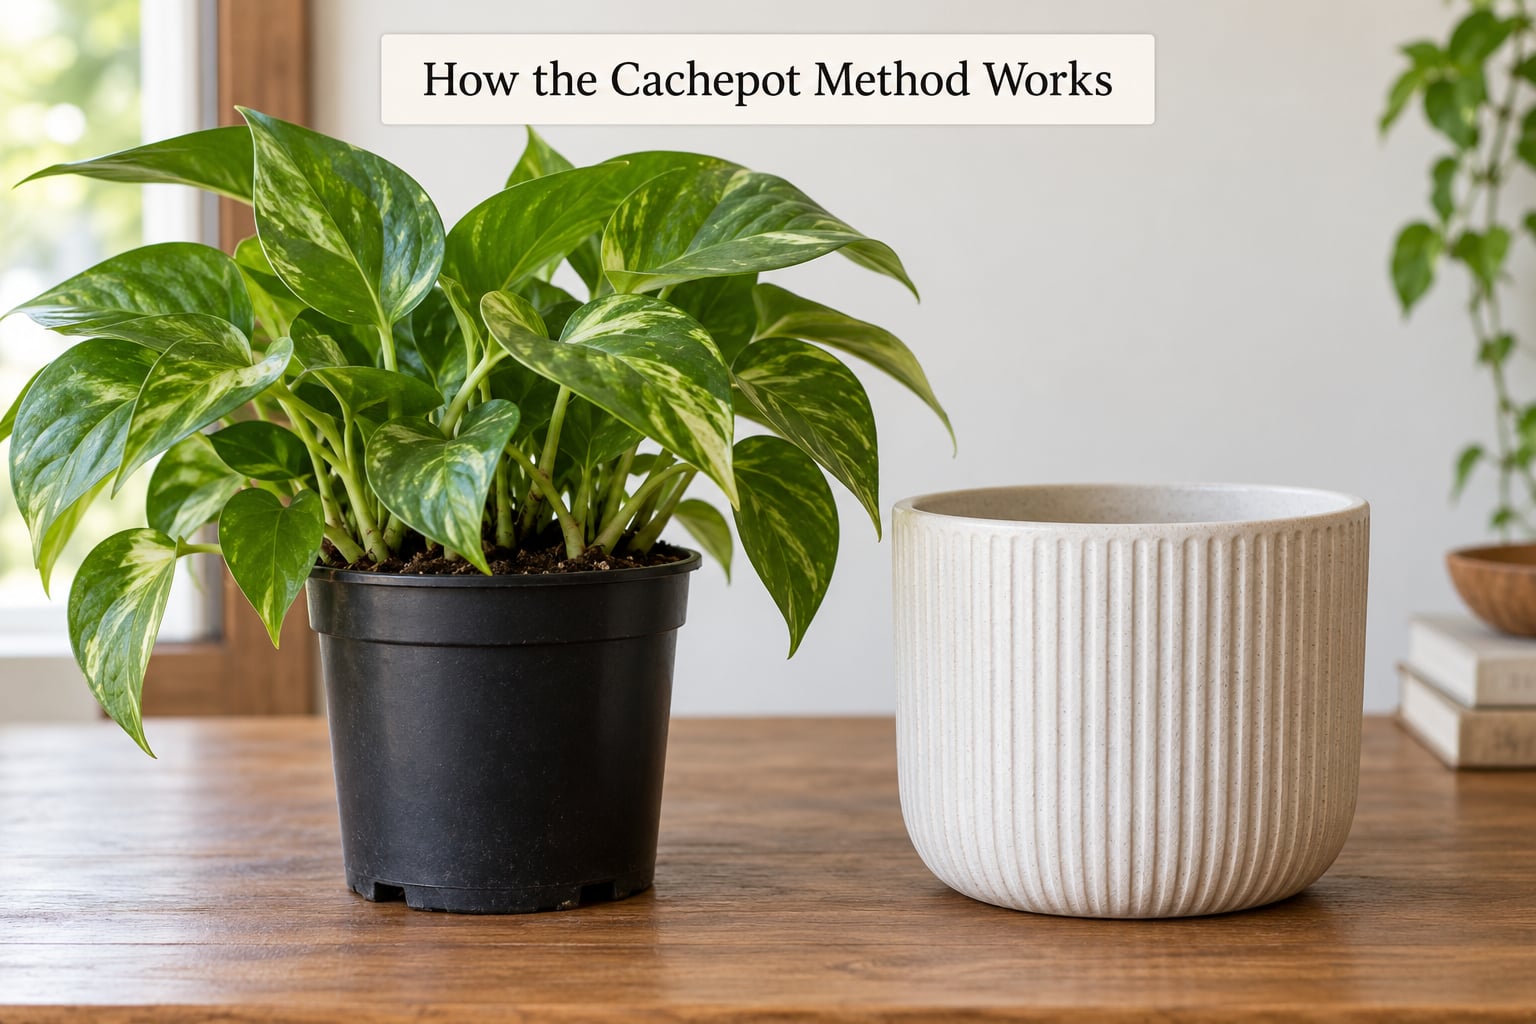
Two pots, two jobs. The inner nursery pot manages soil, water and air around the roots. The outer cachepot handles appearance, placement and, for a big floor plant, a bit of ballast so it does not tip.
Because the inner pot is the only thing touching the roots, drainage is unchanged from any normal potted plant. Nothing about the method is a substitute for holes in the bottom of the pot the plant lives in. Get that wrong and you have simply built a two-pot version of the problem.
What the method adds is flexibility. Since the plant never leaves its nursery pot, you can lift it out to water, carry it to a brighter window, or drop it into a different decorative pot when you redecorate. People who rotate plants seasonally would otherwise be repotting four times a year just for looks.
It also rescues containers that are otherwise unusable. An urn with a narrow neck, a cauldron, a bowl or a hanging brass planter can be almost impossible to get a plant out of once it is planted directly. As a cachepot, the plant slides in from the top and slides back out again.
What Plants and Pots Work Best
Nearly every houseplant tolerates the method. What changes is how fast the inner pot dries, and that depends on the material you choose for it.
| Inner pot material | Drying speed | Watch out for | Good for |
|---|---|---|---|
| Unglazed terracotta | Fast | Moisture evaporates through the walls, so check more often | Ferns, basil, herbs on a warm windowsill |
| Black or clear plastic nursery pot | Slow | Roots stay cool and wet longer; easiest to inspect | Tropical houseplants, most foliage plants |
| Glazed ceramic | Slow to medium | Holds moisture; holds heat in a sunny window | Ferns, calatheas, plants that dislike drying out |
| Self-watering inner pot | Very slow | Reservoir changes your watering rhythm completely | Busy plant owners, large floor plants |
For the outer pot, material matters less for the plant and more for the shelf. A glazed ceramic or stoneware cachepot is stable and easy to wipe clean. A woven basket or a metal bucket needs a waterproof liner so damp soil does not stain the fibre or corrode a seam. Unglazed clay cachepots work fine but will bloom with algae and mineral deposits over time.
On sizing, aim for an inner pot roughly 1 to 2 inches narrower in diameter than the cachepot, with enough clearance at the rim to lift the plant out with two fingers. If the fit is too tight you will chip rims and roots trying to free the pot, and if it is loose the plant tips over the moment you move it.
How to Use the Cachepot Method Step by Step
The cachepot method for houseplants explained in seven steps
- Pick the inner nursery pot first. Choose a pot with drainage holes, ideally 1 to 2 inches narrower than your cachepot at the rim.
- Check the drainage. Fill the pot with water and tip it out. If nothing runs out the base, it is not a pot for this job.
- Pot up or slip it in. Either move the plant into the sized nursery pot, or slide the whole existing nursery pot into the cachepot if the fit already works.
- Set it in place. Drop the inner pot into the cachepot. Add a small riser underneath if you want a gap for drainage water to fall through.
- Water thoroughly. At the sink is easiest. Water the soil, not the foliage, and stop when it runs freely out of the bottom.
- Let it drain for 10 to 20 minutes. The pot should stop dripping before it goes back on the shelf.
- Empty the outer pot and return. Tip out anything that collected in the cachepot, put the plant back, and wipe the rim.
Step seven is the one people skip, and it is the step that saves the plant. A cachepot with an inch of water in the bottom is sitting in a bath, and the bottom of the inner root zone stays saturated long after the surface looks dry.
How to Water Plants in a Cachepot
Judge watering by soil condition, not by the calendar. Push a finger a couple of centimetres into the top of the soil; if it feels damp at that depth, wait. A plastic nursery pot inside a ceramic cachepot holds moisture longer than the same pot standing bare on a shelf, so plants in cachepots usually need watering less often than a plant in an exposed pot.
The sink method is the most reliable. Lift the inner pot out, water until it drains freely, let it sit for ten minutes or so, then return it. A few growers prefer a soak: drop the inner pot into a bucket for about 20 minutes, then lift it and let it drain fully. Both work, and both keep water out of the decorative pot entirely.
Watering in place is the exception rather than the rule. It is acceptable for a very small plant that lifts out easily, but you are gambling on remembering to empty the outer pot afterwards. That is exactly the mistake that turns a cachepot into a root-rot chamber.
Bottom watering suits a cachepot setup well. Stand the inner pot in a shallow tray of water for 20 to 30 minutes and the soil pulls up what it needs. Just remember that a pot left standing in water long enough will wick moisture back out of the soil, which is why you empty the tray once the top of the soil is damp.
Drainage, Pebbles, and Avoiding Root Rot
Water in a container with no hole collects at the bottom with no way out. Soil goes oxygen-poor, roots suffocate, and root rot follows. It is the leading cause of houseplant death, and it is almost entirely avoidable.
What goes in the bottom of a cachepot, then? Usually nothing. A layer of rocks or gravel does not create drainage. It lowers the volume of soil, so the perched water table sits closer to the roots, and the whole arrangement holds water at the base rather than moving it away. Pebbles are fine as decoration under a potted plant lifted clear of them, but they are not a drainage system, and inside a cachepot they mainly collect grit and biofilm.
Two things genuinely help. A small gap under the inner pot lets residual water fall to the base of the cachepot, away from the roots, where you empty it. And an inner pot with a filter disc or a small mesh screen over the hole keeps soil from washing out into the outer pot without sealing the drainage.
| Symptom | Cause | Fix |
|---|---|---|
| Yellow lower leaves, soft stems | Water standing in the outer pot or the inner pot sitting in water | Empty the cachepot, check the gap under the inner pot, delay the next watering |
| Musty smell from the cachepot | Moisture trapped under the inner pot | Remove the inner pot for an hour, scrub and dry the cachepot fully |
| Green film or white crust on the outer pot | Algae and mineral deposits from repeated wetting | Scrub with a dilute vinegar solution, rinse, dry |
| Damp marks on a wooden shelf | Watering in place and not emptying the outer pot | Add a riser or a saucer, switch to the sink method |
| Plant wilts days after watering | Root rot already set in | Unpot, cut away dark mushy roots, repot into fresh mix and a clean pot |
If a plant has already been living in a hole-less pot and is fading, the recovery is unglamorous but effective. Slide it out, trim away any brown or black roots with clean scissors, let the roots breathe out of the soil for an hour, and repot into a fresh nursery pot with drainage. People who move a struggling plant out of a decorative pot into a nursery pot with holes report the same thing every time: the plant stops declining.
When to Remove the Plant from Its Cachepot
Take the plant out when you need to repot, when the soil is exhausted, or when something in the cachepot is staining or growing. Potting mix breaks down after a couple of years, and a decomposed mix holds water far longer than fresh soil, which quietly changes your watering rhythm.
Roots circling the base of the inner pot, or water running straight through without soaking in, both point the same way: the plant is root-bound. Move it up one pot size, roughly 2 inches wider, and no more. A pot that is too large holds more wet soil than the roots can use, which is its own kind of rot risk.
Give the cachepot a clean while the plant is out. Wipe the interior, let it dry completely, and check the base for cracks or blocked holes. If the outer pot is unglazed and has gone green or chalky, a dilute vinegar solution and a stiff brush will bring it back.
One more reason to take the plant out: inspecting the roots. A clear nursery pot lets you look through the side rather than guess from the surface, which takes the guesswork out of watering in the long run.
Cachepot Methods for Indoor and Outdoor Plants
Indoors, the main job of the outer pot is protecting furniture. A sealed decorative pot stops drips reaching a shelf, and that alone justifies the setup in a room with wood or fabric nearby. For a top-heavy floor plant, a wide cachepot with a little gravel or a few stones in the base makes a genuinely large plant stable.
Outdoors, the constraints change. Terracotta cachepots are the easiest choice on a balcony because unglazed clay is forgiving about overflow and dries predictably. Glazed ceramic and concrete get heavy fast when wet, so pair them with a light inner pot and keep the total weight in mind for a high shelf. Metal cachepots need a liner to stop soil washing out of drainage holes.
Plants that move between indoor and outdoor conditions need the cachepot method more than most, because watering in a hole-less pot outdoors is a gamble on how hard it rains. Lift the inner pot out during heavy rain, or set the whole cachepot under cover, and the plant gets the same care it gets indoors.
A word of warning about language. In some circles a “cache pot system” means something closer to semi-hydro or LECA, where the inner pot stands in a reservoir of nutrient water. That is a different setup with different rules. The method described here has no reservoir, and leaving standing water in the outer pot is always a mistake.
Frequently Asked Questions
Do cachepots need drainage holes?
No. The outer cachepot is decorative and needs no holes at all, which is the point. Drainage belongs in the inner nursery pot, and those must have holes. If you find standing water in the outer pot after a watering, tip it out every time until it does not happen again.
Are pebbles needed at the bottom of a cachepot?
No. A layer of rocks or gravel does not create drainage; it just reduces the soil volume and holds water at the base of the plant. Leave the bottom empty, or put a small riser under the inner pot so leftover water falls clear of the roots and can be emptied.
How often should I water a houseplant in a cachepot?
By soil, not by calendar. Press a finger a couple of centimetres into the soil and water only when it feels dry at that depth. A plastic nursery pot inside a ceramic cachepot dries more slowly than the same pot standing alone, so most plants need watering a little less often.
Can I plant directly in a decorative cachepot instead of using two pots?
Only if the container has drainage holes. Planting directly into a hole-less decorative pot leaves excess water with nowhere to go, which causes root rot. Some plants will survive it for months, but the two-pot method is far more reliable and makes repotting and plant swaps much easier.
How do I know if my plant needs a larger inner pot?
Roots circling the base of the inner pot, or water running straight through the soil without soaking in, both mean the plant is root-bound. Move it up one size, about 2 inches wider in diameter. Going bigger than that leaves more wet soil than the roots can use, which creates its own rot risk.
Can I use a cachepot outdoors?
Yes, and it works well on a balcony or patio. Choose a weatherproof outer pot, add a liner if it is metal, and keep the weight in mind since concrete and glazed ceramic get heavy when wet. Lift the inner pot out during heavy rain so the plant is not sitting in water it cannot drain.
Start with the pot the plant actually lives in. Get that one right, with drainage holes and sized about 2 inches under the decorative pot you want to use, and the rest is habit: water the inner pot, let it drain, empty the outer pot, put it back.