If you are wondering what to put in the bottom of a planter for drainage, the answer is a thin, permeable liner over the hole. A piece of plastic mesh screen, a single coffee filter, or a square of weed cloth does the job. Skip the rocks and gravel. A layer of stone at the base of a planter does not drain water, and it can leave a wet band sitting right where the roots are.
This is the part that trips most people up, because the rocks idea has been repeated in garden books since the 1800s. It is also the fastest way to turn a healthy container plant into a root-rot victim. Here is what the evidence actually says and what to do instead.
Table of Contents
- What You Need
- What to Put in the Bottom of a Planter for Drainage, Step by Step
- 1. Check that the planter actually drains
- 2. Choose a drainage layer that supports the soil
- 3. Keep potting mix from washing through the opening
- 4. Add the right potting mix above the drainage material
- 5. Water thoroughly and confirm drainage
- Common Mistakes
- Frequently Asked Questions
- Is gravel really needed at the bottom of a planter?
- Should I put rocks or stones in the bottom of a planter?
- What is the best material to put over a planter drainage hole?
- How do I stop soil from coming out of the drainage hole?
- What can I put in the bottom of my planter without drainage holes?
- Conclusion
What You Need
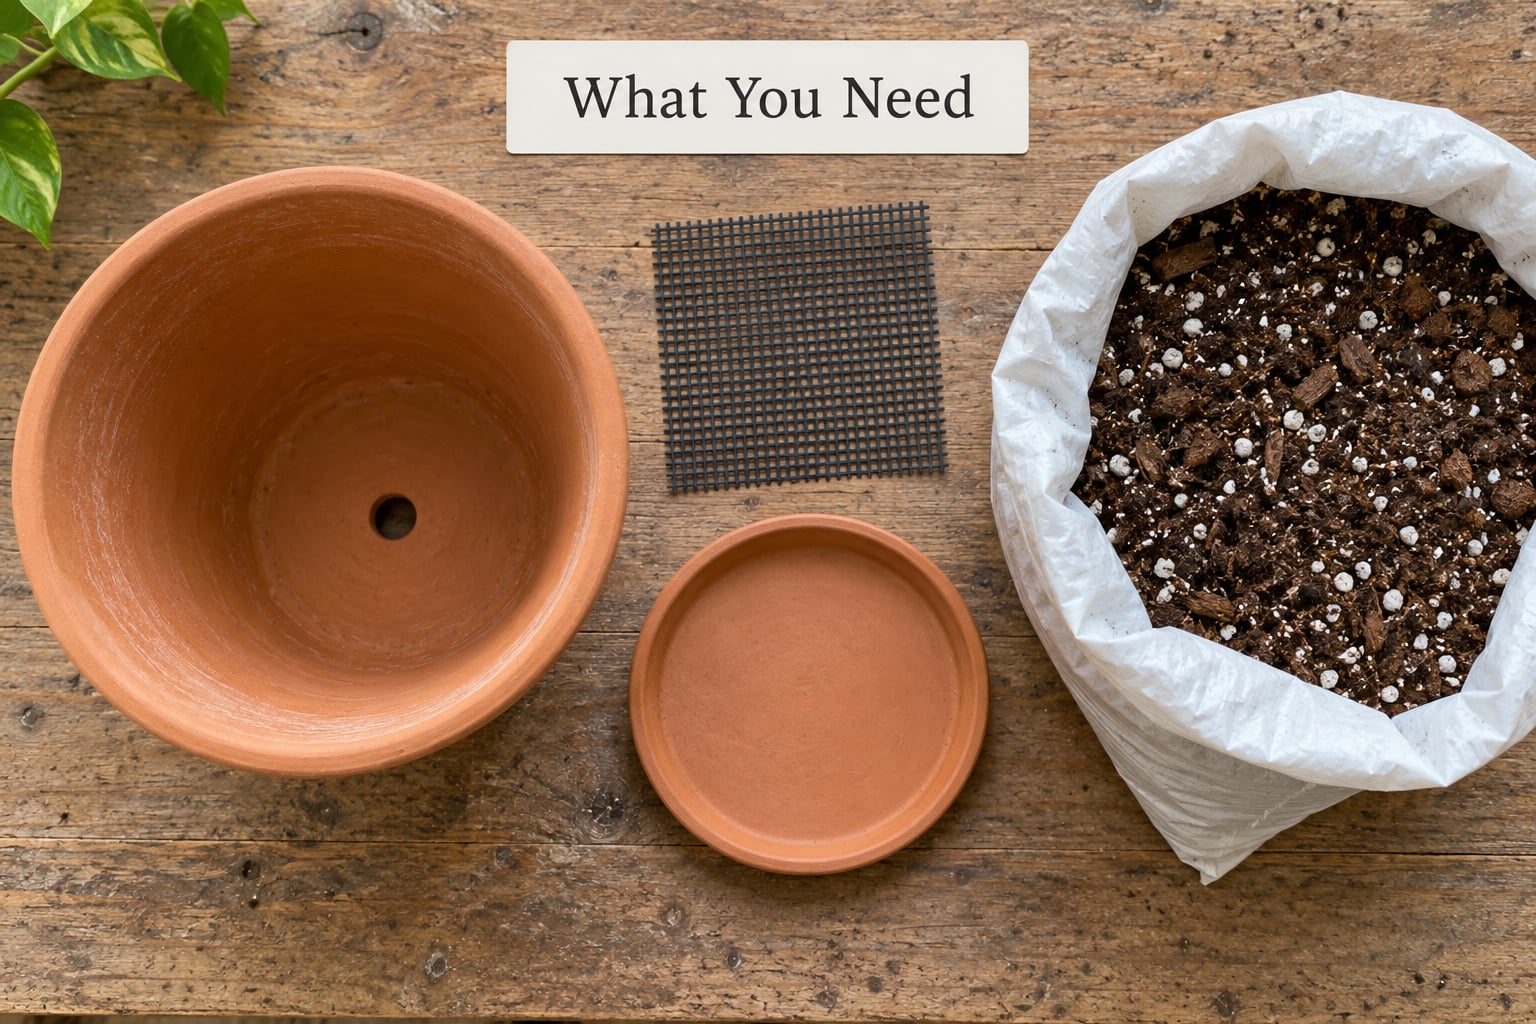
You need less than most tutorials suggest. A planter with an open drainage hole, a small piece of mesh or fabric, and a free-draining potting mix do the whole job. Everything else on this list is optional.
- A planter with at least one open hole. This matters more than any material you could add.
- A liner sized to the hole. Plastic mesh screen, weed cloth, geotextile, or one paper coffee filter.
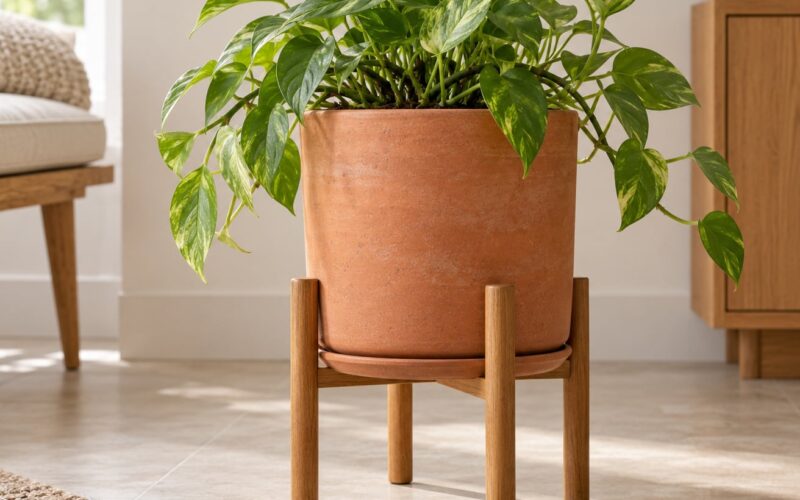
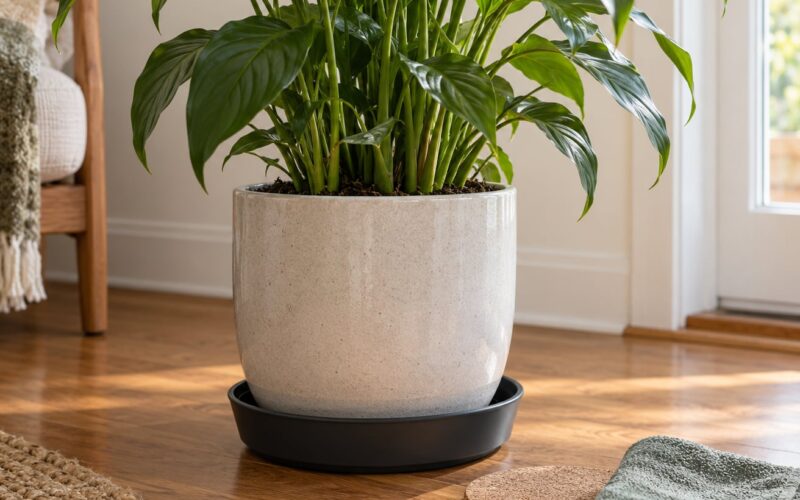
- Pot feet or a saucer. Pot feet hold the hole clear of the floor. A saucer catches runoff, and you empty it.
- Free-draining potting mix. A quality bagged mix, or your own blend with perlite or pumice mixed through the whole thing.
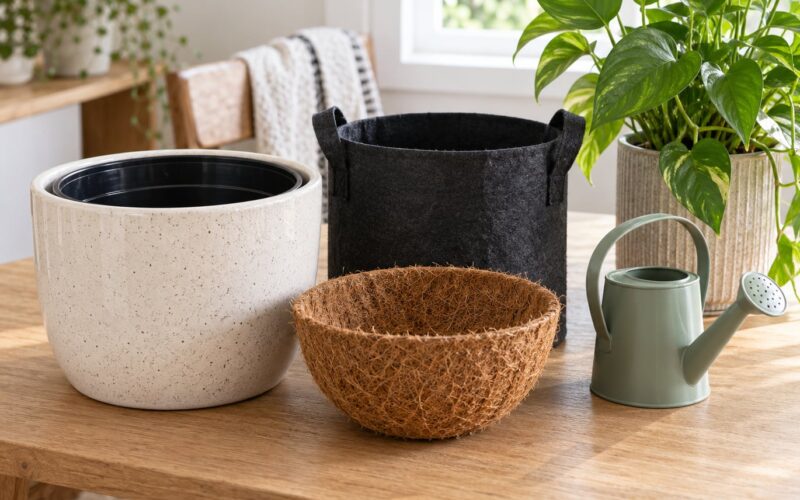
- Optional for large planters: packing peanuts, empty plastic bottles, or pool noodles cut into lengths, used as filler and ballast rather than as a drainage layer.
Here is how the common materials compare.
| Material | What it actually does | Best for | Avoid when |
|---|---|---|---|
| Plastic mesh screen | Holds fine mix back, lets water leave, will not biodegrade | Most pots, especially oversized or multiple holes | The hole is small and the mix is coarse; it is unnecessary work |
| Weed cloth or geotextile | Retains fine particles, survives years, cheap | Long-term plantings, large outdoor planters | It is folded or bunched into a wad that seals the opening |
| Paper coffee filter | Stops soil loss, breaks down into the mix in about a month | Small indoor houseplant pots, one hole | You stack many layers, or the plant is already prone to overwatering |
| Single pot shard | Covers a hole that is too wide, nothing more | Old terracotta pots with ragged holes | You think it is adding drainage. It is not |
| Pea gravel or river rock | Reduces root volume, raises the saturated zone toward the roots | Ballast in a tall planter, or a topdressing | You want drainage. This is the one to skip |
| Perlite or pumice mixed through the mix | Opens pore space so air reaches roots and water moves through | Every container, mixing at roughly a third by volume | Never. There is no good reason to leave these out |
| Packing peanuts or bottles | Fills dead space cheaply and adds weight | Large planters that are light or tip in wind | Small pots, or anything where root volume is already tight |
One table row is worth reading twice. Gravel is not drainage, and the next section explains why with physics rather than folklore.
What to Put in the Bottom of a Planter for Drainage, Step by Step
1. Check that the planter actually drains
Before you add anything, look at the bottom. Most containers have one hole, sometimes several, and the hole is usually fine. The problems show up in decorative cachepots and metal planters, which sometimes ship with no hole at all, or with a hole sealed by a rubber plug.
If there is no hole, do not try to build one by layering rocks on the base. That creates a perched water trap: water collects in the fine mix above the stone and has no fast exit. The practical fix is to use the planter as a cachepot. Put the plant in a nursery pot with drainage holes, set that pot inside the decorative one, and empty the outer pot after every watering.
2. Choose a drainage layer that supports the soil
The word layer does most of the damage here. A drainage layer is loose material added inside the base of a pot, and it is different from a liner, which covers the hole.
Water leaves soil through gravity, and it moves sideways through capillary pores. Fine potting mix has small pores that hold water against gravity. A layer of coarse stone under that fine mix creates a sharp boundary: the fine mix above it stays saturated longest, right at the bottom of the pot where roots are thickest. University extension services describe this as moving the saturated layer up toward the roots rather than letting it drain.
A 2025 peer-reviewed study softened the old absolute without rescuing the practice. Coarse drainage layers mostly reduced, or had no effect on, total water retention, with thicker layers and 2.5 inches of coarse sand performing best across 10 replicates. Two inches of stone in a 10 inch pot is a lot of dead space. The study measured water, not plant survival, so it settles how much water a layer holds and not whether a gravel planter is a good idea. The honest conclusion is still: skip it.
3. Keep potting mix from washing through the opening
This is the job that actually matters at the bottom of a pot. Loose mix escapes through drainage holes, and it stains the patio and clogs the hole over time.
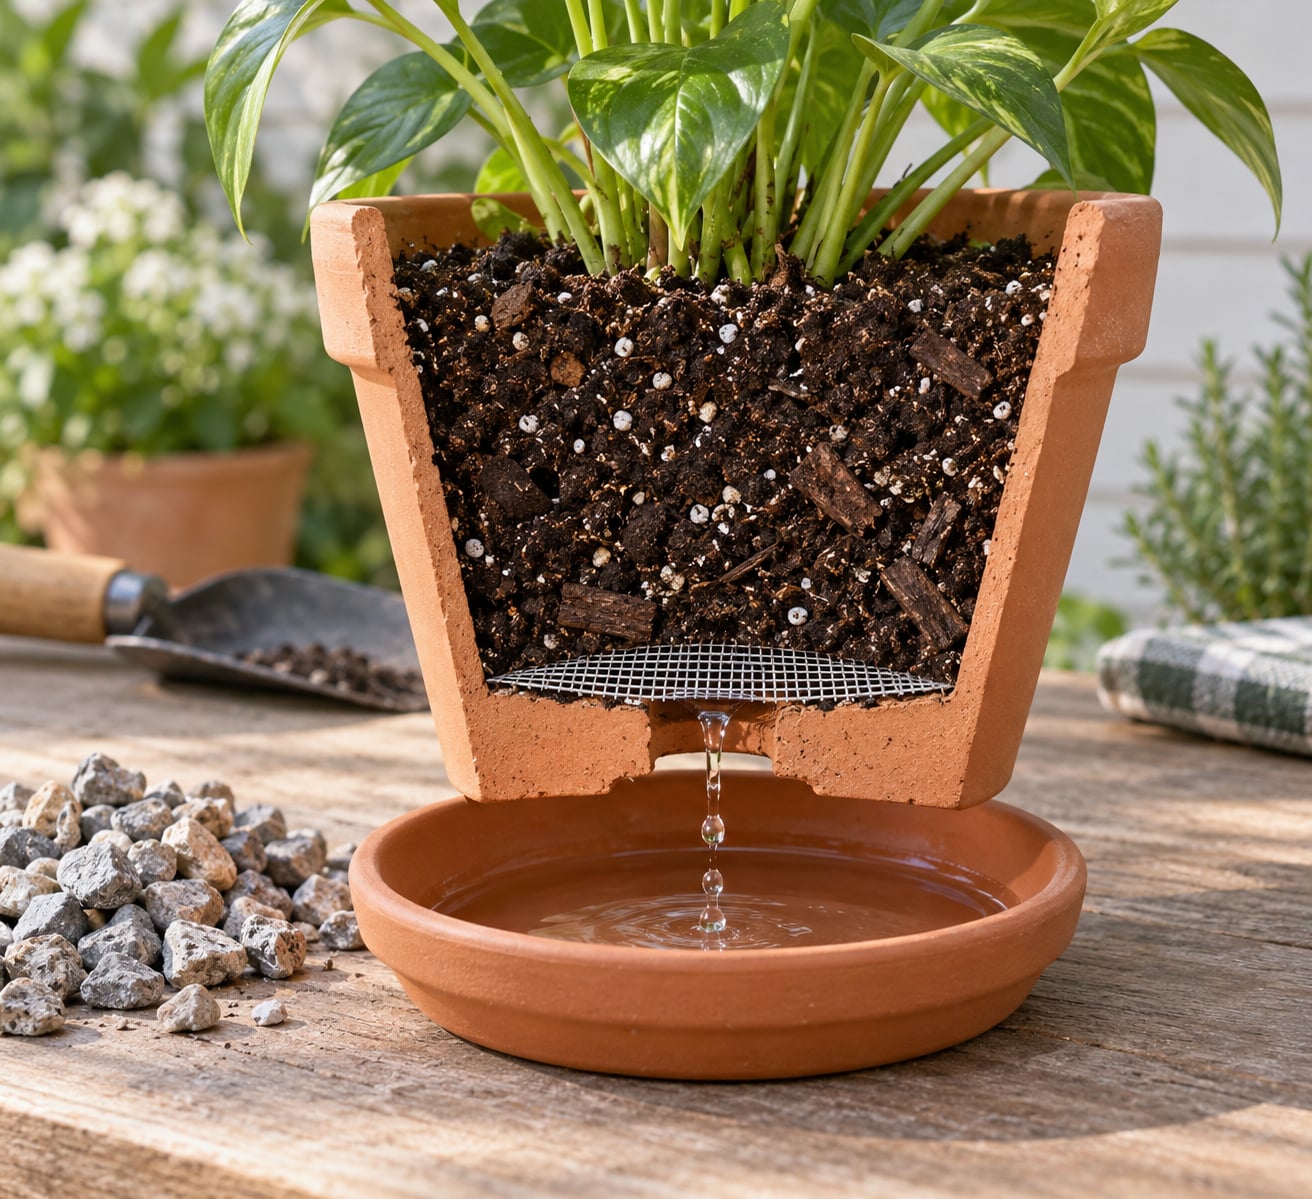
Cut one piece of plastic mesh screen or weed cloth to fit loosely over the opening. It should rest across the hole, not drop down into it, and it must not seal the opening shut. Check by pouring water into the empty pot before you add mix. Water should run out of the hole within a minute or two.
A paper coffee filter works for a small indoor pot with one small hole. One experiment log tracked three layers of used filters in a pot for four weeks: no soil loss, healthy roots, slightly longer moisture retention, and cleaner repotting later. The trade-off is that the filters biodegrade into the mix, and stacked paper adds resistance to outflow. Use one layer, not three, and never pack paper into the hole itself.
4. Add the right potting mix above the drainage material
Fill the pot so the plant sits at the same depth it was growing at, and leave a rim of space below the lip for watering. How much root space you give it depends on the plant, but the general rule for a planter under 12 inches deep is that the whole volume should be usable mix.
Do not use garden soil on its own. It compacts, and compacted mix holds water against gravity for long stretches. A bagged potting mix with perlite or pumice blended through the entire volume is the fix that plenty of growers report switching to after giving up on rocks. It takes a minute and it uses the full depth of the pot.
For succulents and cacti, cut the standard mix with extra coarse grit. For tropical houseplants, some growers pot in LECA alone, which is a coarse medium by design rather than a layer stuck at the bottom.
5. Water thoroughly and confirm drainage
Water the freshly planted pot until you see water running out of the hole, then stop. That first soak settles the mix and shows you whether the liner blocked anything.
After the pot has drained, tip out anything sitting in the saucer. Standing water in a saucer puts the hole back against a wet surface and undoes the whole setup. Lift the pot on pot feet so the outlet never presses flat against a deck board or a windowsill.
Signs your pot is not draining: the soil stays wet in the bottom third days after watering, a sour smell when you stick a finger in, leaves yellowing from the bottom up, or moss or algae on the soil surface. All four point at the same thing, which is a saturated root zone. Fix the mix and the hole, not the plant.
Common Mistakes
- Sealing the drainage hole. A wad of fabric, a stone, or a stuck-on cap closes the outlet. Fix: remove it, and if the hole is too big, use mesh that rests across the top instead of plugging it.
- Adding 2 inches of gravel. The most common mistake with container plants. It costs you root volume and pushes the wet zone upward. Fix: dump it out and refill with the full volume of amended mix.
- Using straight garden soil. It compacts and holds water in the lower half of the pot. Fix: use bagged potting mix with perlite or pumice mixed through.
- Leaving a full saucer. The hole seals against standing water and the base never dries. Fix: empty the saucer after each watering, or remove it in winter when growth slows.
- Taking indoor soil outdoors. Peat-heavy houseplant mix dries too fast in sun and wind, so it wets unevenly around the root ball. Fix: use a container mix suited to the spot, with extra coarse material in full sun.
- Filling a no-hole planter with rocks. A thick base of stone in a sealed pot is the textbook perched water table. Fix: use it as a cachepot with a draining pot inside, and empty it after watering.
For large planters that tip over in wind, filler is a legitimate use. Packing peanuts covered with weed cloth, empty plastic bottles, and cut pool noodles show up repeatedly on gardening forums as lightweight base fill in big outdoor containers. Treat all three as ballast and fill, not as drainage, and keep them well below the root zone.
Frequently Asked Questions
Is gravel really needed at the bottom of a planter?
No. Gravel does not change the structure of potting mix above it, and a thick layer creates a perched water table, a saturated band of soil that sits above the coarse material and right where roots are thickest. Recent peer-reviewed research found coarse layers mostly reduced or made no difference to water retention. If you want drainage, amend the mix with perlite or pumice through the whole volume instead.
Should I put rocks or stones in the bottom of a planter?
Only for weight, or as a topdressing, never to improve drainage. A few large stones in a decorative pot with no hole will not fix the problem, because water still pools in the mix above them. Some growers still use rocks for bottom weight in tall planters. That is a fair reason. Just do not expect drainage from it.
What is the best material to put over a planter drainage hole?
A small piece of plastic mesh screen is the most useful choice. It holds fine mix back while letting water leave, and it will not break down. Weed cloth or geotextile is a good longer-lasting alternative. Trim it to sit loosely across the opening, not inside it, and pour water through the empty pot first to confirm the hole still drains.
How do I stop soil from coming out of the drainage hole?
Use one thin layer of mesh or a purpose-made drainage screen resting over the hole, then add potting mix above it. Avoid plugging the hole with fabric, clay, stones, or a thick wad of material, because anything packed in blocks outflow and traps water. Test with water in the empty pot before you fill it.
What can I put in the bottom of my planter without drainage holes?
Nothing that tries to create drainage. Instead, treat the container as a cachepot. Set a nursery pot with drainage holes inside it, add potting mix and the plant to the inner pot, and pour out any water that collects in the outer one after each watering. Plants that tolerate a sealed pot, like orchids in LECA or moisture-loving ferns, also cope better this way.
Conclusion
Start by checking the hole, not the materials. Keep the drainage hole open, cover it loosely with mesh or a single coffee filter to hold the mix, fill the whole pot with a free-draining mix amended with perlite or pumice, and empty any standing water after you water. Rocks at the bottom cost you root space and make drainage worse, not better.