A planter liner is a secondary container that sits inside your decorative pot so the plant can live in a practical pot while still being displayed in a stylish one. The whole idea behind planter liners explained for indoor pots comes down to drainage, moisture control and protecting whatever the decorative pot is made of.
Most indoor decorative planters are ceramic, metal, wood or sealed plastic. They look good and they hold soil badly, which is exactly the problem a liner solves. Here is what each liner part does, which material suits which plant, and how to fit one without creating the standing water that causes root rot.
Last updated October 2026.
Table of Contents
- What Are Planters Liners and When Are They Useful?
- What a planter liner actually does
- Liner vs cachepot vs saucer
- When a liner helps and when it is unnecessary
- Planter Liners Explained for Indoor Pots: Types and Materials
- Which Liner Material Is Best for Your Indoor Plants?
- How Do You Measure an Indoor Pot for a Liner?
- How Do You Use a Planter Liner Without Causing Root Rot?
- Do Planter Liners Hold Water or Prevent Drainage?
- What Are the Main Planter Liner Mistakes?
- Frequently Asked Questions
- Do indoor planters always need a liner?
- What size planter liner should I use for an indoor pot?
- Should a planter liner have drainage holes?
- Are plastic planter liners bad for indoor plants?
- How often should I replace a planter liner?
- Can I use a liner for succulents or herbs?
- Conclusion
What Are Planters Liners and When Are They Useful?
What a planter liner actually does
Search for this thing and you will find a pile of names: planter liner, pot liner, liner pot, planter insert, pot insert, grow pot, nursery pot. They all describe the same object, a removable inner pot that holds the root ball and the soil.
A liner does five jobs. It keeps soil from washing out through holes, it protects ceramic glaze and metal from constant moisture, it catches runoff before it reaches your shelf, it lets you swap plants without destroying the display, and it gives you a pot you can actually lift out to repot.
The one job it cannot do is fix a plant that sits in water. A liner holds moisture whether you want it to or not, so drainage is the part you have to get right.
Liner vs cachepot vs saucer
This trips people up constantly, so here is the difference in plain terms. A cachepot is purely decorative, with no drainage function at all, and you are not supposed to water into it. A liner pot is functional, it holds the soil, and you water into it and drain it out. A saucer is the shallow dish under a pot that catches the runoff from the drainage holes.
A basic plastic grow pot dropped inside a decorative planter is the setup most indoor growers land on, and it works because the two pots do different jobs. The forum confusion between cachepots and liners is what causes a lot of accidental overwatering.
When a liner helps and when it is unnecessary
A liner earns its place when the decorative pot has no drainage, when the pot material reacts to water, when you want to move plants around often, or when the pot sits on wood, laminate or upholstery where water rings matter.
Skip the liner if your pot is a self-watering planter with its own reservoir, if the planter is a deep open-base outdoor style unit, or if the plant is happy in the soil it is already in. Adding a liner to a well-drained pot that already suits the plant just slows drainage down.
Planter Liners Explained for Indoor Pots: Types and Materials
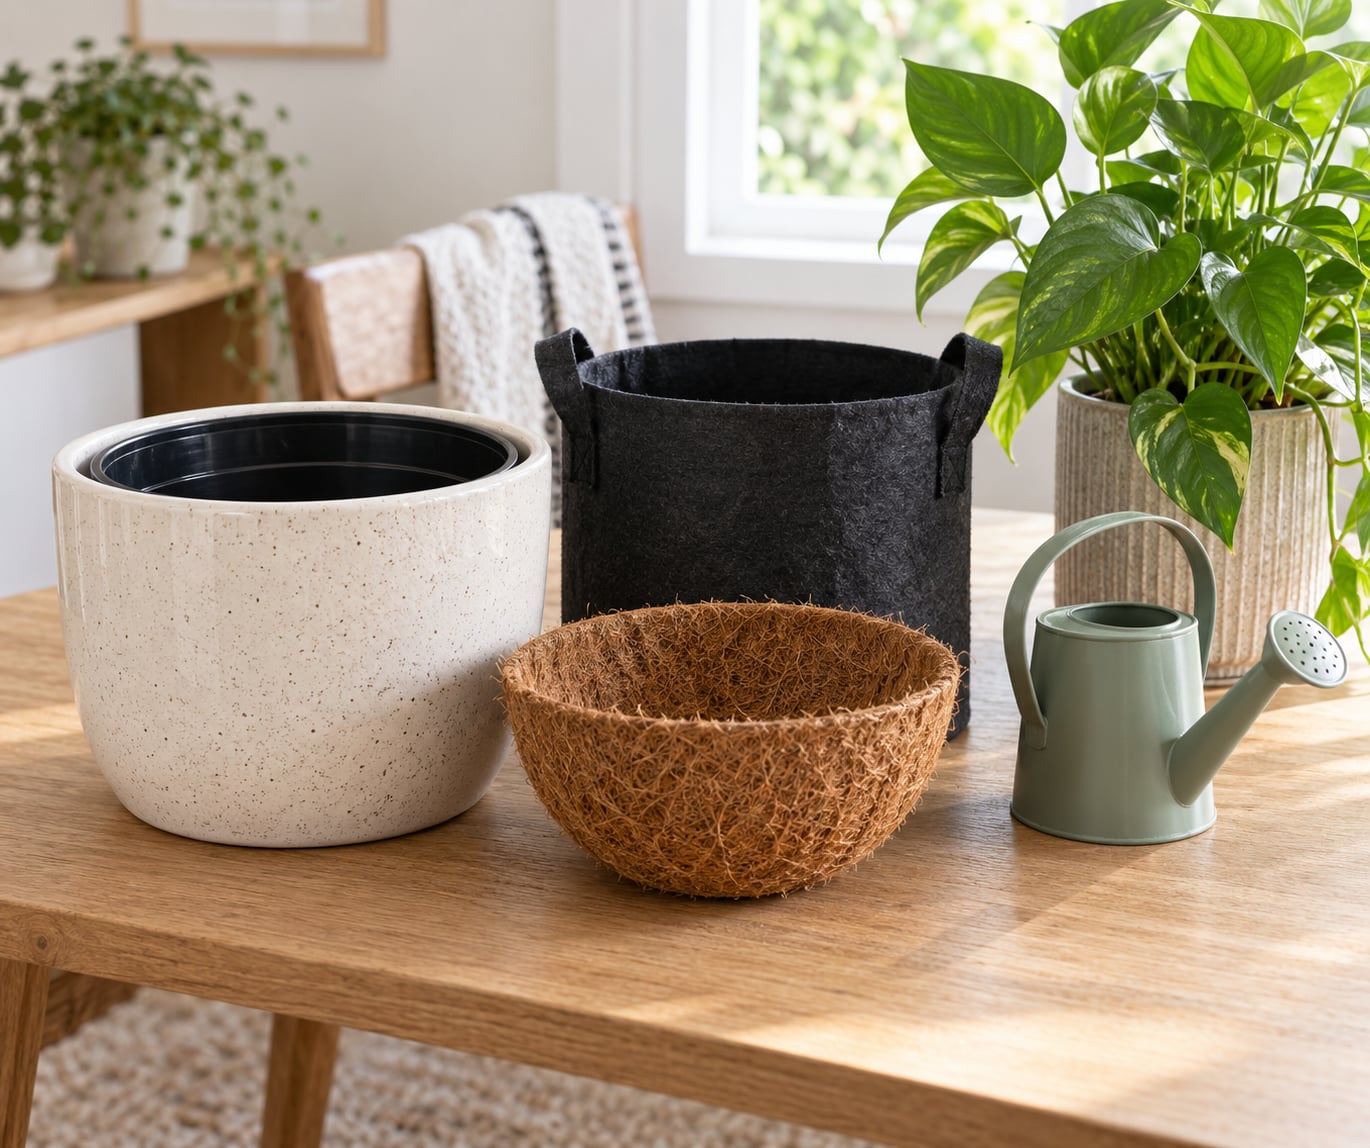
Every liner falls into one of a handful of material families, and each behaves differently with water. The comparison below covers the six you will actually run into indoors.
| Liner material | Moisture behaviour | Best for | Durability | Main limitation |
|---|---|---|---|---|
| Rigid plastic nursery pot | Watertight, drains only through its own holes | Most indoor plants, easy swaps | Lasts years, washable | Traps moisture if holes are blocked |
| Fabric or geo textile grow pot | Breathable, air prunes roots, dries faster | Herbs, veg, thirsty tropicals | Several seasons | Dries out fast in dry rooms, needs frequent watering |
| Coco fibre or coir liner | Semi-permeable, wicks and holds moisture | Hanging baskets, moisture-loving plants | One to two seasons, degrades | Can stay soggy at the bottom, must not sit in water |
| Molded fibre pulp pot | Semi-permeable, wicks from the sides | Nursery stock, temporary indoor use | One season, softens when wet | Not reusable, breaks down in constant moisture |
| Silicone or rubber insert | Flexible, cut to fit, usually waterproof | Awkward sizes, no-hole pots | Long lasting, washable | Offers no drainage on its own |
| Self-watering liner | Holds a reservoir, wicks up by capillary action | Forgetful waterers, low light corners | Long lasting | Roots can sit too wet if the wick is not set right |
That table is the whole decision in one view. Plastic is the safe default indoors, fabric dries too fast for most rooms, and anything wicking needs free air underneath it.
Which Liner Material Is Best for Your Indoor Plants?
Match the liner to the plant’s moisture appetite and to the room, not to the pot.
Low-light plants like pothos, snake plant and ZZ plant: a rigid plastic nursery pot with clear drainage holes. These plants suffer more from wet feet than from dry soil, so you want fast drainage and a rim gap that lets the soil surface breathe.
Tropicals such as monstera, calathea and ferns: plastic or fabric both work. Plastic keeps moisture steadier in a dry apartment, and fabric air prunes roots and adds oxygen, which most ferns appreciate. Watch them more often in fabric.
Succulents and cacti: smallest pot that will hold the roots, always with holes. A liner that stays damp for weeks is the one thing these plants cannot survive, so skip the wicking materials entirely.
Herbs on a kitchen windowsill: fabric grow pots, since they drain freely and dry evenly. A plastic liner indoors in a warm window can bake the mix solid between waterings.
Plants that want consistently moist soil: coco or coir, or a self-watering liner with a modest reservoir. Grouping several nursery pots into one large cachepot and topping with moss is a common trick for these, and it keeps each pot independently drainable.
How Do You Measure an Indoor Pot for a Liner?
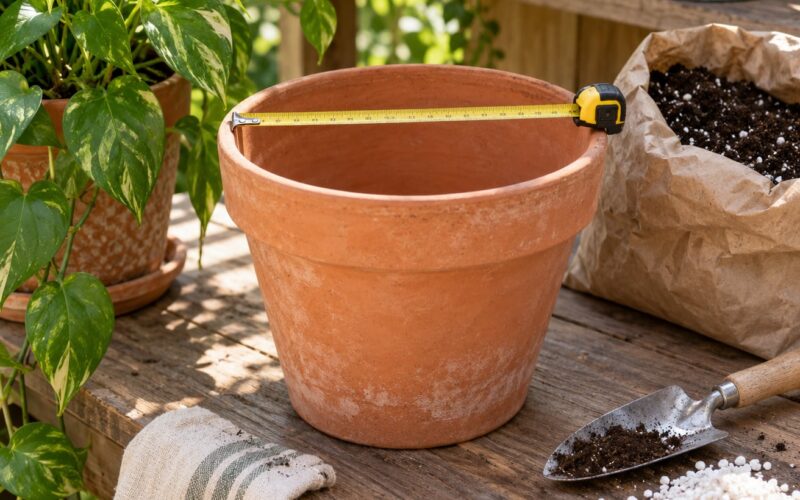
Measure four things before you buy anything: the inner diameter at the top, the inner depth, the number and size of drainage holes, and whether the rim flares or narrows.
For diameter, measure across the widest inner point near the rim, not the base. The liner should be roughly 2 to 5 cm smaller in diameter than the decorative pot so it drops in without wedging, and slightly shorter in depth.
Leave a 3 to 4 cm gap between the grow pot rim and the outer planter rim. That gap sets the finished height of the plant, and it is also the space you fill with clay pebbles, moss or extra soil to hide the liner edge. Fill it too shallow and the plant sits low; fill it flush and you cover soil that needs to dry.
If the pot tapers sharply, take the liner to the shop. A straight-sided liner in a tapered pot can sit on the rim instead of reaching the base, which is how standing water starts. If the decorative pot has no holes at all, treat the liner as the drainage system and make sure it has holes of its own.
How Do You Use a Planter Liner Without Causing Root Rot?
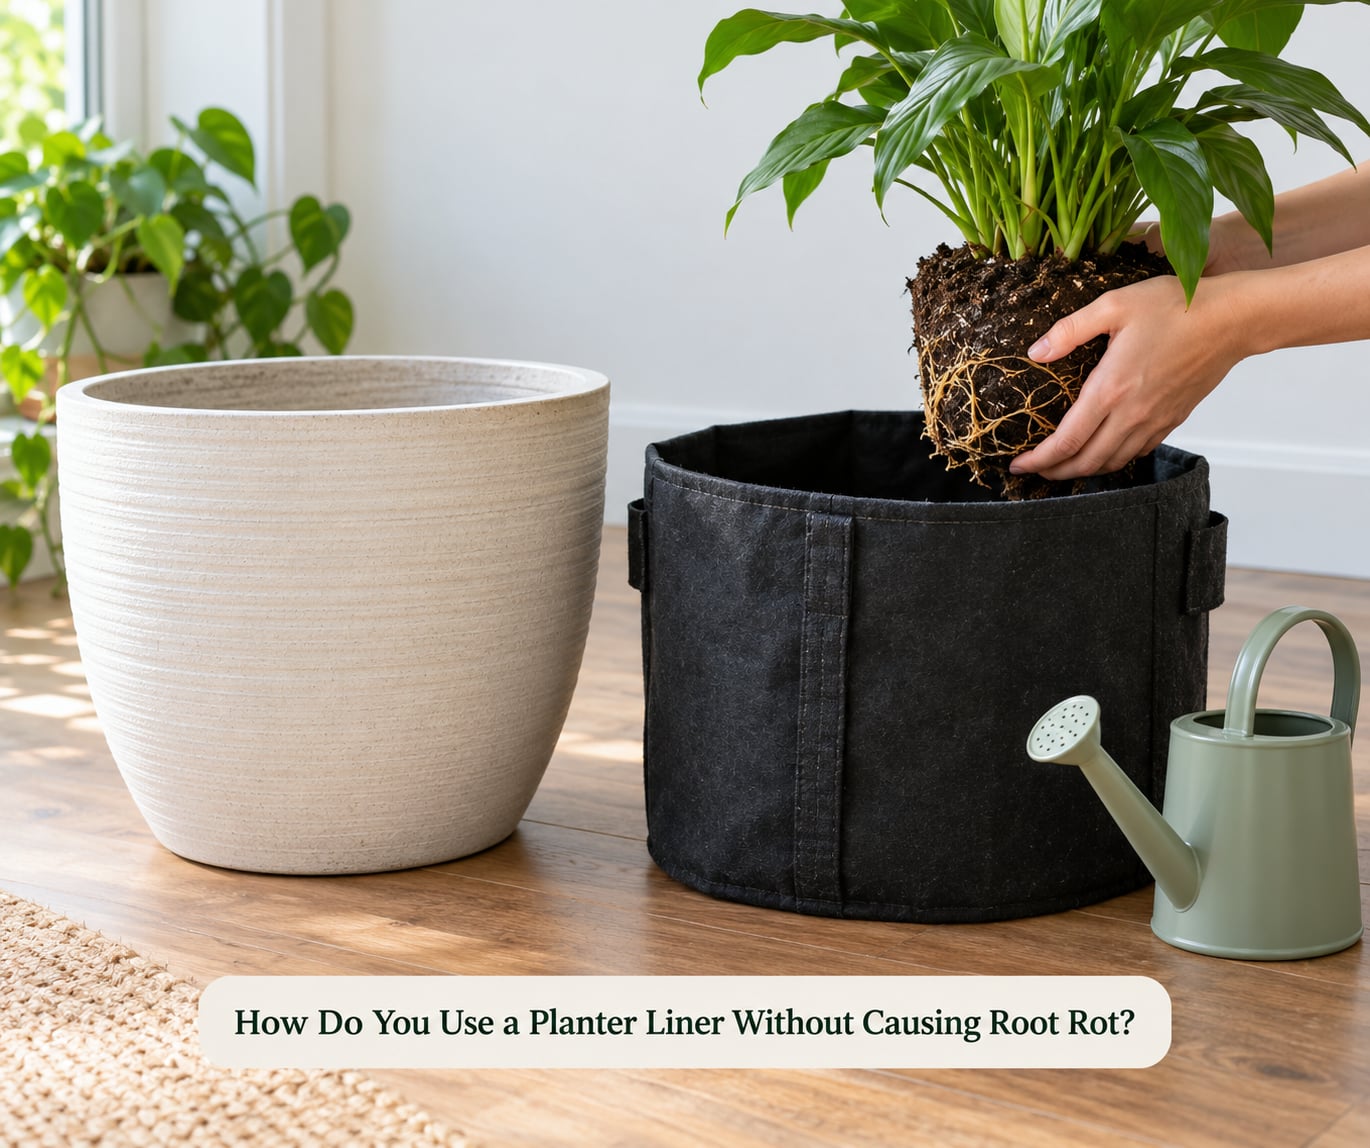
Work through these steps once and the whole setup behaves for years.
1. Check the liner’s holes. Hold it up to a light. Every hole must be clear, and blocked holes are the number one cause of root rot in liner setups.
2. Test the height first. Drop the liner into the empty decorative pot and measure the rim gap before you add any soil. Adjust with pebbles or a shim now rather than repotting later.
3. Pot the plant in the liner. Use fresh mix suited to the plant. Old mix that has been sitting in a liner carries salt and fertilizer buildup, and it compacts.
4. Set the liner in place. Push it down until it sits flat on the base of the decorative pot. Never let it perch on a mound of rocks, since that leaves a void where water collects.
5. Fill the gap. Pack clay pebbles, moss or extra mix around the liner up to the rim so nothing rocks and the liner edge disappears.
6. Water once to settle the soil. Water until it runs out of the liner holes, empty whatever collects in the outer pot, and check again ten minutes later.
7. Switch to a moisture meter. Once a plant is in a liner it dries slower than it did in an open nursery pot, so the old watering rhythm will overwater it. Check the top 5 cm before you pour.
For a pot with no drainage hole at all, there are three routes. Use a liner that drains freely and empty the outer pot after watering, drill a hole and add a saucer if the pot will take it, or drop the whole thing into a larger planted cachepot. What you avoid is a waterproof liner with no exit path, because that is standing water by design.
Do Planter Liners Hold Water or Prevent Drainage?
It depends entirely on the liner, and this is where most indoor plant problems start. Waterproof liners seal the soil in and hold moisture. Semi-permeable liners such as coir, coco and moulded pulp wick and hold water in their walls while still allowing air through. Drain-through liners, which includes standard plastic nursery pots and fabric grow pots, let excess water leave at the bottom.
Waterproof behaviour means you control every drop going in, which suits self-watering setups and grouped displays. It also means one missed empty-out and the whole root ball sits in water.
Semi-permeable behaviour keeps soil evenly moist with fewer waterings, which most people like for ferns and tropical foliage. The catch is that a coir liner sitting inside a solid decorative pot has nowhere to send what it wicks, so it stays saturated at the bottom.
Drain-through behaviour is the closest to how a plant grows outdoors. Soil dries from the surface down, air reaches the roots, and the liner needs an empty space beneath it to drain into.
Whichever type you use, check the bottom of the outer pot ten minutes after watering. If there is standing water in the cachepot, the liner is too tight, the holes are blocked, or you are watering too often.
What Are the Main Planter Liner Mistakes?
A liner that is too large. It rocks, tips, and leaves a wide empty ring that collects dust and debris. Fix: size the liner 2 to 5 cm narrower than the pot.
A liner that is too tight. This is the version that quietly causes trouble. Water has nowhere to go and roots suffocate, and the first sign is usually a plant that was fine until the liner swap. Fix: change it for a smaller liner with a proper rim gap.
Covering the drainage holes. Filling the base of the liner with pebbles does not improve drainage, and it raises the soil line so the lower volume never drains. Fix: skip the rocks, or use a thin layer only to separate the liner from standing water in a no-drainage pot.
Wrong moisture retention for the plant. Wicking liners in a dry apartment or plastic liners in a warm window both cause problems. Fix: match the liner to the plant’s appetite and check with a moisture meter rather than a schedule.
A shallow container for a deep-rooted plant. Roots pile up and circle in a pot with less depth than the plant needs. Fix: choose depth before diameter.
Reusing the old mix. Salt crust on liner walls and on the outer pot means fertilizer has been building up. Fix: refresh the mix at each repot and wipe the liner walls.
Forgetting that a no-hole pot still needs an exit. Waterproof liners in solid decorative pots grow mold and algae. Fix: empty the outer pot after every watering until you see the pattern change.
Frequently Asked Questions
Do indoor planters always need a liner?
No. A liner is needed when the decorative pot has no drainage, when its material is damaged by constant moisture, or when you want easy plant swaps. If you already have a pot that drains well and the plant is thriving in it, adding a liner only slows things down. Self-watering planters already have the inner container built in, so a second liner is redundant.
What size planter liner should I use for an indoor pot?
Choose a liner roughly 2 to 5 cm narrower in diameter than the decorative pot and a little shorter in depth, so it drops in without wedging. Leave a 3 to 4 cm gap between the grow pot rim and the outer rim, then fill that gap with clay pebbles, moss or extra mix. That gap sets the finished plant height and hides the liner edge.
Should a planter liner have drainage holes?
Yes, unless it is a self-watering design with its own reservoir. Holes in the liner are what let excess water leave the root ball and air reach the roots. If your decorative pot has no holes at all, the liner is doing all the drainage work, so check its holes every time you repot and never let the liner sit in a puddle.
Are plastic planter liners bad for indoor plants?
No, plastic is the standard indoor liner because it is cheap, washable and gives you precise control over moisture. The real issue is not the material but the fit. A plastic liner with clear holes and a rim gap behaves well for almost every houseplant. Problems show up when holes are blocked, the liner is too snug, or the watering rhythm is not adjusted after moving into it.
How often should I replace a planter liner?
Rigid plastic liners last years and only need replacing once they crack or stop draining. Fabric and coco liners usually last one to two seasons indoors as the fibres break down and hold too much moisture. Replace any liner showing a white salt crust, softening walls or algae, and refresh the potting mix each time you move a plant to a new liner.
Can I use a liner for succulents or herbs?
Yes, and succulents are better off in one with drainage holes so you can lift the whole plant out and check the soil. Herbs suit fabric grow pots, which drain freely and dry evenly on a warm windowsill. Avoid coir, coco and any wicking liner for succulents, since those materials stay damp far longer than a succulent can tolerate.
Conclusion
Start with the plant, not the accessory. Work out how wet it should stay, look at whether the decorative pot actually drains, then pick a liner that fits 2 to 5 cm smaller and leaves a 3 to 4 cm rim gap. Get those three things right and the rest of the setup takes ten minutes.
If the pot has no holes, use a liner that drains, empty the outer pot after every watering, and keep a moisture meter in the pot. That habit catches standing water long before a plant tells you about it.