Spider mites clear up in three to four weeks if you isolate the plant, wash the leaves, and spray the undersides with insecticidal soap or horticultural oil, then repeat the whole routine every 5 to 7 days. One treatment is never enough, because the eggs survive contact sprays and hatch after the plant already looks better. The full plan takes about 20 minutes on day one and 10 minutes each time after that.
Most infestations start the same way. A hot, dry windowsill, a plant that went dusty, or a new arrival from a garden center, and within a couple of weeks the leaves look sandblasted. Catching it early is the whole game.
Table of Contents
- What You Need
- Step-by-Step: How to Get Rid of Spider Mites on Indoor Plants
- 1. Check the Plant and Identify Spider Mites
- 2. Isolate the Infested Plant
- 3. Wash Mites and Webbing Away
- 4. Prune Heavily Damaged Foliage
- 5. Apply a Plant-Safe Treatment
- 6. Repeat Treatment and Monitor Recovery
- Common Mistakes
- Frequently Asked Questions
- Are spider mites the same as spider eggs on indoor plants?
- Can I use dish soap to kill spider mites on houseplants?
- How long does it take to get rid of spider mites indoors?
- What plants are most vulnerable to spider mites?
- Should I throw away a plant with spider mites?
- Conclusion
What You Need
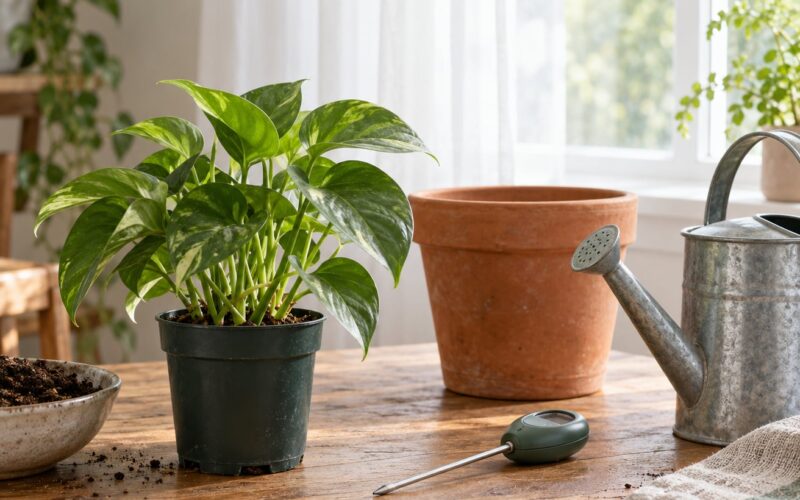
Most of this list is things you already own. Set it up before you treat, not halfway through, because you want the plant moved and washed in one session.
- A spot to isolate the plant: a bathroom, laundry room, garage, or even a corner of a room with no other houseplants nearby.
- A clear basin, sink, or shower stall where you can see the water running off the leaves.
- A soft cloth or sponge for leaf surfaces that bruise easily.
- A fine-mist plant mister for controlled coverage without soaking the soil.
- Clean pruning shears, plus 70% isopropyl alcohol for sterilising blades between plants.
- A magnifying glass or your phone camera, for leaf undersides and leaf-stem joints.
- Insecticidal soap or horticultural oil labelled for ornamental plants, or a product labelled for spider mites on houseplants.
- A clean tray, tarp, or plastic bag to catch mites knocked off during washing.
Read the product label before you buy, not after. Check that the plant is on the label or in the same plant group, and note any warnings about flowering plants, soft-leaved plants, or plants that are already drought-stressed. Anything that says do not apply above a certain temperature matters indoors too, because a sunny window can climb past that fast.
Step-by-Step: How to Get Rid of Spider Mites on Indoor Plants
1. Check the Plant and Identify Spider Mites
Spider mites are arachnids, not insects, and they are about 1/50 of an inch long. You will not see one clearly without magnification, so start with the damage, then confirm with a lens.
Look for fine pale stippling, hundreds of tiny dots giving the leaf a dusty or sandblasted look. Check for fine silk webbing, first in leaf-stem joints and later strung between stems. Leaves that curl, yellow, or take on a bronze or rust tone are all signs.
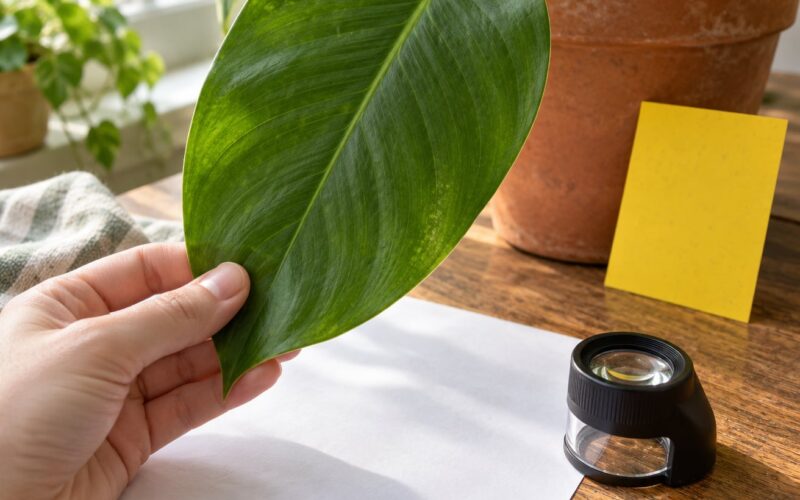
Then do this: hold a leaf over a white sheet of paper, tap the underside firmly with a pencil, and look for tiny moving dots. Under a 10x hand lens you may also see a faint rust streak when you crush a mite, which is plant fluid and body color mixing together.
Two things worth knowing before you panic. Thrips leave silvery streaks and black specks of frass instead of webbing, and edema or drought stress causes brown edges and crisping with no webbing and no moving dots anywhere. And yes, mites do live in potting mix: eggs and overwintering stages sit in the soil and on the surface, which is why the soil needs attention too.
2. Isolate the Infested Plant
Move the plant away from the rest of your collection before you do anything else. Mites spread by contact, by wind-borne silk in summer, and by riding along on your hands, sleeves, pruners, and the saucer the plant sits in.
Isolation means a separate room if you have one. If you do not, put the plant in a clear plastic bag or a bin with the lid cracked open for airflow, set on a surface you can wipe down, away from any other plants sharing that airspace.
Wash your hands and your tools after every contact with the plant until the infestation is over. I have seen a single plant get re-infested from a knife that went back into the drawer without being wiped.
3. Wash Mites and Webbing Away
Webbing is a physical barrier. Spray sits on top of it instead of reaching the mites underneath, so cleaning comes first and treatment second.
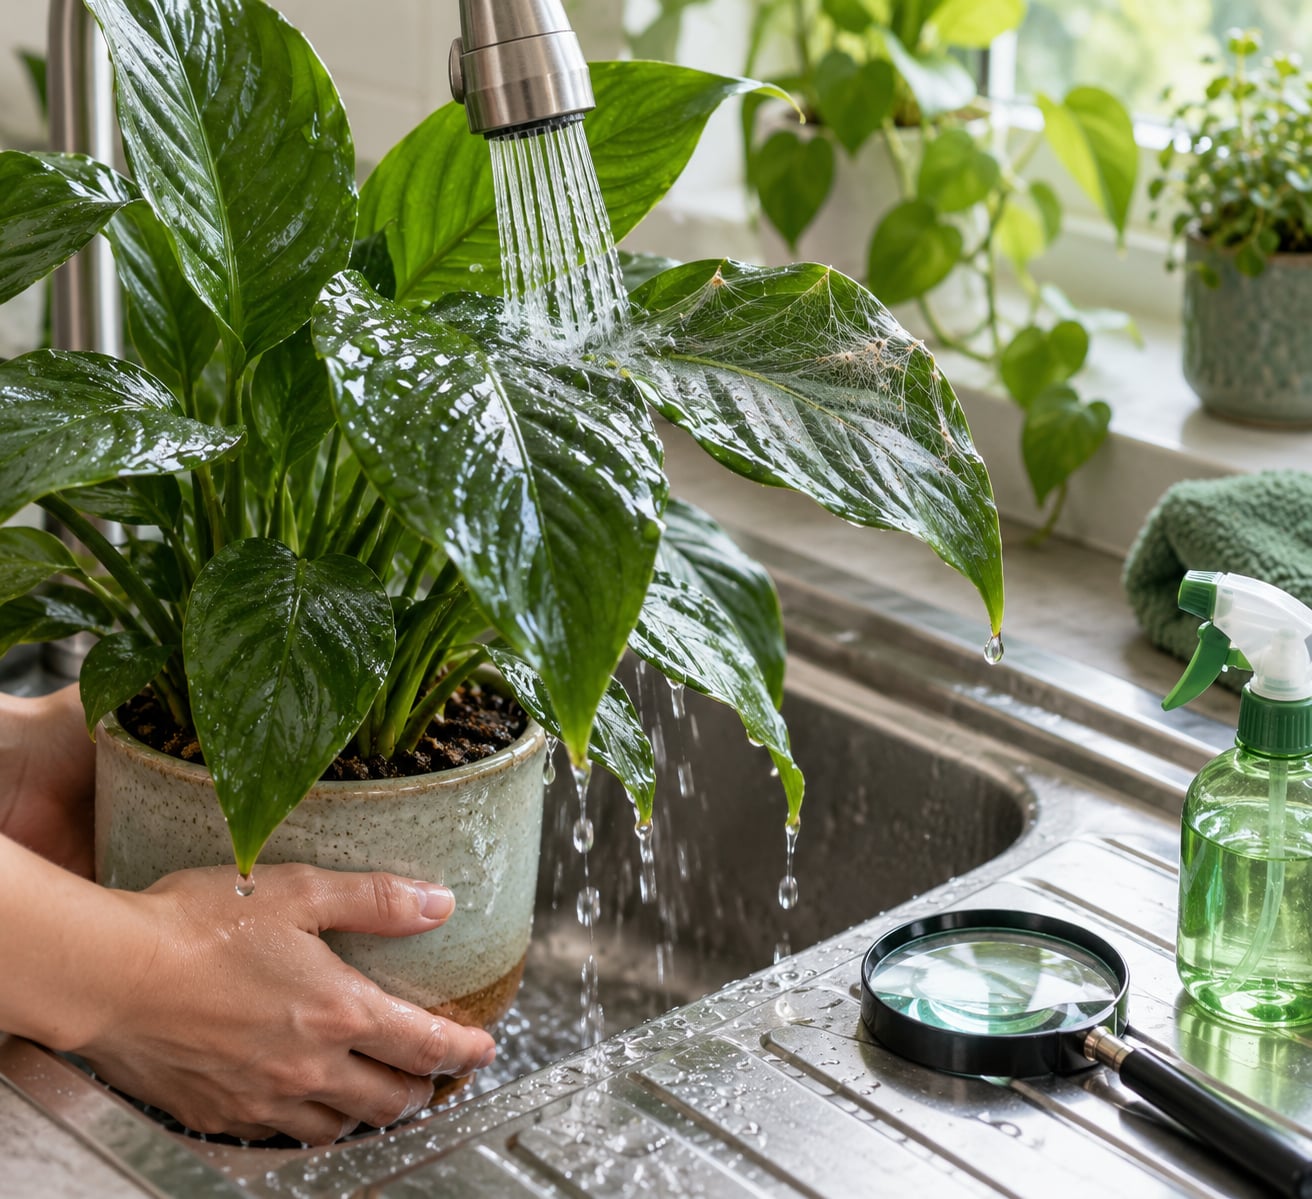
Put a tray or tarp under the plant, take it to the sink or shower, and run steady water over the foliage until everything is dripping. Support the pot with one hand so soil does not wash out. Pay attention to leaf undersides and the crotches where leaves meet stems, since that is where the colony sits.
For broad or hairy leaves, wipe with a soft damp sponge instead of soaking. Aim to clean the surface, not to soak the plant. A fine mist between passes helps lift eggs off the leaf.
When you are done, empty the tray outside rather than into the sink, check that the pot is draining freely, and empty any saucer. Waterlogged roots sitting next to a mite problem is a second problem you do not need.
4. Prune Heavily Damaged Foliage
Cut leaves that are more than roughly half brown, bronzed, or webbed together into a solid mat. Those leaves will not recover, and they keep sheltering mites close to the plant.
Wipe your shears with 70% alcohol before the first cut and between every plant. Then bag the cuttings and put them in the trash rather than the compost, where eggs could survive and find their way back to a pot later.
Minor stippling does not need pruning. Healthy green leaves with a few pale dots are worth keeping, since most houseplants handle losing a third of their foliage worse than they handle a small mite population. Resist the urge to bare the plant.
5. Apply a Plant-Safe Treatment
Follow the label. It tells you the dilution, which plants are cleared, how long to keep leaves wet, and how often to come back. Improvising a mixture is how people burn their plants.
Spray in the early morning or in the evening, in shade. Cool conditions slow mites down and give the spray time to work before it evaporates. Treat the undersides of every leaf, the stems, and the soil surface, and drip the product down into the pot rather than flooding it.
Leave the leaves wet for the contact time the label specifies, then let them dry out of direct sun. Hold off on treating a plant that is already wilted or drought-stressed, and test first on a leaf of a plant with soft foliage or showy flowers, such as an African violet or a begonia.
| Method | Dilution or form | Contact time | Reapply | Watch out for |
|---|---|---|---|---|
| Insecticidal soap | Ready to use, or label dilution | Wet and undisturbed until dry | Every 5 to 7 days | Rinse off if leaf looks dull or spotted after drying |
| Horticultural oil | Ready to use | Coat the leaf, then let it dry | Every 7 to 10 days | Do not apply in heat or to drought-stressed plants |
| Neem oil | Label dilution, usually with a little soap to spread | Wet until dry | Every 7 days | Strong smell for a day or two; do not improvise the ratio |
| Isopropyl alcohol and water | 50 to 70 percent alcohol in water | Spray until dripping, rinse an hour later | Every 3 to 5 days for a short burst | Test first; skip tender new growth and bloom |
| Water blast | Plain water | Until foliage is dripping | With every treatment round | Does very little alone once webbing is heavy |
Household dish soap is not on this list for a reason. The bug-killing ingredient in insecticidal soap is potassium salts of fatty acids, which is on the label. Dish soap is a surfactant with additives, and because it does not list a plant tolerance, it can strip the leaf coating and burn soft foliage. Some people use a very dilute batch with no additives and get away with it. I would not start there.
Around pets and small children, pick a product whose label explicitly allows indoor use, keep sprayed leaves out of reach until they have fully dried, and wipe down any surface a pet might walk across. Never spray an edible herb you plan to eat within the interval printed on the label.
6. Repeat Treatment and Monitor Recovery
This is the step people skip, and it is why the mites come back. Mites lay eggs that are resistant to most contact treatments. The spray kills what is crawling, the plant perks up, and then the eggs hatch into a fresh generation on a clean-looking plant.
Run this calendar:
| Timing | Action |
|---|---|
| Day 1 | Isolate, wash, prune, apply the first treatment |
| Day 3 | Inspect leaf undersides with a lens, note how many live mites you see |
| Day 5 to 7 | Wash again, reapply the same treatment |
| Day 10 | Inspect new growth, which mites prefer because it is tender |
| Day 14 | Wash and reapply |
| Day 21 | Wash and reapply, then check neighbouring plants closely |
| Day 28 | Final check. No new stippling, no new webbing, and no mites under the lens means it is over |
Signs of improvement are quiet ones. Fewer moving dots under the lens, webbing that no longer stretches between stems, leaves that stop bronzing, and new growth that comes in clean. Damaged leaves will not repair themselves, so judge by new growth, not by the old speckled foliage.
If you are three weeks into a schedule and the count is not falling, or webbing is matting leaves together at a pace you cannot keep up with, that is the point to get advice from a local plant specialist or a county extension service before you pour anything else on the plant.
Common Mistakes
Spraying only the top of the soil. Mites and their eggs sit on leaf undersides and in the potting mix, not on the surface. Treat the foliage and let the product run down into the pot.
Using whatever dish soap is under the sink. Unlabelled additives can burn leaves, and the dose that kills a mite can scorch a calathea. Use a product labelled for the plant, at the label dilution.
Treating in hot direct sun. A sunny window concentrates heat and sunlight on wet leaves, which scorches them fast and also makes oil products unsafe above their temperature limit. Work before sunrise or after sunset, out of direct light.
Isolating the plant after the mites have already spread. By the time you notice webbing, neighbours are often infested too. Check every plant in the room at the same time and treat any that show stippling at the same time.
Pruning away most of the plant. Heavy shearing on a stressed plant can finish the job the mites started. Cut only leaves that are badly damaged, and remove no more than about a third of the foliage at once.
Stopping once the leaves look better. Better-looking leaves mean the spray worked on the crawling stages, not that the eggs are gone. Keep the schedule running through day 28 before you declare victory.
Putting the plant back into the collection too soon. Hold it apart for another two weeks after the last treatment, and keep checking it with a hand lens. Quarantine is what stops the cycle from restarting every month.
Frequently Asked Questions
Are spider mites the same as spider eggs on indoor plants?
No. Spider mites are tiny arachnids, about 1/50 of an inch long, and you can often see them moving on leaf undersides. Their eggs are much smaller, round, translucent, and usually sit near leaf veins, webbing, and stem joints. Eggs are also the reason one spray never clears an infestation, since most contact treatments do not penetrate them. Treat for both by repeating the full routine every 5 to 7 days for 3 to 4 weeks.
Can I use dish soap to kill spider mites on houseplants?
It depends on what is in it. Insecticidal soap works because its active ingredient is potassium salts of fatty acids, listed on the label at a tested dilution. Ordinary dish detergent is not labelled for plants, and its additives plus its surfactants can strip the protective leaf coating and burn tender foliage. If you want a soap treatment, use a product labelled for ornamental plants and follow its dilution. Test one leaf first, then wait a day to see how it responds.
How long does it take to get rid of spider mites indoors?
Plan on three to four weeks, and that assumes you follow the repeat schedule rather than treating once. The first treatment kills most crawling mites within days, so the plant looks better, but resistant eggs hatch over the following week or so. Keeping up applications every 5 to 7 days breaks the cycle. Clear signs are no new stippling, no new webbing, and no live mites under a hand lens on new growth at the four-week mark.
What plants are most vulnerable to spider mites?
Broad-leaved, soft-leaved plants draw the most attention, especially calathea and prayer plants, palms, ficus including rubber plants, pothos, and anything with fine leaf texture such as ferns. Plants sitting in hot, dry, sunny windows are far more exposed than those on a cooler shelf, because mites thrive in warm, low-humidity air. Newly purchased plants and plants just brought in from a porch or garden are the most common way an infestation starts indoors.
Should I throw away a plant with spider mites?
Usually not. If the stems are still firm and green and there is healthy foliage left, spider mites are a treatment problem, not a death sentence, and most plants recover once the cycle is broken. Bag the plant, isolate it, and follow the schedule before deciding. Discard it instead if the stems are mushy or the plant is a cheap, widely available filler specimen you would not mind replacing, or if the infestation is severe enough that treating it risks spreading mites through the rest of the collection.
Conclusion
If you do one thing tonight, move the plant away from the others and check the leaf undersides with a hand lens. If you can see the mites, wash the foliage to dripping, prune only the badly damaged leaves, and apply a labelled insecticidal soap or horticultural oil to the undersides, the stems, and the soil.
Then keep going. Re-treat every 5 to 7 days for three to four weeks, and watch new growth and the neighbouring plants until you are past the point where a hidden egg could restart the whole thing.