Concrete planter DIY for beginners comes down to one trick: wet cement mix, a large container, and a smaller container pushed into the middle. The gap between them becomes your pot. You need about 45 minutes of active work, then 24 hours before you can pull the inner mold out, and roughly a week of drying before anything gets planted.
This guide walks the whole process, from choosing a mold you already own to sealing the finished pot for outdoor use. No masonry experience, no power tools, and no specialty shop required. If you have ever mixed filler in a bucket, you already have the skill set.
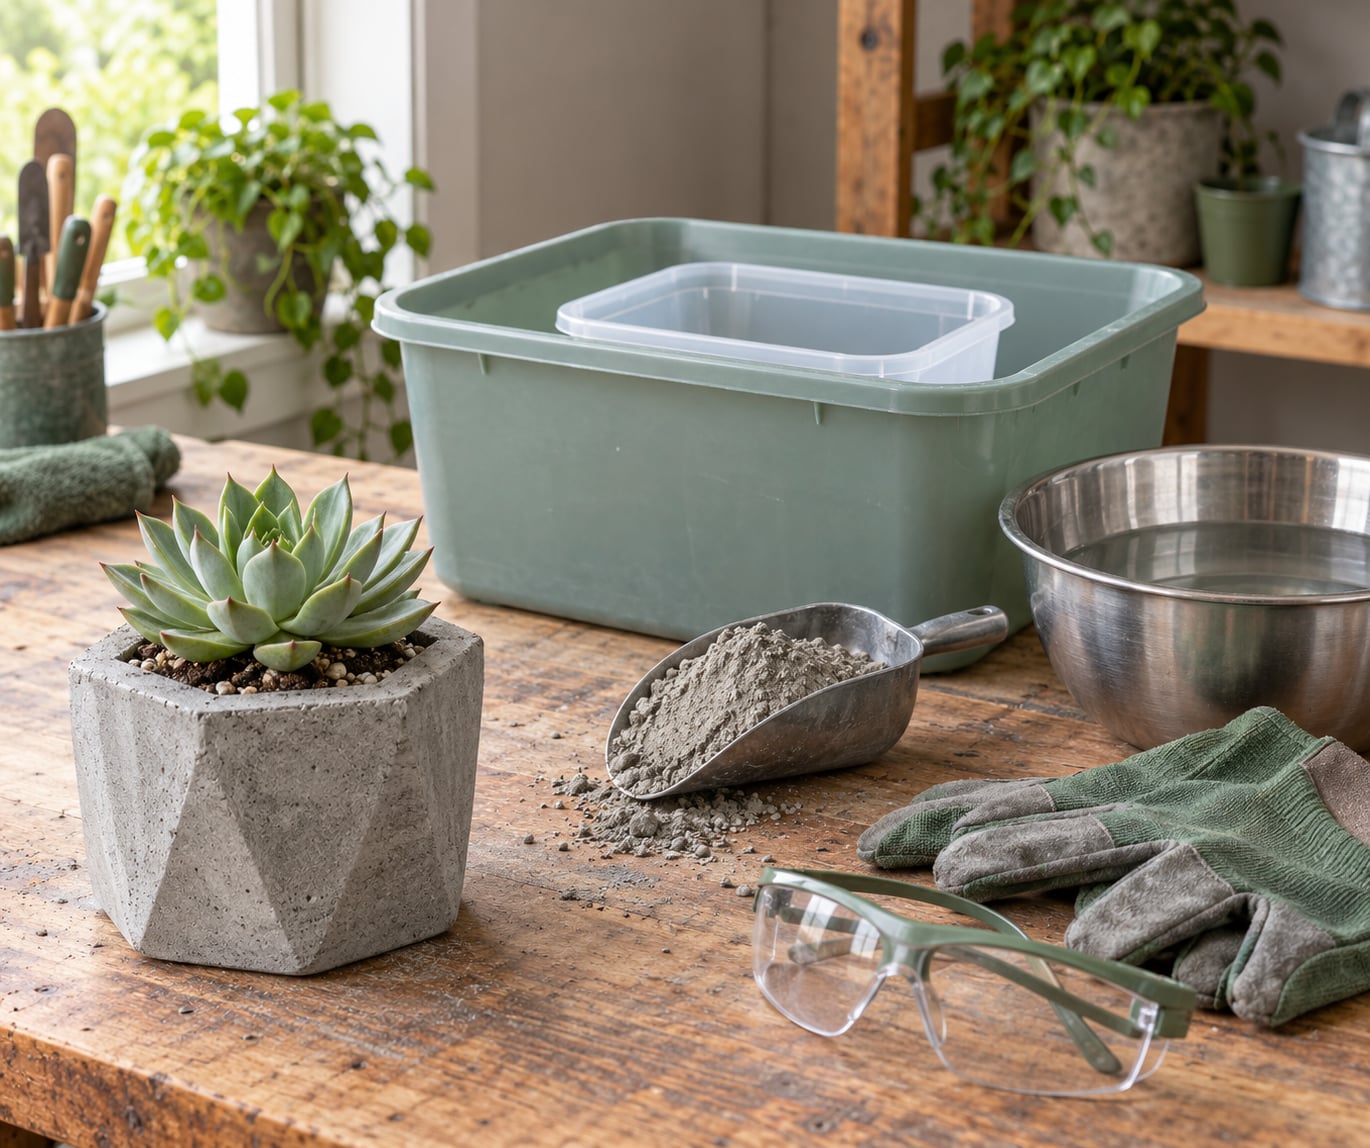
Concrete dust and wet cement are both irritating to lungs and skin, so work outdoors or in a well-ventilated space with a dust mask, gloves, and eye protection before you open the bag.
Table of Contents
- What You Need
- Choosing the right concrete mix for a home planter
- Step-by-Step
- Step 1: Choose a Simple Mold
- Step 2: Mix the Concrete
- Step 3: Pour and Shape the Planter
- Step 4: Cure and Demold
- Step 5: Add Drainage and Finish
- Common Mistakes
- Frequently Asked Questions
- What is the easiest way to make a concrete planter for beginners?
- Do I need to seal a concrete planter before putting plants in it?
- How long should a DIY concrete planter cure before use?
- Can I make concrete planters outdoors in cold weather?
- What type of concrete mix is best for a home planter?
- How do I make drainage holes in a concrete planter?
- Conclusion
What You Need
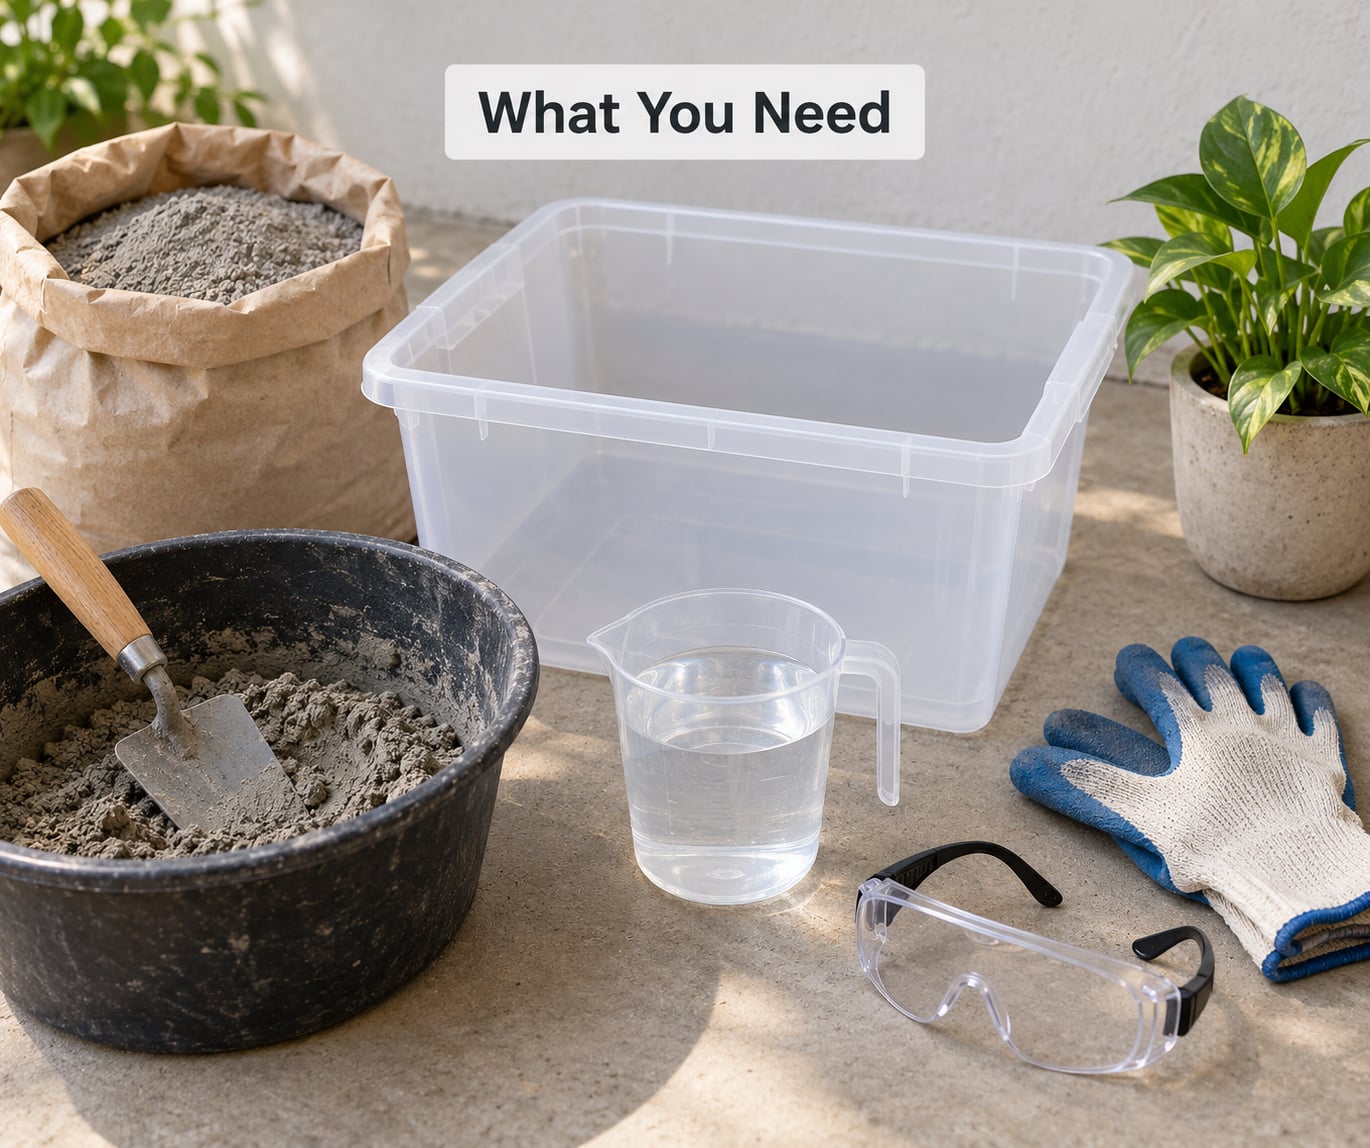
The list is shorter than most craft projects, and most items are things you already have in a kitchen drawer or a recycling pile.
| Item | Why you need it |
|---|---|
| Quick-set concrete mix | Sets in about 20 to 40 minutes, so a beginner is not waiting hours for a pour to firm up |
| Two plastic containers | The larger one is the outer mold, the smaller one forms the inside cavity |
| Mold release | Cooking spray, vegetable oil, or petroleum jelly keeps the pot from bonding to plastic |
| Water and a scoop | For measuring and mixing; a spoon works for small pots |
| Drop cloth or plastic sheeting | Concrete splashes, and dried splashes are miserable to scrape off a table |
| Straw or chopstick | Stands in for the drainage hole while the pot sets |
| Safety glasses, dust mask, gloves | Non-negotiable — cement dust and wet mix are both harsh on skin and lungs |
| Fine sandpaper and a concrete sealer | Smooth the rim after demolding and seal the finished pot |
Choosing the right concrete mix for a home planter
Quick-set concrete or a standard Portland cement blend both work. Quick-set is the better pick for a first project because it firms up fast, which means less settling and fewer bubbles against the wall of the mold.
A standard 10-pound bag covers roughly a 6-inch square pot with walls about three-quarters of an inch thick. Buy one bag before you start and only mix what you can pour in 5 minutes — mixed concrete will not wait.
Step-by-Step
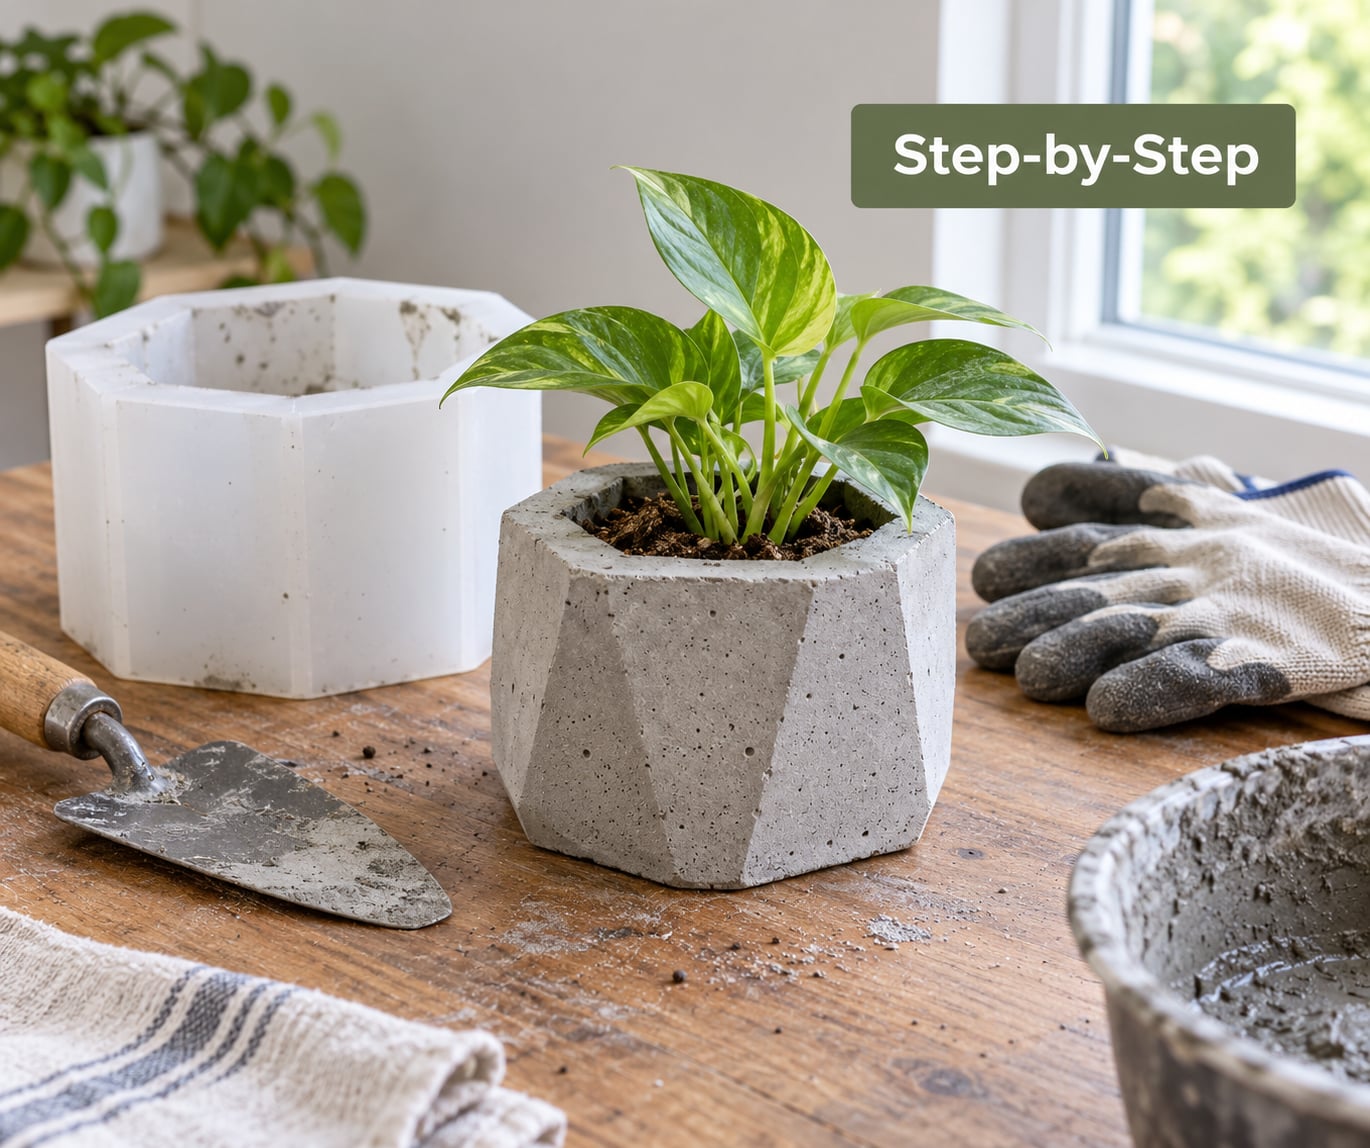
Step 1: Choose a Simple Mold
Pick an outer container and an inner container where the inner one is narrower by about an inch and a half on every side. That gap becomes your wall thickness, and it needs to be thick enough that the pot holds together when you lift it.
A 6-inch plastic nursery pot inside a 9-inch plastic pot gives roughly a 1.5-inch wall, which is plenty. Avoid thin, brittle containers — yogurt tubs and foam take-off bowls break apart mid-pour. Flexible silicone molds work well if you want to cast the same planter repeatedly, but for a first build, two thrifted plastic containers cost nothing and teach you everything.
Thicker walls, heavier pot. That is the trade every beginner discovers eventually.
| Planter size | Minimum wall | Approximate finished weight |
|---|---|---|
| 4 to 6 inch tabletop | 1/2 inch | 3 to 5 pounds |
| 8 to 10 inch | 3/4 inch | 12 to 18 pounds |
| 12 to 16 inch | 1 inch or thicker | 30 to 45 pounds |
Step 2: Mix the Concrete
Pour the dry mix into a bowl or a second tub, add water a little at a time, and stir until it looks like thick pancake batter. It should hold its shape when you drag the spoon across the surface but still slump slowly on its own. If it runs off the spoon like milk, add more powder.
Too much water is the single most common beginner error. A runny mix makes a porous, weak pot that chips at the rim, and it shrinks more while curing, which invites cracks. Stop at the batter stage.
Sift the powder through a mesh strainer first if the bag has lumps. It costs a minute and keeps a half pebble from showing up in the wall of the pot.
Step 3: Pour and Shape the Planter
Coat the inside of both containers with cooking spray, vegetable oil, or a thin layer of petroleum jelly. Push a straw or chopstick through the hole in the bottom of the outer container and tape it upright — that is your drainage hole, formed for free.
Pour the mix in, filling the outer container about two-thirds full. Tap the sides firmly with the back of a spoon or a rubber mallet for 30 seconds so trapped air rises and pops out. Then press the inner container straight down into the center, twisting slightly as it goes, and let the excess concrete squeeze up around it.
Scrape that overflow level with the rim of the outer mold using a straight edge or a piece of cardboard. Wipe the inside wall of the outer container clean before the mix sets, because that surface becomes the pot’s outer wall. Your cue that it worked: the seam where the two containers meet is even all the way around.
For a larger planter, hollowing the center helps a lot. Fill the inside of the inner mold with cardboard, a smaller tub, or a couple of bricks before you place it, and you cut weight without weakening the walls.
Step 4: Cure and Demold
Cover the mold loosely with plastic sheeting or a cardboard box so dust settles on it and nothing touches the surface. Leave it somewhere sheltered for at least 24 hours.
Pull the inner container out at the 24-hour mark while the pot is still soft — it should release with a firm tug or a light tap around the rim. If it grips hard, wait another few hours rather than levering, because that is how rims chip.
Then let the pot cure where it sits. It firms up fully over about 7 days and reaches most of its strength at 28 days. That gap matters: a pot you move at day two can crack from its own flexing.
Step 5: Add Drainage and Finish
If you used the straw trick, twist it out and brush away the crumbs. To drill a hole after curing, use a masonry bit a size smaller than the straw, start on a scrap board to knock off the outer dust, then work into the base at a slow speed with light pressure and water cooling it. A hole that is slightly undersized drains fine and cracks less.
Sand the rim with 120- to 180-grit paper, moving in one direction and rinsing often. Then seal with a penetrating concrete sealer if the pot will live outside, which keeps water from carrying salt deposits to the surface and slows freeze-thaw damage.
Before planting, soak the pot in water for an hour or two and rinse it. Fresh concrete is alkaline, and that leaching is what burns the roots of acid-loving plants. Acid-loving plants like blueberries, azaleas, and camellias really do want a plastic nursery pot dropped inside the shell with a few drainage slits cut in its base. Succulents, snake plants, and most herbs tolerate raw concrete with a rinse and a sealer.
Common Mistakes
Almost every first-project failure traces back to one of five things. Here is what it looks like and what to do about it.
| What you see | Why it happened | The fix |
|---|---|---|
| Pitting and air bubbles on the surface | Concrete was poured without settling and trapped air stayed put | Tap the mold hard for 30 seconds after pouring, and vibrate it as it sets |
| Cracks running through the wall | Too much water in the mix, or the pot was moved before it cured | Hold the batter consistency and leave the pot alone for 7 days |
| The inner mold will not budge | No release agent, or the concrete set harder than expected | Coat both containers next time; this time, cut the inner container away with a utility knife |
| Chipped rim after demolding | Levered the pot out too early or pried against the edge | Pull straight up at 24 hours and sand the rim smooth afterward |
| White powdery streaks later on | Efflorescence — salts moving through the concrete as water evaporates | Brush it off dry or rinse it; it is cosmetic and not a sign of failure |
| Water sits in the bottom forever | No drainage hole, or one that was sealed during finishing | Form a hole with a straw before pouring, and keep the sealer off the opening |
A cracked pot is usually still usable. If the crack runs through the base and not a wall, set the pot on a shallow saucer and let excess water drain away. If the wall is split, glue is a five-minute fix that keeps the soil in, not a forever fix.
Work outside if you can. It keeps the dust down, gives wet concrete somewhere to splash that you do not care about, and means nobody has to inhale the powder.
Frequently Asked Questions
What is the easiest way to make a concrete planter for beginners?
Nest two plastic containers of different sizes, coat both with cooking spray, then pour quick-set concrete mix into the larger one and push the smaller one into the center. That gap becomes the wall. Cover it, wait 24 hours, pull the inner container out, and let the pot cure for a week. No special tools, no woodworking, and the mold is something you already own.
Do I need to seal a concrete planter before putting plants in it?
Sealing is recommended, especially outdoors. A penetrating concrete sealer stops water carrying salt deposits to the surface and slows freeze-thaw cracking. Indoors on a tabletop, a rinse and a soak is usually enough. Either way, soak and rinse the pot first, because fresh concrete leaches alkaline and can burn roots.
How long should a DIY concrete planter cure before use?
Pull the inner mold out at 24 hours, when the concrete is still soft enough to release without chipping the rim. Let the pot cure where it sits for about 7 days before planting, and expect full strength around 28 days. The pot can be handled gently at 48 to 72 hours, but moving it earlier is the most common reason it snaps.
Can I make concrete planters outdoors in cold weather?
Not below about 50°F or 10°C. Cold slows the set dramatically, and if the pot freezes within the first 24 hours the bond between powder and water breaks down, leaving a crumbly, weak planter. Warm days above 50°F are fine as long as the pot is covered overnight and no frost lands on it while it sets.
What type of concrete mix is best for a home planter?
Quick-set concrete is the easiest for beginners because it firms up in 20 to 40 minutes, which cuts settling and surface bubbles. Standard Portland cement mix works too and costs less per bag, but it needs longer to set and is more forgiving of thin walls. A 10-pound bag covers roughly a 6-inch pot with walls about three-quarters of an inch thick.
How do I make drainage holes in a concrete planter?
The easiest method happens during the pour. Push a straw or chopstick through a hole in the bottom of the outer mold, stand it upright with tape, and fill around it. Twist it out after the pot cures. For a hole added later, drill with a masonry bit a size smaller than the straw, starting on a scrap board and using light pressure with water cooling it.
Conclusion
Start with the smallest version of this project you can think of — a 6-inch pot from two thrifted plastic containers, one bag of quick-set mix, and an hour on a Saturday. Get the mold, mix to a thick pancake batter, and give the pot the full week of curing before you plant anything in it.
Once you have one under your belt, the second one gets easier: thicker walls, a drainage hole formed properly, maybe a coat of paint. That is the whole progression, and it costs almost nothing to start.