Wood rot is fungal decay, and a planter gets it when the wood stays damp long enough for fungi to break down the cellulose. To protect a wood planter from rot you need to attack four things: standing water, soil-to-wood contact, damp seams and corners, and trapped moisture under the box. Most of the work is a couple of hours on a dry weekend.
Sealant helps, but on its own it loses. Water finds the gaps first, then works back into the board. I would rather spend an hour on drainage and a raised base than three evenings brushing on finish that peels off by August.
Below is the order I would work in, whether you are rescuing a planter that is already going soft or protecting a new one before you plant it.
Table of Contents
- What You Need
- Step-by-Step
- How to Inspect the Planter for Early Rot
- How to Improve Drainage and Prevent Standing Water
- How to Clean and Dry the Wood Properly
- How to Repair Damaged Wood Before It Rotts
- How to Protect a Wood Planter From Rot: Sealing the Wood
- How to Maintain the Protection Over Time
- Common Mistakes
- Tips for Different Wood Types and Climates
- Frequently Asked Questions
- How do you keep wooden planters from rotting?
- Should I line my wooden planter with plastic?
- What sealer is safe for edible garden planters?
- How do I know if my wooden planter is already rotted?
- What to put in the bottom of a wooden planter box?
- Conclusion
What You Need
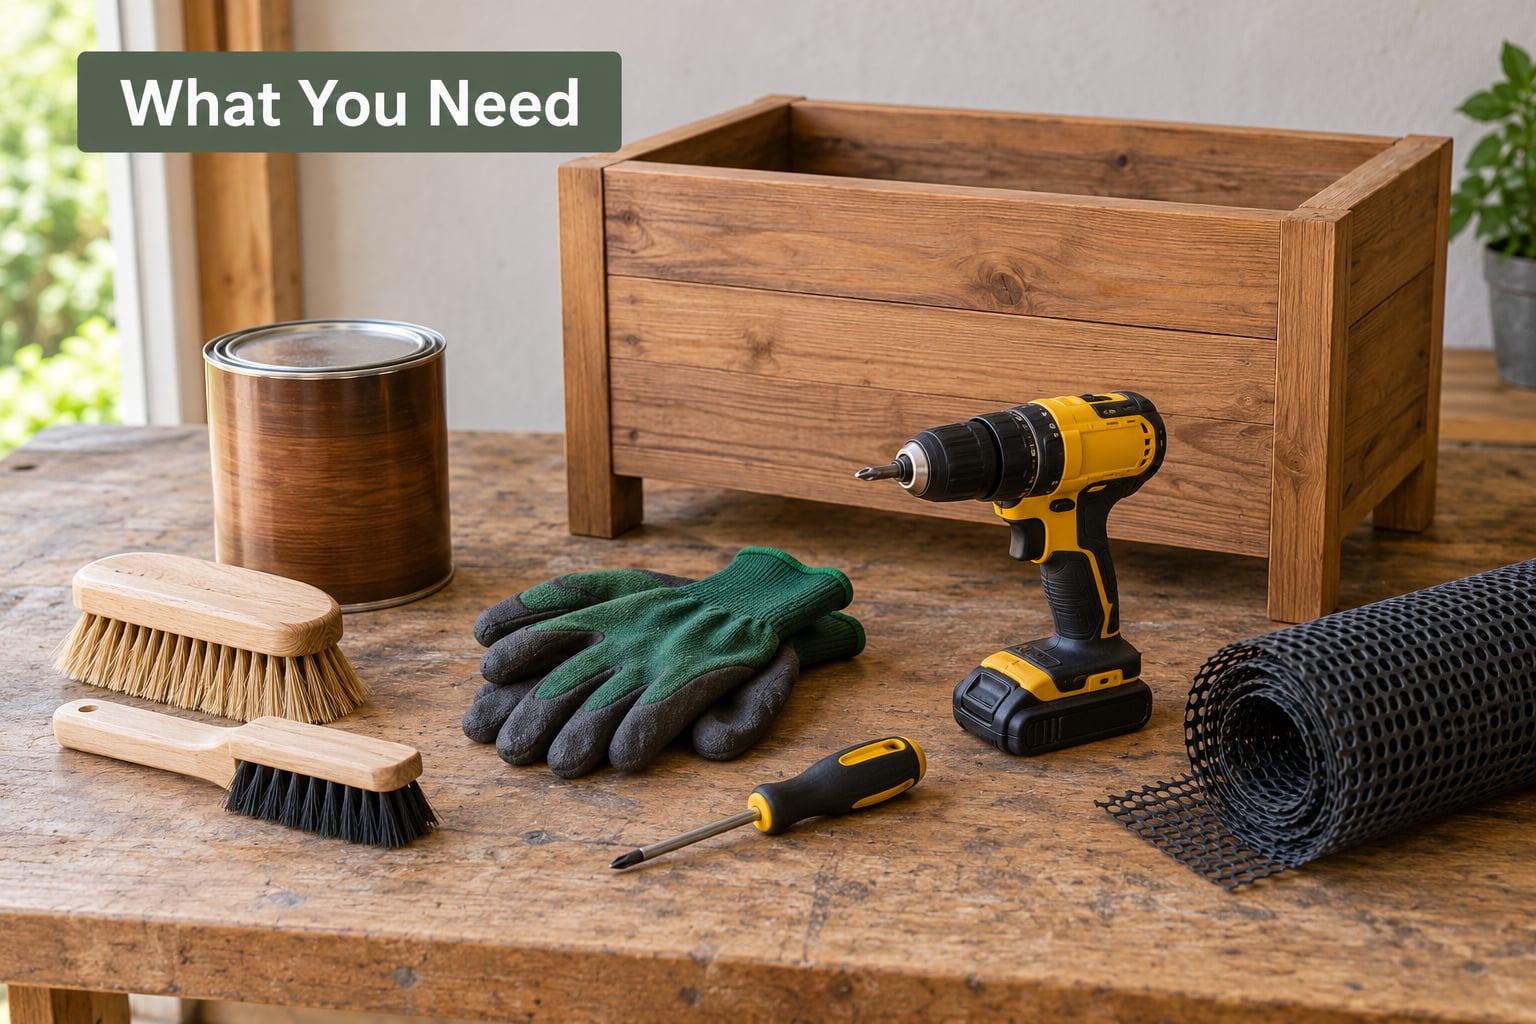
The list is shorter than people expect. Grab what the job needs, not the whole aisle.
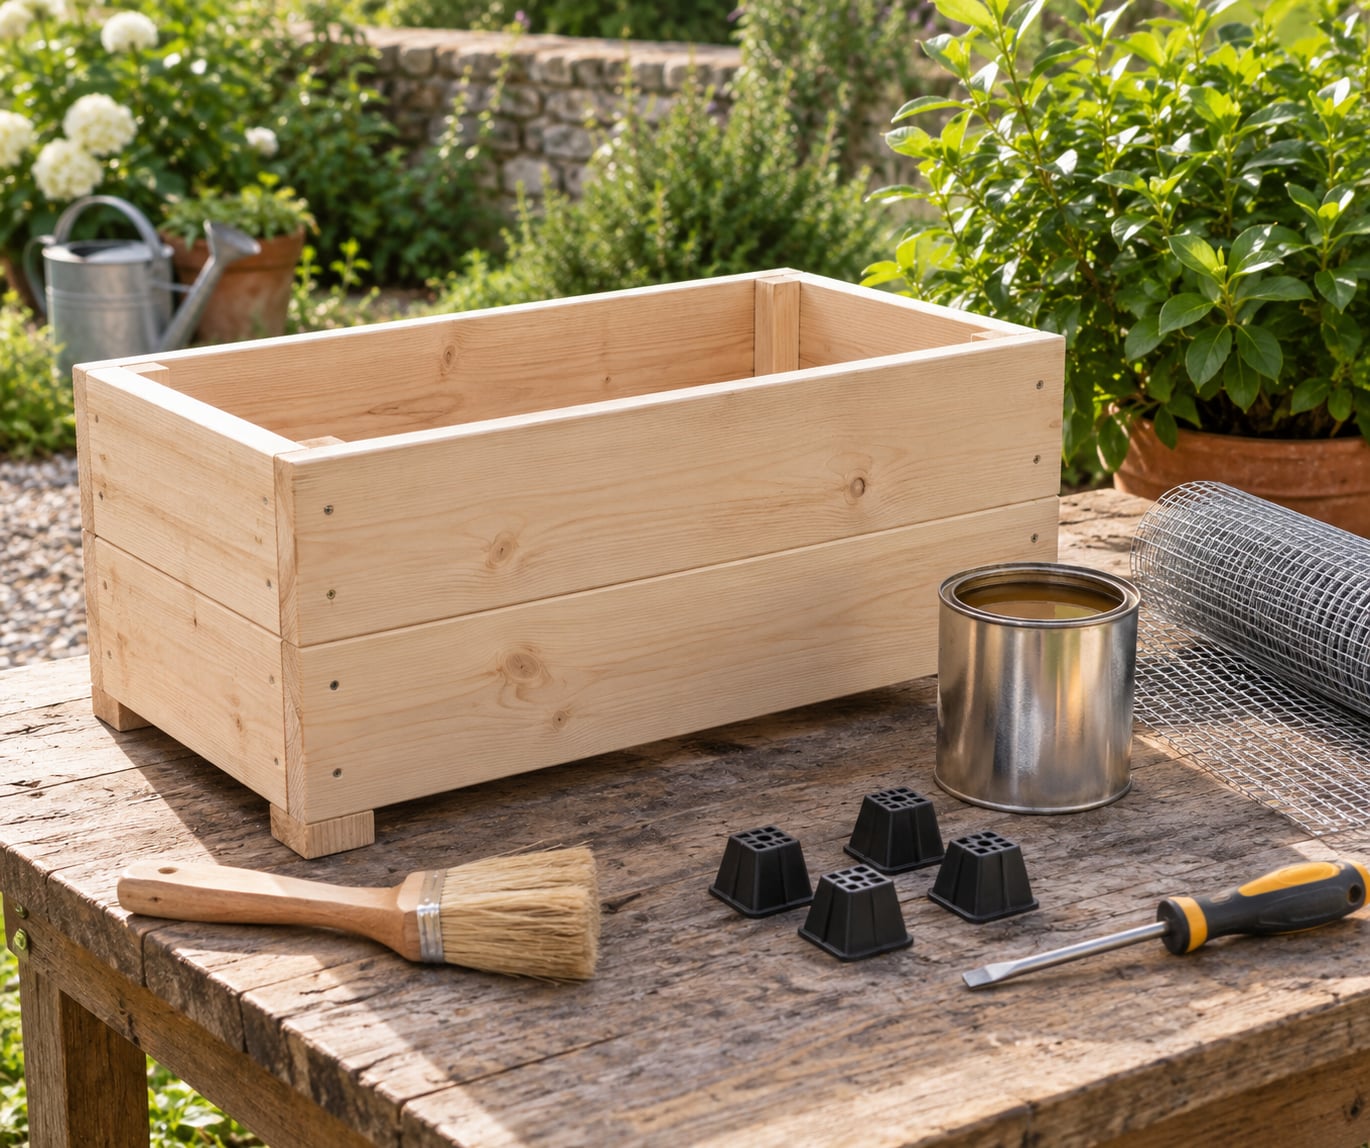
- Inspection: a flat-head screwdriver or awl, a pair of gloves, and a scrap of coarse cloth.
- Cleaning: a stiff nylon brush, a plastic scraper, and a diluted exterior wood cleaner or a mild solution of detergent and water.
- Drainage: a drill with bits matched to the hole size you want, a piece of mesh or stainless screen, and a bag of horticultural grit or pea gravel.
- Sealing: an exterior penetrating oil, a plant-safe garden seal, or an exterior clear coating depending on the wood and whether you are growing edibles.
- Joints: a Class 50 exterior silicone caulk and a small putty knife to scrape off the old bead before you lay a new one.
- Elevation: pot feet, pavers, pressure-treated offcuts or a gravel trench ring around the base.
- Repairs: exterior-rated screws, a clamp, replacement boards of the same thickness, and wood filler for small splits.
One note on the sealer. If the planter holds vegetables or herbs, buy something labelled plant-safe or food-contact safe and check that it is water-based and low VOC. If it holds ornamentals, your options widen.
Step-by-Step
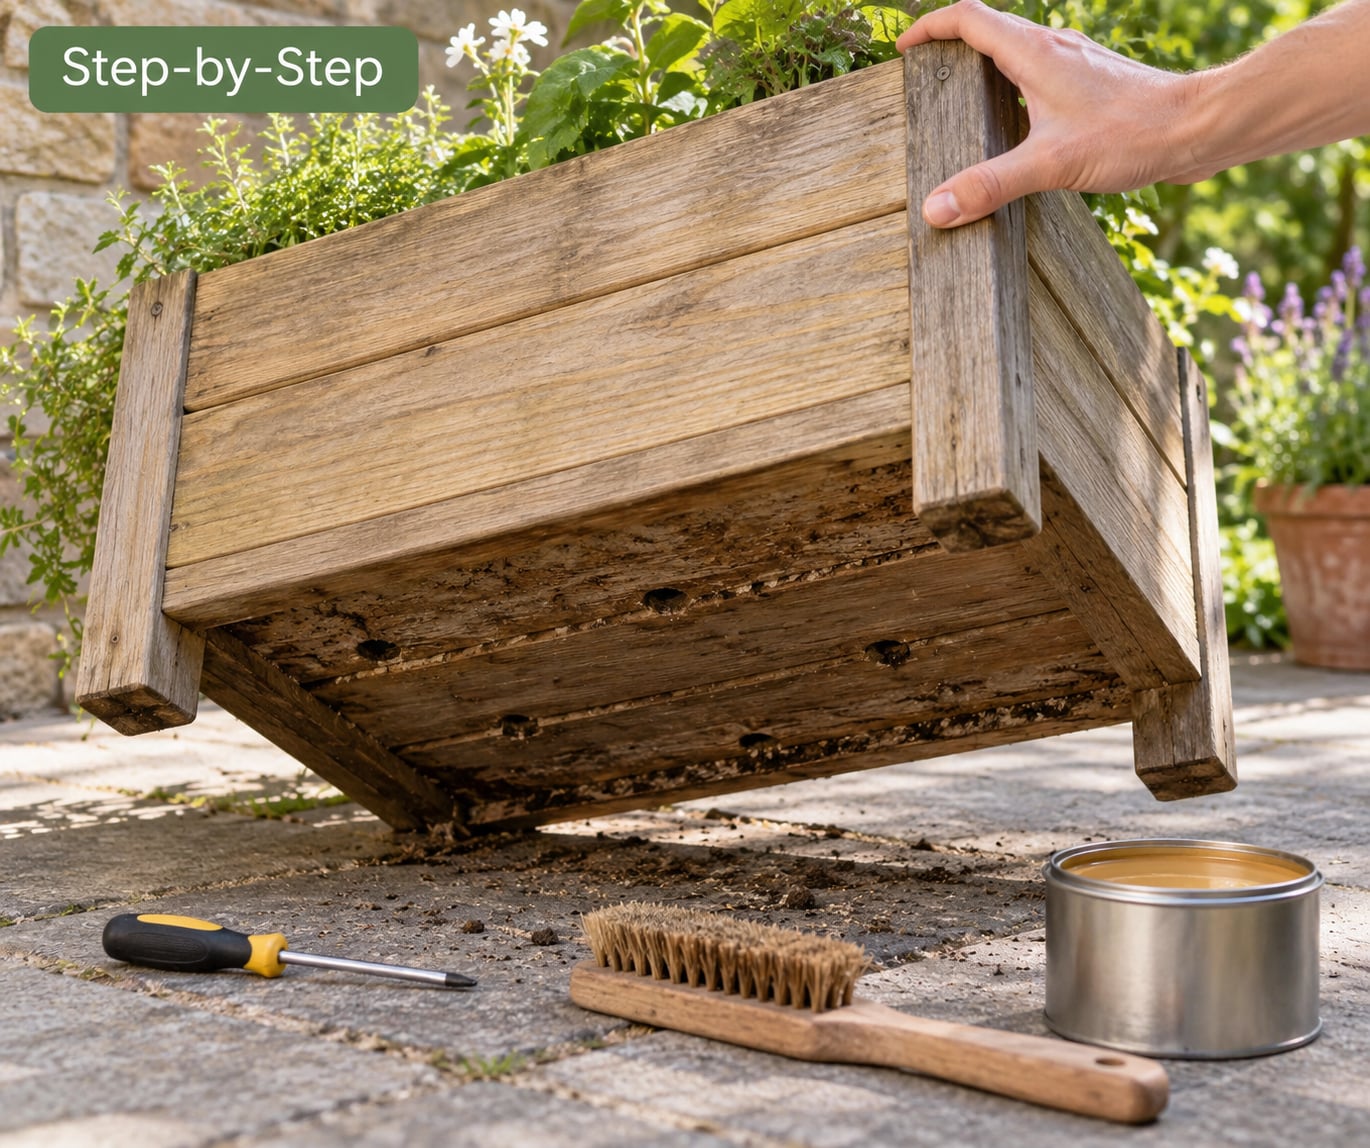
How to Inspect the Planter for Early Rot
Rot almost never starts on the face pointing at the patio. It starts on the interior boards, in the inside corners, and along the bottom perimeter where the box touches soil or a hard surface. Empty the planter before you judge it.
Press a flat-head screwdriver into any suspicious spot. Sound wood resists and the tip slips. Rotten wood lets the blade sink in with almost no force. Follow the screwdriver with a thumb press: soft, spongy wood that rebounds slowly is already compromised, and a thumbnail will sink in on a badly affected board.
Look for the quieter signs. Dark brown or black staining spreading from a drainage hole, a peeling or blistering finish, algae or white growth on the interior faces, and a sour, musty smell when the box is empty. Rust streaks around screw heads often mean the surrounding board is wet inside.
Not everything is rot. Surface mould wipes off and leaves the grain intact. Greying and raised grain is UV weathering, not decay. The distinction that matters: if a clean, dry surface under the stain is firm and pale, you are looking at staining. If it is brown, crumbly or hollow-sounding when tapped, the wood is gone.
How to Improve Drainage and Prevent Standing Water
Drainage is the step that decides whether the rest of your work lasts. Wet soil sitting against wood for hours on a warm day is exactly the condition fungi want.
Drill holes from the lowest point of the base upward, so debris you flush out on the way does not pack into a hole still being drilled. A one-eighth inch bit gives you a useful flow rate on a trough, and a quarter inch bit suits a large box or a planter holding thirsty perennials. Plan on one hole per square foot of base area, spaced evenly, and clear any hole that is blocked by a nail, a stone or old paint.
Cover the holes with mesh or window screen so soil does not wash straight out while water still moves. Add two inches of gravel or horticultural grit above that only as a working layer to keep soil from migrating down into the holes, not as a false drainage reservoir. Fine gravel at the bottom of a planter gets finer as soil settles and holds water right where you put it.
Skip a layer altogether if you are mixing a free-draining potting blend, which is what you should be using. Peat with perlite or a pine-bark-based mix drains well. Ordinary garden soil is heavy, compacts, and turns the bottom of your planter into a wet sponge.
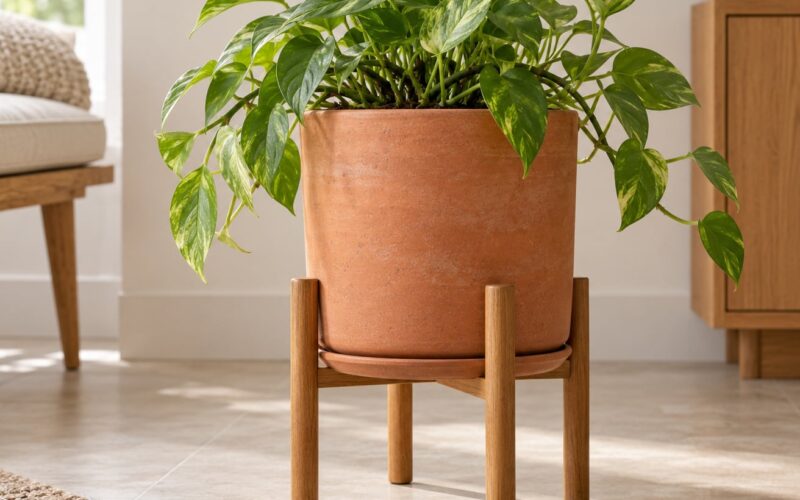
On the ground, set the planter on feet or pavers so a pool of water can escape, and never leave it standing in a saucer or a cachepot. Water has to have somewhere to go after it leaves the hole.
How to Clean and Dry the Wood Properly
Cleaning is not optional before sealing. A coat of oil over algae locks the growth in and the problem comes back within weeks.
Scrape out the loose soil, then work the interior and exterior with a stiff brush and a mild detergent solution. On green algae, a dilute exterior wood cleaner or an oxygen-based wood brightener will shift it faster than scrubbing alone. Rinse with a hose or damp cloth, keeping the volume low.
Now let it dry properly. That means air circulation and time, not a hair dryer held against the grain. Stand the box on edge in a shaded, breezy spot and give it at least 48 hours, longer in humid weather. A moisture meter reading under 12 to 15 percent means it is ready; if you do not have one, the wood should feel room-temperature and heavy, not cool and damp to the touch.
Washing a planter with a pressure washer feels quick and it drives water into end grain and open joints, which then holds moisture for weeks. A brush and a hose do the same job without the problem.
How to Repair Damaged Wood Before It Rotts
Some rot is repairable and some is terminal, and telling them apart saves you a wasted weekend.
Your planter is repairable when the softness is confined to a board end, one side wall, or a strip along the bottom edge, and the rest of the structure is still square and firm. It is terminal when the base boards are punky across their full width, when corners have separated so the box is out of square, or when a foot will no longer carry a load of wet soil.
For a repairable case, clear the soil out and mark the boundary between firm and soft wood. Cut back with a saw to solid material, working in small passes so you do not remove more wall than you need. Cut new boards to length from stock of the same thickness and species, and fasten them with exterior-rated screws, two per end into solid material. A little wood filler handles nail holes and small splits, but it is not a substitute for a replaced board.
Let every repair dry fully on its own schedule before you seal. Fresh lumber and cut ends are the wettest wood in the structure, and finish applied over them will sit as a skin and peel.
How to Protect a Wood Planter From Rot: Sealing the Wood
Sealing slows the uptake of water and blocks UV damage, but it is one layer in a system. Choose the coat to match the wood, the exposure and what you are growing.
| Sealer type | Safe around edibles | Water resistance | Dry time before planting | Reapply | Best for |
|---|---|---|---|---|---|
| Pure tung oil or linseed oil | Yes, if fully cured and food-grade | Low to medium; soaks into grain | 24 to 72 hours per coat, longer in humidity | Every 1 to 2 years | Cedar and pine, natural look, budget builds |
| Blended tung and linseed oil | Usually, check the label | Medium | 24 to 48 hours per coat | Every 1 to 2 years | Fruit trees and herbs, richer colour |
| Plant-safe garden wood seal | Yes, by design | Medium to high | 4 to 24 hours per coat | Every 2 to 3 years | Raised beds and edible planters |
| Exterior water-based polyurethane | Only if labelled for it | High; forms a film | 24 to 48 hours per coat | Every 3 to 5 years, sand first | Painted or stained planters, high rain |
| Exterior oil-based polyurethane or marine varnish | No | Very high | 48 to 72 hours per coat | Every 3 to 5 years | Ornamental planters, never with edibles |
| Exterior acrylic latex paint | Yes, on the outside only | High; film plus colour | 4 to 24 hours | Every 3 to 5 years | Cedar planters, UV and weathering |
Application is simple and the details matter. Sand or scrape flaking finish back to bare wood first, brush on thin coats along the grain, and pay attention to end grain, joints and the inside faces where the soil touches. Two to three coats on the interior is a sensible default; one to two is enough outside, since a thick film on a flower box is a target for peeling.
Then seal the seams. Run a bead of Class 50 exterior silicone along every inside corner and around the base-to-wall joint. Those are the two lines where water travels straight into end grain, and a properly sealed seam is often the difference between a box that lasts a few seasons and one that lasts most of a decade. Scrape off the old bead, let the joint dry, and lay a fresh one.
One optional technique deserves a mention because it keeps coming up in woodworking communities: shou sugi ban, or torch charring. Passing a blow torch over the surface to burn the outer layer creates a carbonised shell that resists moisture. It works. Burn too deep, though, and you damage the structural wood underneath, so go slow, keep the torch moving, and stop at a light even char. It is also messy and fuel-hungry, so it suits someone who enjoys the work rather than a quick weekend.
How to Maintain the Protection Over Time
Protection is a schedule, not a one-off job. Twice a year, in spring and autumn, do the same short round.
Check the drainage holes while the box is empty and the base feels dry. Run a finger inside each hole and around the bottom perimeter for softness. Scrub off algae and dirt, let the wood dry, and touch up the finish on any bare patch. After a heavy storm, check that the box has not settled and that feet are still true. In winter, in areas with freeze-thaw cycles, take small planters off the ground and do not snow-shove them.
Run a simple record: the date you resealed and what you used. When the finish starts to look flat and grey instead of rich, that is your cue, and a reapply interval is more reliable than any date on a calendar.
Common Mistakes
A few mistakes cause nearly all the failures I see.
- Sealing damp or unseasoned wood. Finish will not penetrate and will peel within a season. Wait until the wood is properly dry all the way through.
- Using an interior product outdoors. Indoor sealers and water-based finishes without an exterior rating chalk and fail in sun and rain. Check the label for exterior and UV ratings.
- Blocking drainage with a stone or a saucer. A decorative pebble layer under a saucer holds the water the holes were meant to shed.
- Lining with plastic sheet that touches the walls. A solid plastic liner traps water against the wood with nowhere to evaporate. Landscape fabric or a flexible pond liner that does not touch the sides lets the fabric wick and dry. Cut drainage holes in any liner, and fit a fabric liner loosely.
- Painting or staining over soft wood. The finish hides the rot and holds the moisture in. Cut it back to sound wood first.
- Assuming treated lumber is rot-proof. It resists surface contact, but the interior faces against wet soil still break down, and untreated cedar and redwood often outlast it in constant soil contact. Check current guidance for whatever you plan to grow.
- Skipping annual inspections. By the time soft wood shows on the outside, it has usually started behind it.
Tips for Different Wood Types and Climates
Cedar and redwood arrive already rot-resistant, thanks to natural tannins. They still need sealing against UV and moisture, and they benefit most from keeping soil off the wood entirely. Skip the pressure-treat debate: with a good sealer and a raised base, cedar on a deck outlasts untreated pine every time.
Pine and fir are the softest common choices and the ones that fail fastest, often inside two years if left unsealed. They need the most coat changes and the most attention to end grain. Treat them as a project you check twice a year.
Hardwoods such as oak and teak resist decay well. Teak is oily enough that paint will not bond, so use a penetrating oil and accept the silver-grey weathering as the finish.
Pressure-treated or reclaimed deck wood is fine structurally. If you plan to grow edibles, check the current label and local guidance, use stainless or exterior-coated fasteners, and seal all faces before soil goes in. Reclaimed wood is often already weathered, so treat it as porous and expect to use an extra coat.
Humid and tropical climates reduce drying time to almost nothing. Choose fast-drying coatings, allow longer between coats than the label says, and expect to reseal every year. A shade cloth or a covered position in peak humidity makes more difference than any product choice.
Coastal areas get salt spray that breaks down film finishes faster. Oil-based and film-forming coatings last longer here than pure oils, and rinsing the box with fresh water every few months during the season pays off.
Frost and freeze-thaw crack any saturated board. The cure is the same everywhere: water leaves, the wood dries, the finish stays intact. Do not leave a planter full of wet soil standing through a hard freeze.
Frequently Asked Questions
How do you keep wooden planters from rotting?
Keep water moving and keep wood dry: clear the drainage holes, use a free-draining potting mix instead of garden soil, and raise the planter on feet or pavers so the base never sits in water. Seal all faces with a plant-safe exterior finish in two or three thin coats, run exterior silicone along every inside corner and the base joint, and inspect twice a year for soft spots. The finish only lasts as long as the drainage underneath it.
Should I line my wooden planter with plastic?
Usually not, if the plastic touches the walls. A tight plastic sheet stops evaporation and holds water against the wood, which is the condition rot needs, so it can make a box fail faster than no liner at all. Landscape fabric is the better choice because it wicks and lets the interior dry. If you want a pond liner for a very wet planting, keep it slack, cut drainage holes, and prevent it from resting against the boards.
What sealer is safe for edible garden planters?
Use a product labelled plant-safe or food-contact safe, and check that it is water-based and low VOC. Pure tung oil and linseed oil are fine once fully cured, and plant-safe garden wood seals are designed for raised beds. Avoid oil-based polyurethane, marine varnish and solvent-based stains for anything you intend to eat. Apply two or three thin coats to the interior, let each cure fully, and keep produce off the soil.
How do I know if my wooden planter is already rotted?
Empty it and press a flat-head screwdriver into any dark or stained area. Sound wood resists the blade, while decayed wood lets it sink in with little force. A thumbnail pressed into a suspect board will leave a dent in soft wood. Brown crumbly patches, algae on interior faces, peeling finish and a sour smell are all warning signs, and rust streaks around screws usually mean the board around them holds water.
What to put in the bottom of a wooden planter box?
Mesh or window screen over the drainage holes, so soil stays put while water moves through. A thin layer of horticultural grit or pea gravel can keep soil from migrating into the holes, but it is not a drainage layer and fine gravel settles and holds water at the base. Skip rocks entirely and use a free-draining potting mix, which drains through the holes rather than sitting in a false reservoir above them.
Conclusion
Start with four things, in this order. Press a screwdriver into the interior boards and the bottom perimeter to find soft spots. Clear every drainage hole and get the planter onto feet so water can leave. Let the wood dry fully, then apply a plant-safe exterior finish in thin coats and run silicone along the inside corners and base joint.
That is a Saturday’s work for a planter that stays solid. Add a twice-yearly inspection and a scrub of the interior faces, and you will not be choosing a replacement box again next spring.