Repot a houseplant when its roots fill the current pot, when water runs straight through without soaking in, or when growth has stalled through the growing season. The best window for when to repot houseplants is early spring into early summer, while the plant is actively growing and can recover fast. Age alone is not a reason. Take the plant out and look.
Most people repot on a schedule, and that is how they end up repotting a plant that was perfectly happy. A plant in a warm, bright room can fill a pot in a year; the same plant in a dim hallway might need three. Forum regulars say the same thing over and over: unnecessary repotting is the number one cause of houseplant decline.
So this guide works from the evidence rather than the calendar. First the signs, then the pot, then the method. If you only read one section, read the step on checking roots and drainage.
Table of Contents
- What You Need
- Step-by-Step: When and How to Repot Houseplants
- Check the Roots and Drainage: When to Repot Houseplants
- Choose the Right Pot and Fresh Mix
- Remove and Trim the Plant Carefully
- Repot, Water, and Let the Plant Recover
- Common Mistakes
- Frequently Asked Questions
- How do I know if my houseplant is root-bound?
- When is the best time of year to repot a houseplant?
- Should I repot a plant that is still flowering?
- What size pot should I use when repotting?
- How long should I wait after repotting before fertilizing?
- Do succulents and cacti need to be repotted the same way?
- A Simple Repotting Reminder
What You Need
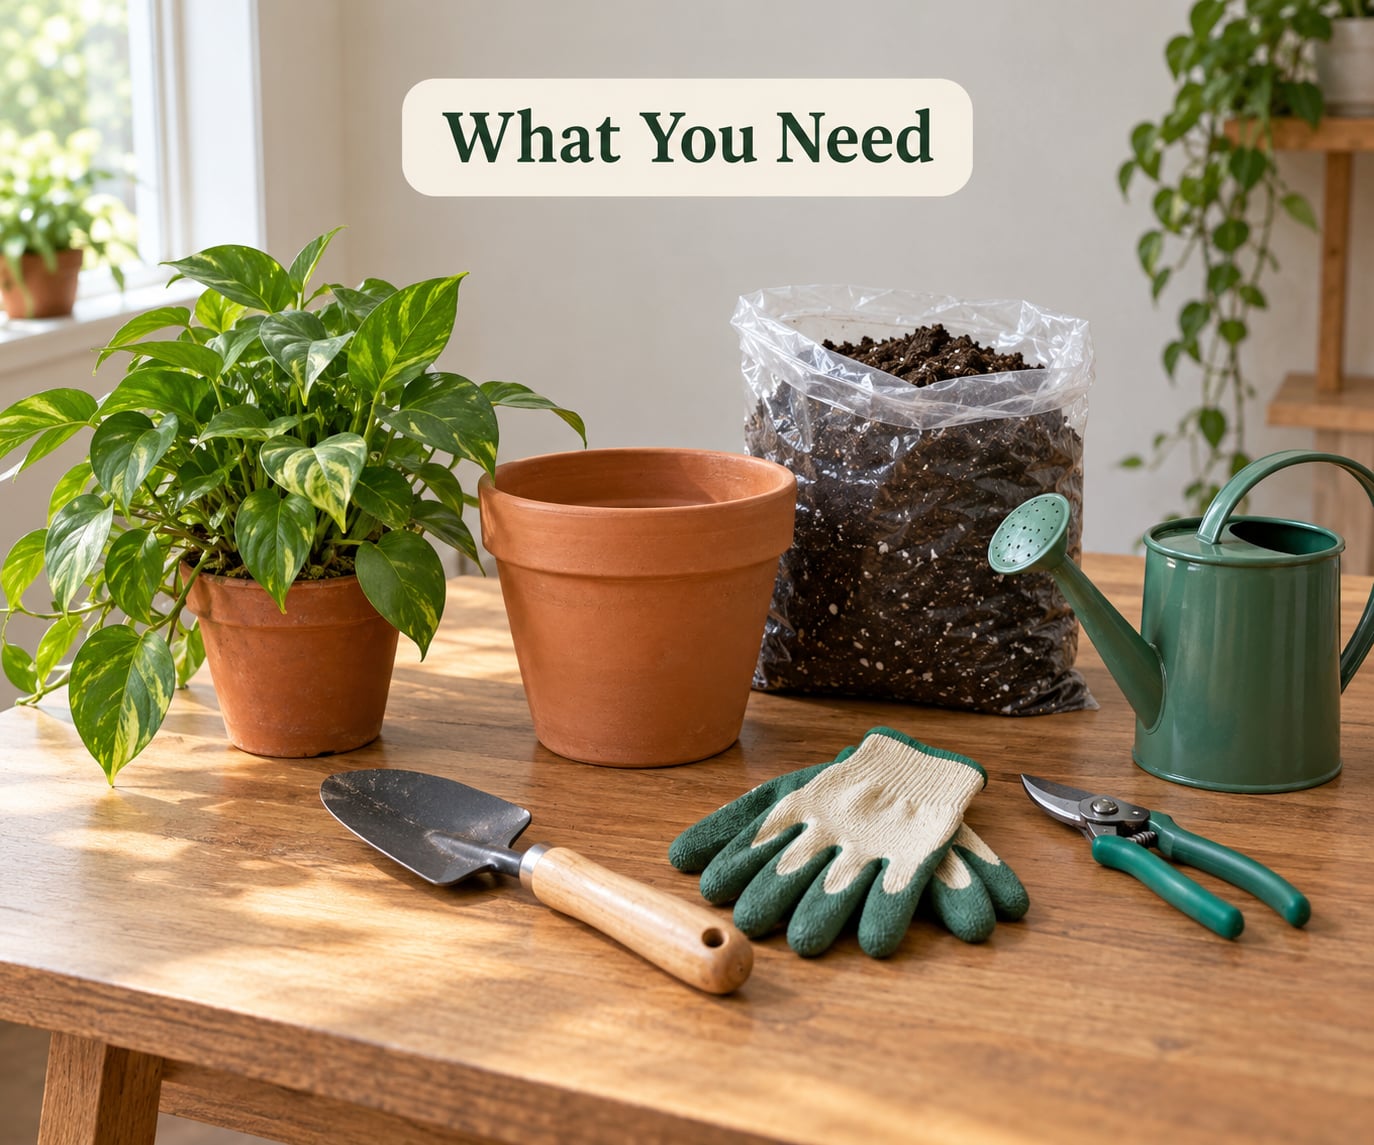
Gather everything before the plant comes out of its pot. Repotting is quick once the plant is exposed, and roots dry faster than you expect.
- A pot 1-2 inches (2-5 cm) wider than the current one, with drainage holes in the base. Glazed ceramic, terracotta and plastic all work.
- Fresh potting mix suited to the plant type. A general indoor mix, a chunkier aroid mix, or a gritty succulent mix.
- A trowel or a plant scoop to lever the root ball out and to backfill around it.
- Clean, sharp scissors or a knife for trimming dead or mushy roots.
- Rubber gloves or a folded towel to grip the pot and the root ball.
- A watering can with a fine rose, plus a saucer or tray to catch the runoff.
- Newspaper or a tarp if you are working indoors, and a clear pot if you want to see the root situation before committing.
Have a second pot on hand in case the plant drops more soil than you expect, and water the plant a day before. Moist soil holds together when you tip it out. Bone-dry soil crumbles and takes fine feeder roots with it.
Step-by-Step: When and How to Repot Houseplants
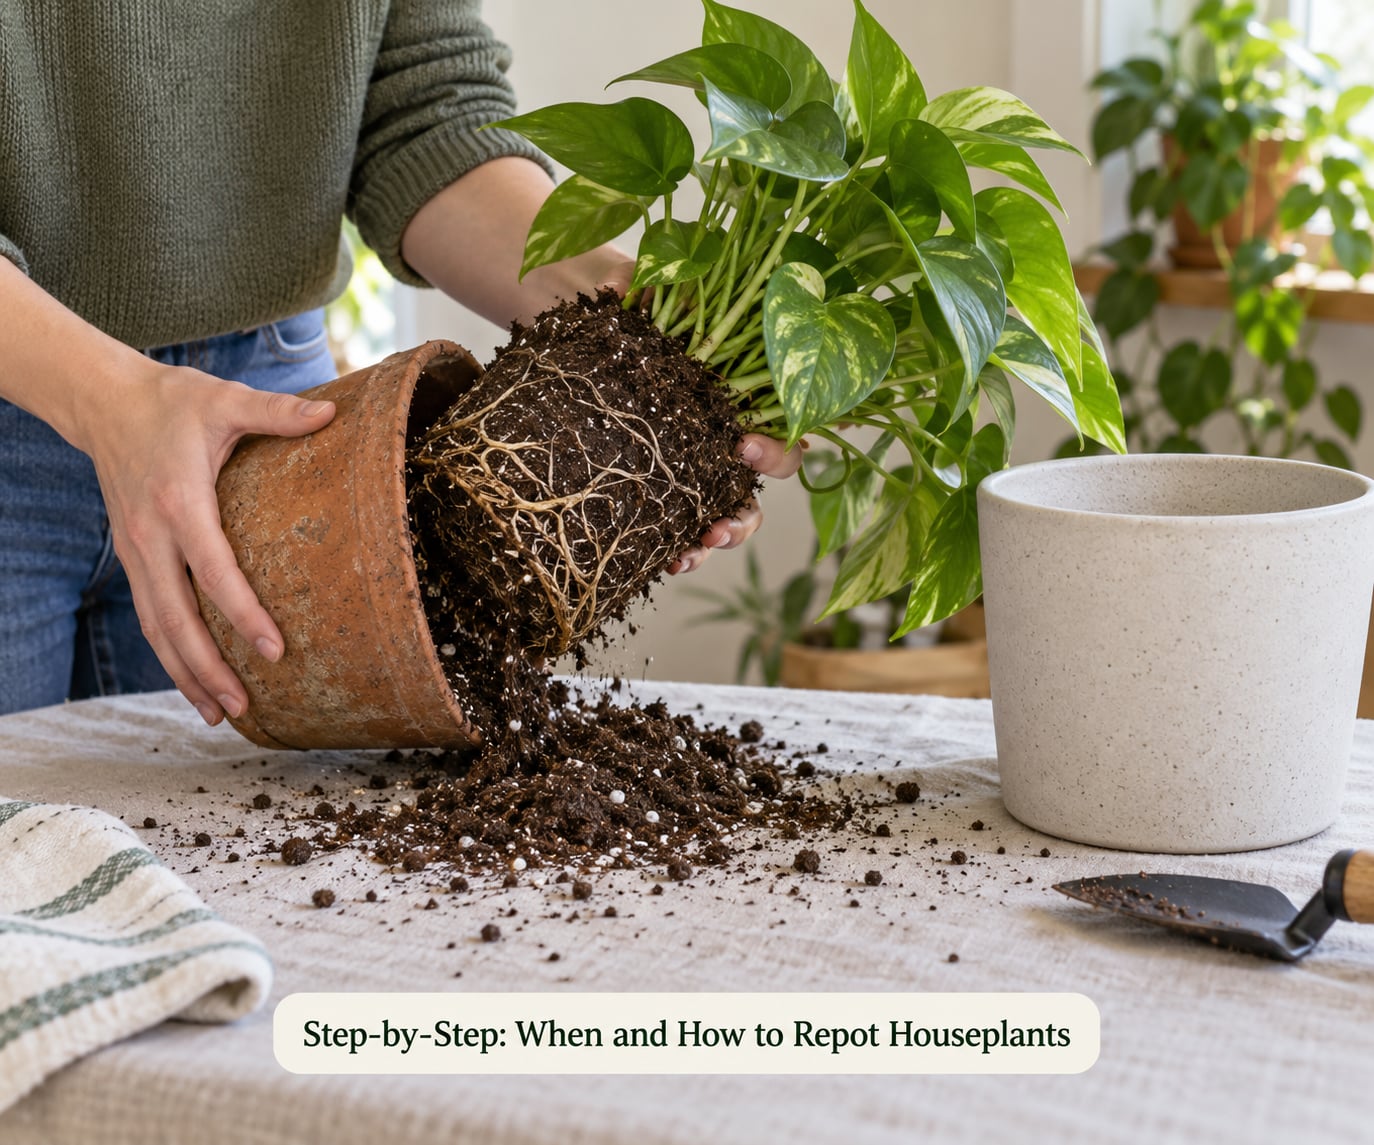
The whole job is four decisions: whether the plant needs it, whether the new pot is right, how you get the root ball out intact, and what you do in the first two weeks. Get the first one wrong and none of the rest matter.
Check the Roots and Drainage: When to Repot Houseplants
Slide the plant out of its pot and look at what is actually there. Every sign below has a physical cause behind it, and knowing the cause tells you whether repotting is even the fix.
- Roots circling the root ball in a tight mat. The root system has displaced most of the mix. Slide a pencil or a chopstick in along the pot wall; if it will not go in, there is no soil left.
- Roots pushing out of the drainage holes. The plant has physically outgrown the container and is looking for space.
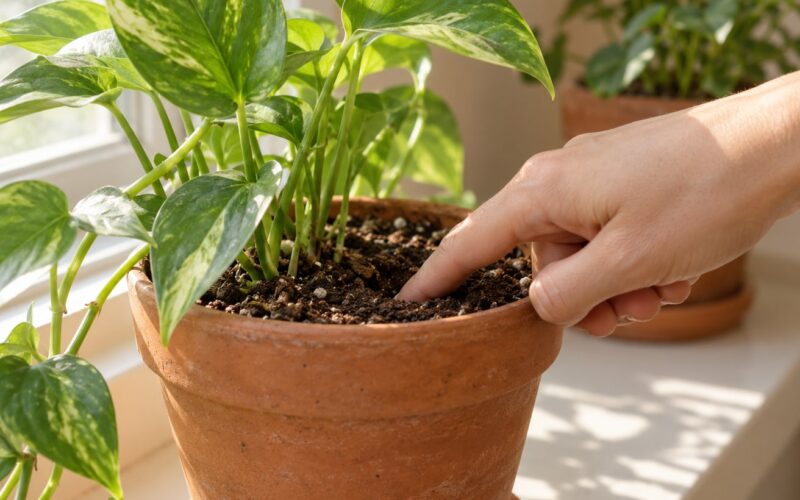
- Water that runs straight through. There is no soil volume left to hold moisture, so the plant dries out on schedule.
- Soil that dries out unusually fast. More roots, less soil, and a root ball that has shrunk away from the pot wall.
- Growth that slowed or stopped in season. Check the light before you repot. A plant in a dim corner stalls for reasons a new pot will not fix.
- Yellowing lower leaves and a plant that topples over. Often a root ball that has lost its anchor, sometimes root rot from a pot that drains badly.
- Soil pulling away from the inside of the pot walls, or a cracked pot. Roots have dried the mix into a gap.
One sign gets mistaken for a repotting trigger constantly: roots or stems sitting on top of the soil. Aerial roots grow above the line on purpose. They do not need covering and they are not asking for a bigger pot.
Two things are never a reason on their own: the plant is old, or the top layer of soil looks pale. Scrape the top half inch and check the colour underneath before you go shopping.
How often you do this depends on the species. A snake plant genuinely prefers a snug pot and can stay put for years; a pothos in good light will fill a pot in a season.
| Plant | Typical interval | Note |
|---|---|---|
| Pothos (Epipremnum aureum) | Every 1 year | Fast in bright light, vigorous roots |
| Monstera deliciosa | Every 1-2 years | Pot up only one size at a time |
| Spider plant (Chlorophytum comosum) | Every 1-2 years | Produces pups once settled |
| Peace lily (Spathiphyllum) | Every 1-2 years | Roots stay tight; repot on signs |
| Fiddle-leaf fig (Ficus lyrata) | Every 2 years | Hates being disturbed |
| Snake plant (Dracaena trifasciata) | Every 2-5 years | Prefers to be somewhat root-bound |
| ZZ plant (Zamioculcas zamiifolia) | Every 2-3 years | Underground rhizomes, easy to overpot |
| Philodendron | Every 2-3 years | Joins fine roots, likes chunky mix |
If a plant will not budge, do not pull the stem. Squeeze the plastic nursery pot on all four sides, then tap the base against the table to break the grip. That gets most root-bound plants free without a single torn root.
Choose the Right Pot and Fresh Mix
Go up one pot size, meaning 1-2 inches (2-5 cm) wider and slightly deeper. Jumping two sizes is the single most common self-inflicted repotting error, and forum reports of plants dying after it are everywhere. Too much wet soil around a small root system sits damp for weeks and invites root rot.
Drainage holes are not optional. No holes means no repotting trick saves the plant, and a decorative pot with a cachepot can hide standing water for months. Skip the gravel or wood chip layer at the bottom. It reduces the soil volume, does not improve drainage, and forum experts describe it as discredited; indoors it is also a home for fungus gnats.
Match the mix to the plant. Tropical aroids and philodendrons want a chunky, airy mix with bark and perlite so air reaches the roots. Succulents and cacti want a gritty, fast-draining mix with a lot of mineral content and very little peat. Standard indoor plants are fine in an all-purpose potting mix. Ferns want moisture-retentive mix with no large bark pieces.
What about the old soil? Do not strip the root ball completely. Knock off the loose, tired outer layer and any white crust of dried salts, leave the inner root ball intact, and discard what comes off. Do not mix old soil back into fresh mix to save it, because that is how depleted, compacted material and any pests travel into the new pot.
Remove and Trim the Plant Carefully
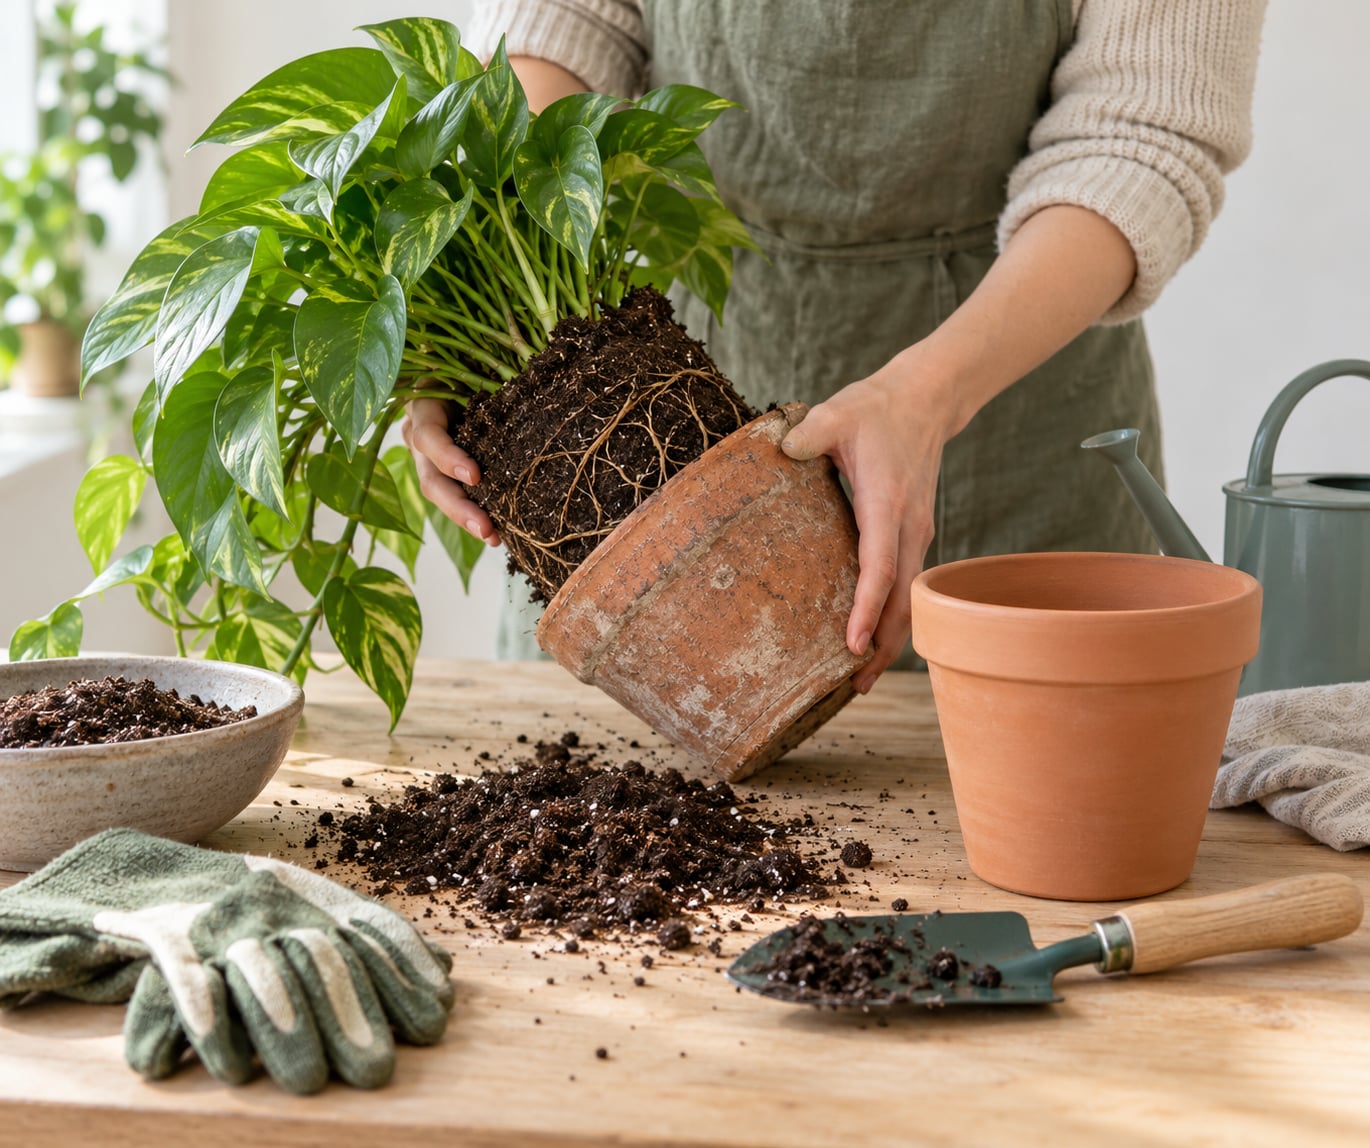
Water the day before, then tip the pot at an angle and support the root ball with one hand while you ease the container off with the other. Never lift a plant by the stem.
Once it is out, look at the roots before you touch them. Tease the circling outer roots apart gently with your fingers so they can branch into the new soil. Teasing is enough, and stripping or rinsing the root ball under the tap does real damage, because fine feeder roots are what the plant actually depends on.
Cut away roots that are black, mushy or soft and smelling sour. Cut clean at the boundary between dead and healthy tissue with a sterilised blade. Leave firm white or tan roots completely alone, however ugly the mat looks. Trim old, dead foliage at the same time so the plant is not trying to feed leaves it no longer has.
Repot, Water, and Let the Plant Recover
Put a shallow layer of fresh mix in the new pot and set the plant so the top of the root ball sits level with the rim, not buried. Backfill around the sides, tapping the pot lightly to settle the mix without compacting it. Leave about half an inch of headroom so watering does not push mix over the edge.
Water thoroughly straight away, until water runs from the bottom holes, and empty the saucer. The soil has to be fully wetted so there are no dry air pockets around the roots. Do not fertilise. Hold off for four to six weeks, because fresh mix already has what the roots need and fertiliser on stressed roots burns them.
Then leave it alone. No repotting into a bigger pot again, no moving it to a new spot, no fussing. Keep it out of direct midday sun for a week, and skip fertilising entirely while it settles.
Some wilt for a few days is normal. Transplant shock usually shows as light droop and one or two dropped leaves that firm up within two weeks. A plant that keeps losing leaves for six weeks, develops a sour smell, or has black stems has likely been overwatered or had rot pruned too late. That is a watering and light problem now, not a repotting problem.
Common Mistakes
Most repotting problems trace back to one of seven things, and every one of them is easy to avoid.
- Jumping pot sizes. Use 1-2 inches (2-5 cm), one step up. A pot that is too large holds water the roots cannot use.
- A container with no drainage. Check the base before you buy. Standing water kills more plants than anything else in this list.
- A gravel layer for drainage. It does not drain anything. It just takes away soil volume.
- Repotting to fix a different problem. Pests, wrong light and a bad watering routine all mimic root-bound symptoms. Diagnose first, repot second.
- Stripping or rinsing the root ball. Loosen circling roots. Leave everything else attached.
- A light watering after repotting. Water until it drains out of the bottom, so the whole root ball gets wet.
- Feeding straight away. Wait four to six weeks. Stressed roots plus fertiliser is a bad combination.
Two more worth naming: repotting a plant that is in flower, which stresses it at the moment it is spending energy on blooms, and repotting a plant that is sick. If leaves are yellow and the soil smells sour, solve that first.
Frequently Asked Questions
How do I know if my houseplant is root-bound?
Slide the plant out of its pot and check three things: roots circling in a tight mat, roots pushing out of the drainage holes, or a root ball so dense that a pencil will not go in beside it. If the soil crumbles away and the roots hold the shape of the pot, that is root-bound. If the root ball is loose with plenty of soil, leave the plant where it is.
When is the best time of year to repot a houseplant?
Early spring into early summer, while the plant is actively growing and can put energy into recovery. Repotting can be done at any time of year, but during dormancy the plant barely grows, so damaged roots sit there for weeks without new growth to support them. In a northern hemisphere apartment with dry winter heat, wait for longer.
Should I repot a plant that is still flowering?
You can, but it is better to wait. A flowering plant is putting most of its energy into blooms, so repotting adds stress it does not need right now. If the plant is badly root-bound, water runs straight through and the pot is buckling, that overrides the preference. Otherwise, finish the flowering and repot in the next active growth period.
What size pot should I use when repotting?
Go up one pot size, which means 1-2 inches (2-5 cm) wider and slightly deeper than the current pot. Bigger is not better here, because unused wet soil sits around a small root system and invites root rot. Measure the current pot across the top and add 2 inches, and always confirm the new pot has drainage holes.
How long should I wait after repotting before fertilizing?
Wait four to six weeks, then start feeding at half strength. Fresh potting mix already contains enough nutrients for settling, and fertiliser applied to stressed, cut roots can burn them. If you used fresh mix rather than reused soil, the plant usually needs no fertiliser at all until it is actively producing new growth in the following season.
Do succulents and cacti need to be repotted the same way?
The signs are the same, but the mix and the timing are not. Succulents and cacti want a gritty, mineral-heavy mix with fast drainage, and they are best repotted in their active season or in early spring, when growth is about to start. Water them sparingly afterwards and withhold water entirely if the soil is still damp at the top a week later.
A Simple Repotting Reminder
Start with the roots, not the calendar. Slide the plant out, check for a circling mat or roots in the drainage holes, and test how the pot drains. If neither says repot, leave it alone and save the work for a plant that needs it.
Getting when to repot houseplants right comes down to those three checks. Go up one size, use drainage holes and fresh mix, tease the circling roots rather than stripping them, water until it drains, and hold the fertiliser for a month. Then give the plant light, steady care and let it settle.