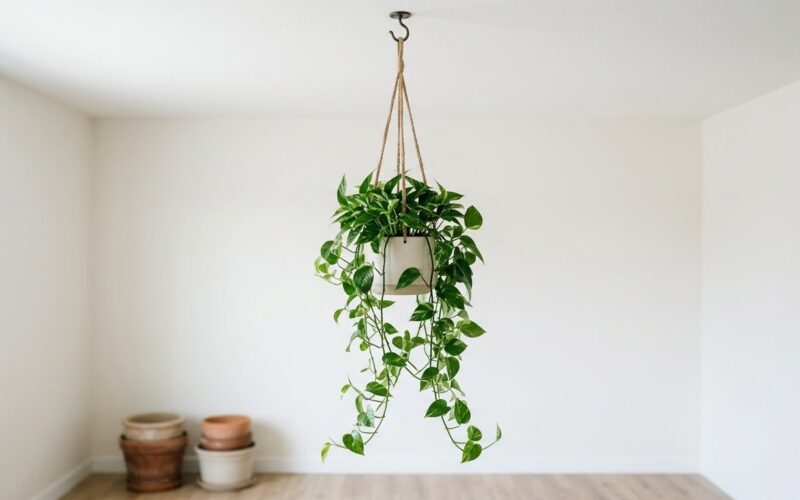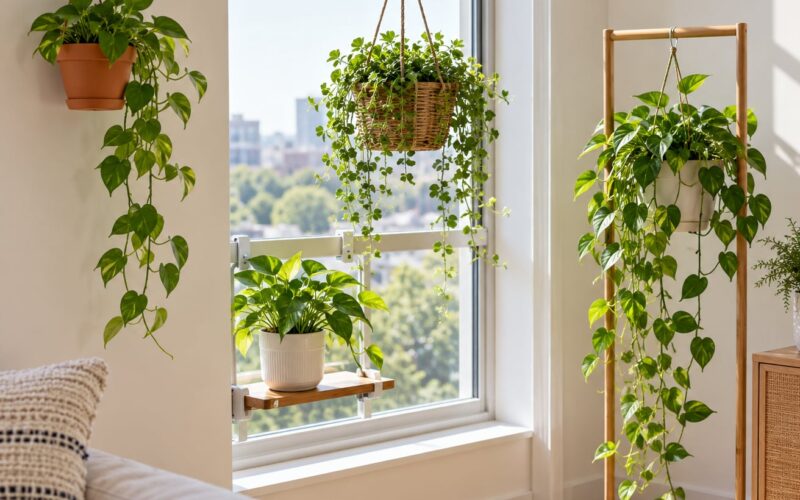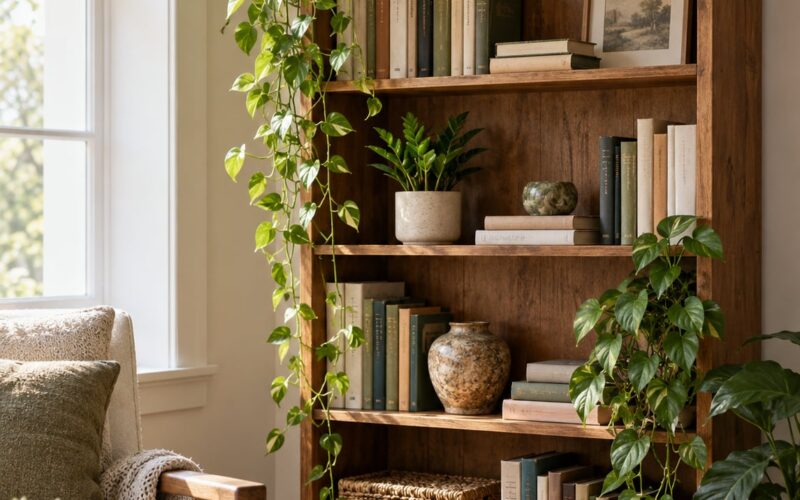
If you want to know how to arrange plants in odd numbers for design, the short version is this: group them in threes, fives or sevens, make one plant the clear focal point, and stagger the rest so nothing sits in a straight line. It takes about twenty minutes to plan and test a grouping before anything is moved into place.
The reason it works is simple. Your eye tries to split a group evenly, and an even group gives it an easy split in the middle. An odd group has no middle to land on, so it reads as balanced but never rigid, and your gaze keeps travelling through the arrangement instead of stopping dead.
That is the whole principle. The rest is placement, height and pots, and this guide covers all three for indoor corners, shelves, tabletops, windowsills, patios and balconies.
Updated for October 2026
Table of Contents
- What You Need
- Step-by-Step: How to Arrange Plants in Odd Numbers
- 1. Choose an Odd-Numbered Plant Group
- 2. Pick One Clear Focal Plant
- 3. Vary Height Without Looking Scattered
- 4. Choose Pots That Support the Arrangement
- 5. Test the Layout from Several Viewing Angles
- 6. Finish with Plants or Objects
- Common Mistakes
- Tips
- Frequently Asked Questions
- Why do designers arrange plants in odd numbers?
- How many plants should I use for a balanced arrangement?
- Do the pots need to match when I arrange plants in odd numbers?
- How can I make a three-plant arrangement look less symmetrical?
- What is the best way to arrange plants in a small room?
- Can I use odd numbers with artificial or mixed-height plants?
- Conclusion
What You Need
You do not need a lot, and you definitely do not need new plants. Most of the work happens before anything is picked up.
Three to seven plants of different heights. If you already own more than that, choose the ones whose mature size fits the spot, and treat the rest as a separate group somewhere else.
Containers that differ a little in height and width. Two or three is plenty. Pots that are all identical tend to read as a row rather than a grouping.
A tape measure, because spacing is decided from the mature width of a plant rather than the size it is in the nursery pot. This is the step most people skip and the one that makes a bed look overcrowded two summers later.
Chalk, a hose edge or masking tape to mark positions on the ground before digging. Sketching groups on paper first is what experienced gardeners do, and it takes five minutes.
A neutral surface such as a sheet of brown kraft paper, a piece of cardboard or a plain mat laid on the floor or table. You set the pots on it to test the composition before deciding where anything goes.
A small step stool so you can check the grouping from the height most people will actually see it from.
Step-by-Step: How to Arrange Plants in Odd Numbers
1. Choose an Odd-Numbered Plant Group
Three plants is the workhorse. Five works well in a border or along a wall. Seven suits a wide bed or a corner where you have real depth to use. Pick the odd number that fits the space, then stop counting.
The number matters less than the spacing. Three plants crammed into a square metre look worse than four given room, and nine plants spread across a long bed can read as three loose groups of three rather than one block.
A good test is to shrink the grouping until you can see the base of every pot and the shape of every plant from a normal standing position. If you cannot, the group is too tight.
2. Pick One Clear Focal Plant
Every grouping needs one plant the eye lands on first. Make it the tallest, the most sculptural, or the one with the most interesting texture, and let it do the work alone.
Place the focal plant slightly off centre rather than dead in the middle. This is what separates a relaxed, natural grouping from a formal display, and it is the single change people notice most.
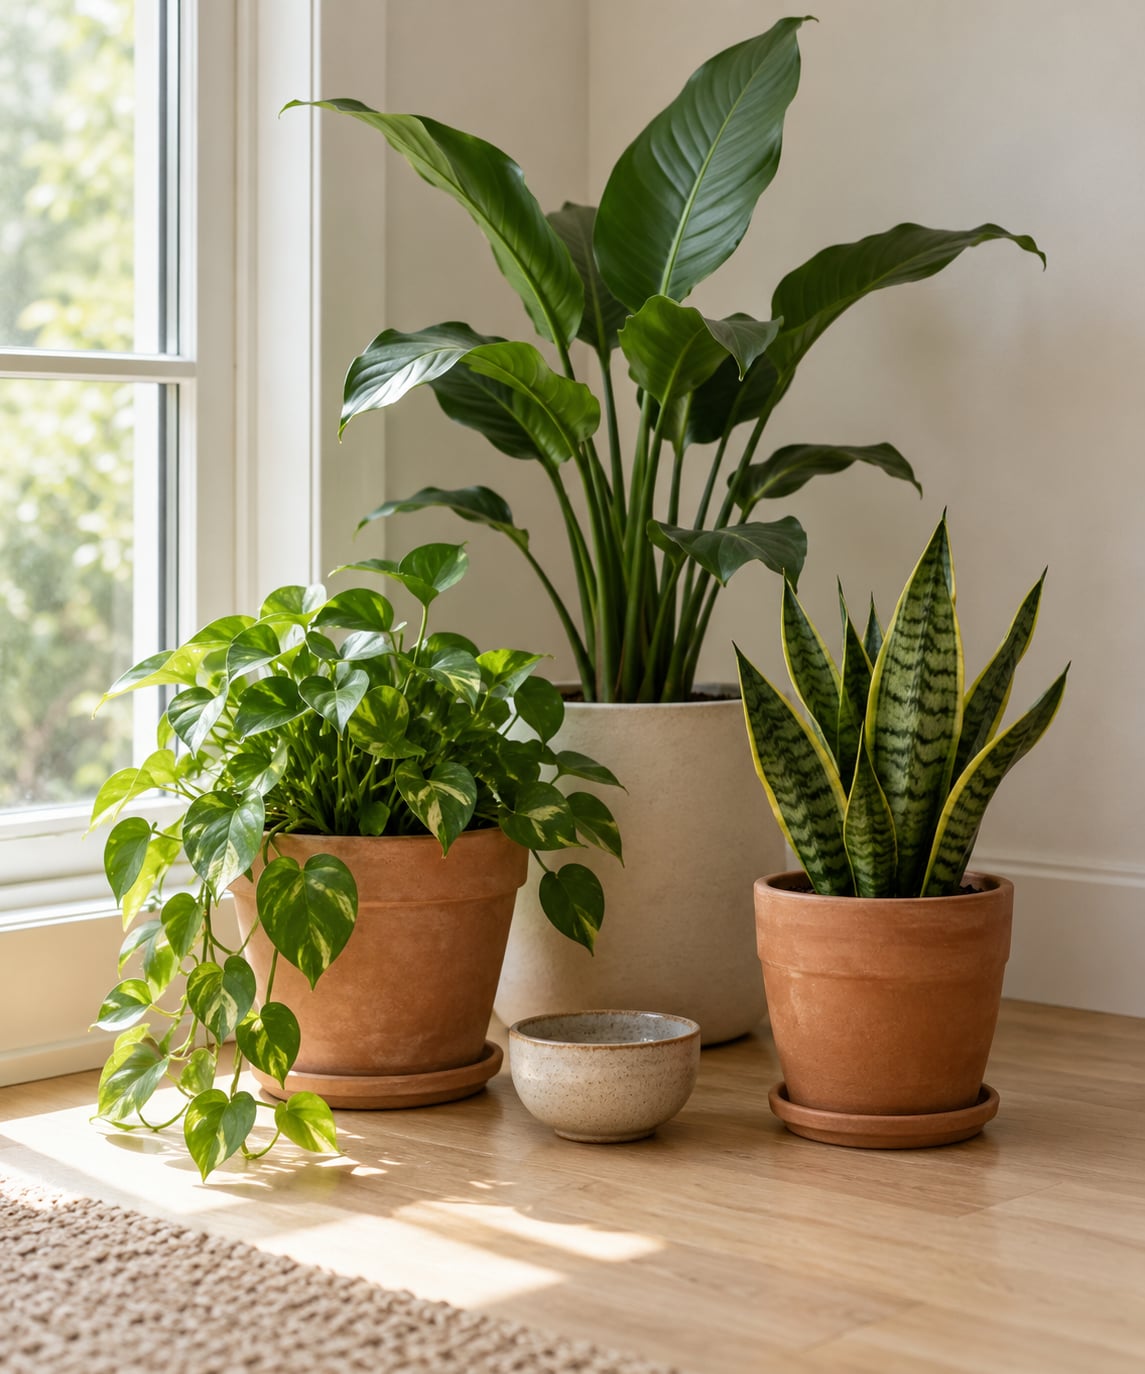
For a three-plant grouping, put the tall plant at the back and set one plant forward and to one side of it, then the third plant slightly behind that one. The three positions form a triangle, so no two plants sit at the same distance from you.
3. Vary Height Without Looking Scattered
Work in layers: tallest at the back, medium in the middle, lowest at the front. A simple ratio that holds up well is roughly three to one to one and a half, so a 90 centimetre focal plant can sit beside a 30 centimetre plant and a 45 centimetre one.
Then check overlap. Each plant should partly cover the one behind it, so foliage overlaps and you see depth rather than a row of separate silhouettes. If every pot is fully visible from every angle, the layering has failed.
Check sightlines too. Nothing important in the room, such as a window or a doorway, should disappear behind a tall plant, and if the tallest plant is a filler that needs bright light, check it is not shading the two beneath it all day.
Measure against mature width, not current width. Spacing roughly equal to a plant’s mature spread keeps foliage touching without airless crowding, and it is the reason a bed designed today still works in year three.
4. Choose Pots That Support the Arrangement
Vary pot height before you vary pot colour. A plant lifted 10 to 15 centimetres on a taller pot sits at a different height in the group, and that alone fixes a flat, unimpressive arrangement.
Set the tallest, heaviest pot at the back and step down toward the front. The descending cascade gives the group depth and stops the front plants from looking like props.
Keep materials to two. Terracotta with a matte ceramic works well, as does clay with wood, but five different finishes read as clutter rather than a designed grouping. Pot width should follow roughly the same logic, with wider pots behind narrower ones.
5. Test the Layout from Several Viewing Angles
Stand where you normally stand. Most arrangements are designed from above and judged from eye level, and the difference is usually where problems hide.
Then walk to the door, the main seat or the kitchen doorway and look again. That is your real viewing angle, and anything that collapses from there needs moving.
Crouch down once. If the front plants completely hide the focal plant, the group is too deep or the back plant is too short. Take a photo from the same spot each time so you can compare versions instead of guessing from memory.
6. Finish with Plants or Objects
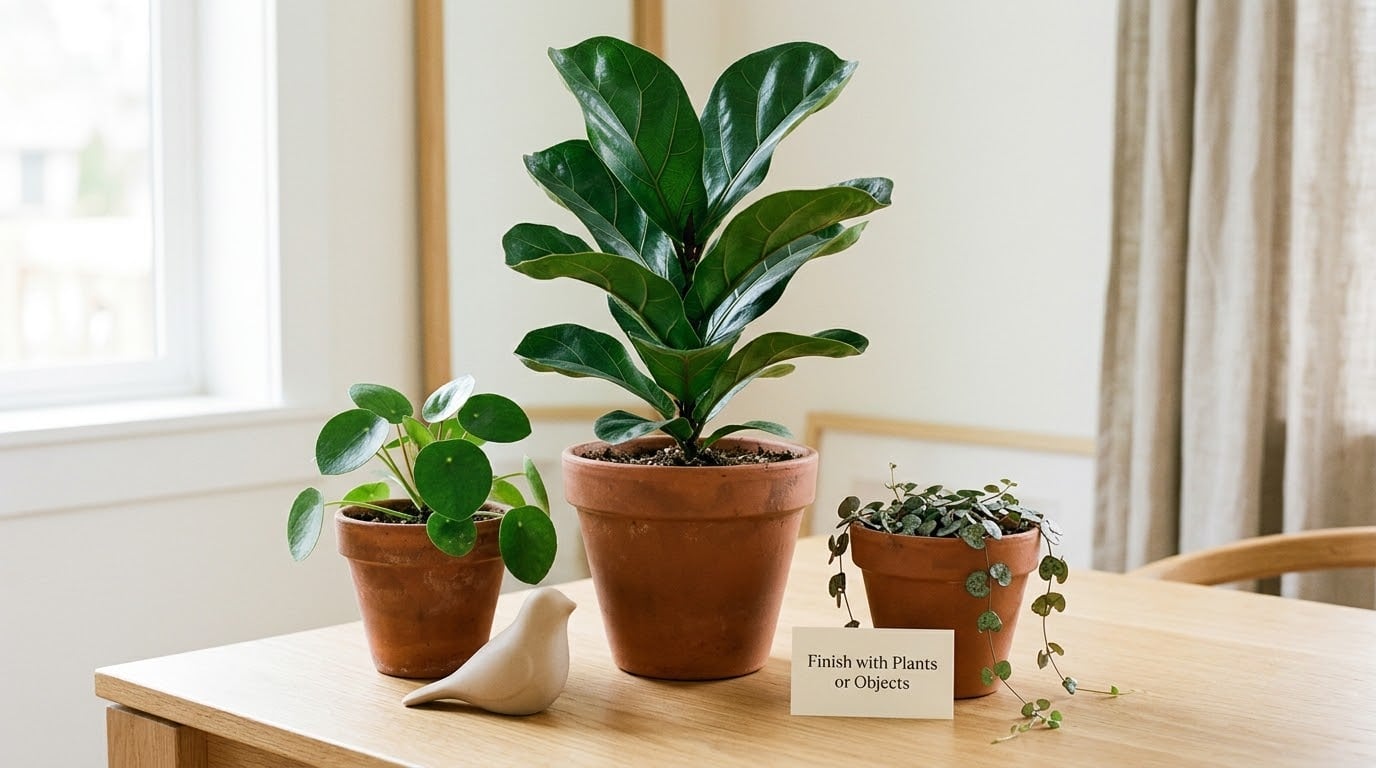
A trailing plant at the front edge softens the base of a grouping and hides the awkward line where pots meet the surface. One is enough. Two trailing plants in a three-plant group turns the arrangement into four visible points and the odd-number logic disappears.
A single non-plant object, such as a small bowl, a stone or a short candle, fills the odd gap without adding a plant to count. Keep it low and neutral so it supports the focal plant instead of competing with it.
Stop there. The most common failure is adding one more small pot to fill a space that looked empty from above, which is how a balanced group turns lopsided.
Common Mistakes
Perfectly even spacing. Measuring every gap identically is the fastest way to make a grouping look like a shelf. Offset the spacing instead, roughly one short gap and one long gap for every pair of plants.
Identical pots. Same pot, same size, same colour reads as a product display. Vary height and material first; it matters more than colour.
Plants packed too close. This comes from counting a tray and jamming the contents into one spot. Spread them to their mature width and the group instantly looks calmer, even with no new plants.
No focal point. When all three plants are the same height and shape, the eye has nowhere to rest and the arrangement looks unresolved. Choose one plant to be the anchor and let the others support it.
Plants kept in their nursery row. Lining them up the way they sat in the tray gives you a rectangle. Turn the tray shape into a triangle and the same plants look designed.
Forgetting to plan for growth. This is the most common first-time gardener mistake and the one people only notice once the bed is full. Spacing for mature size keeps the composition you designed.
Treating odd numbers as a law. The rule is a tool. Plenty of beautiful gardens are informal on purpose, and plenty of readers on gardening forums simply want permission to stop counting and let a planting look relaxed. Nothing breaks if a group ends up with four plants in it.
Tips
In a narrow corner, use three and push all three plants toward the corner point so they overlap from the doorway, then let one trailing plant fall along the skirting board. In a low table arrangement, work with five small plants at two heights instead of three tall ones, so nothing hides the table edge.
For a console or entry shelf, three plants plus one low object works better than three plants alone, because the object fills the empty corner that a tabletop always has. For patios and balconies, odd numbers also stop the pots from blocking a door or a railing, which matters more in a small space than perfect balance.
Asymmetric example: place one medium plant near the front corner, one tall plant set back along the outer edge, and one low plant tucked between them but nearer the back. The three form a triangle, no two pots sit in a straight line from the door, and the group still reads as three.
On a larger collection, repeat the same odd group shape rather than repeating the exact plants. Group of three, then group of three a few metres along, then group of three again, gives rhythm across the space and is far easier to maintain than one crowded mass.
Frequently Asked Questions
Why do designers arrange plants in odd numbers?
Your eye tries to divide a group evenly, and an even group gives it an obvious middle to settle on. An odd-numbered group cannot be split in half, so it reads as balanced but never rigid. That keeps the eye moving through the arrangement and makes it feel natural rather than formal.
How many plants should I use for a balanced arrangement?
Three is the standard choice and works almost anywhere, from a small table to a front step. Use five for a wider bed or a run of pots along a wall, and seven where you have a large corner or slope. The real limit is space, not the number: spread each plant to its mature width and let the count follow.
Do the pots need to match when I arrange plants in odd numbers?
No. Matching pots of the same size and colour tend to read as a row or a product display, which is the opposite of what you want. Vary pot height by 10 to 15 centimetres first, keep to two materials at most, and step the widths down from the back. The odd-numbered plant grouping is what creates the balance, not the pots.
How can I make a three-plant arrangement look less symmetrical?
Place the three plants in a triangle rather than a line, and put the tallest one slightly off centre instead of in the middle. Make the spacing uneven, so one gap is narrow and the next is wide. Overlapping foliage hides the pot bases and adds depth. If it still feels formal, swap in one plant with a very different leaf shape or colour.
What is the best way to arrange plants in a small room?
Use three plants and cluster them tightly at the corner or end of a surface rather than spreading them along it. Vary heights so one stands above the others, keep pots on the larger side to avoid blocking the room. On a windowsill, leave gaps of about 10 to 15 centimetres between pots so each plant keeps light and air.
Can I use odd numbers with artificial or mixed-height plants?
Yes, and odd numbers work particularly well with mixed heights because the height variation is what keeps the group from looking flat. With artificial plants, vary the height and the leaf texture rather than the colour, since identical greens read as copies. If you are arranging plants of very different care needs, group the ones that share light and water requirements together.
Conclusion
Start with one plant. Pick the tallest or most sculptural plant you own, add two or four supporting plants around it in a triangle, and set the whole thing on a piece of kraft paper before it goes near the shelf or the bed edge.
Then walk to the doorway and look. If the group still holds together from there, you have your arrangement, and how to arrange plants in odd numbers for design becomes a habit rather than a rule you look up each time.