What to do when you bring a plant home from the store is mostly restraint: look it over, keep it away from your other plants for a few weeks, put it in the right light, and leave the soil alone. Store plants usually arrive soaking wet from a greenhouse, so watering one again in the first day is the fastest way to kill it.
I have lost a plant or two to that exact mistake. The compost was wet, I felt sorry for it, I watered it again, and two weeks later the roots were black and the whole pot smelled sour. Nobody tells you this part in the store.
So this guide walks through the first week in order: the ten minutes of inspection before you even leave the shop, how to carry it, whether the nursery pot stays, when water is actually needed, where to put it, and what normal adjustment looks like versus a real problem. It is written for a first-time houseplant owner, though the quarantine part matters just as much if you already own a collection you would rather not infect.
Last reviewed in 2026. Nothing here needs specialist equipment, and the whole first day takes about thirty minutes if you are not fussy.
Table of Contents
- What You Need
- Step-by-Step
- What to do when you bring a plant home from the store: inspect before you leave
- Transport the plant without adding stress
- Decide whether the nursery pot should stay
- Water based on the soil, not the calendar
- Choose the right light and temperature
- Acclimate the plant gradually
- Check again after the first week
- Common Mistakes
- Frequently Asked Questions
- Should I water a plant immediately after bringing it home?
- Do I need to repot a plant I bought from a store?
- How long should a new plant stay in the same spot?
- Why are the leaves of my new plant drooping or turning yellow?
- Can I keep a store-bought plant in its nursery pot?
- How do I check whether the pot has good drainage?
What You Need
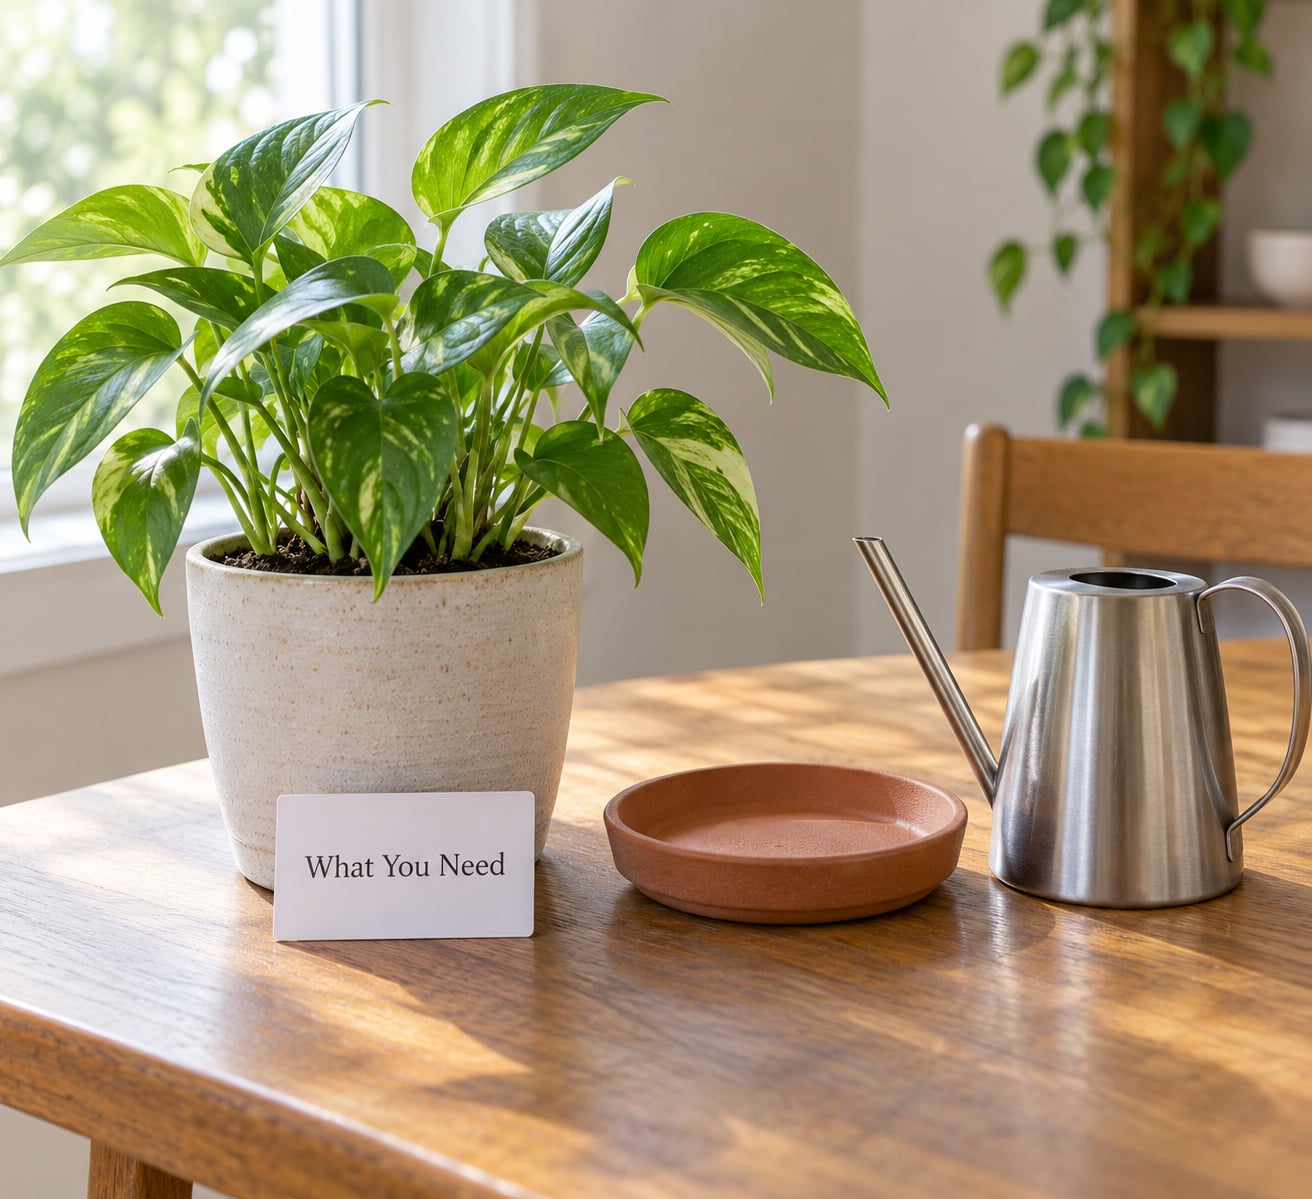
You need very little, and that is the point. Grabbing a bag of fresh potting mix and a decorative pot on the same trip is how people stack two shocks onto a plant that is already stressed.
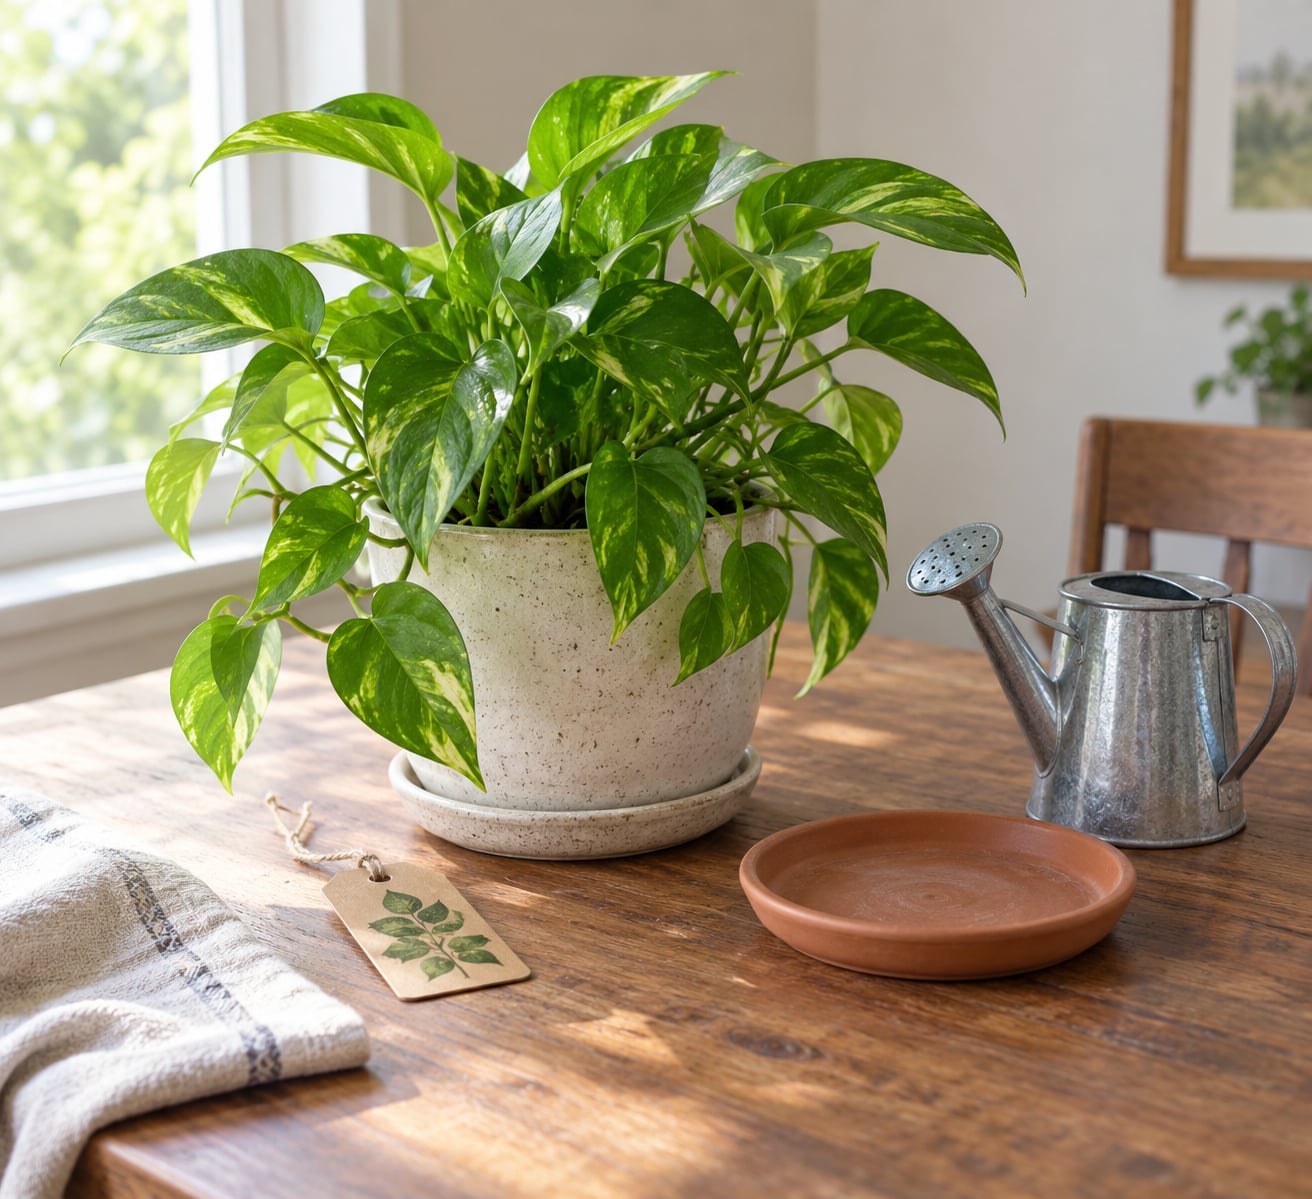
- The nursery tag or label. It tells you the plant name, its light preference and how wet the grower kept it. Keep it. You will want it in three weeks when you cannot remember anything else.
- Care information. The sticker, the printed slip, or whatever the shop puts on the receipt. Screenshot it before the plastic sleeve goes on.
- A cachepot or no pot at all. A decorative pot without drainage holes that the nursery pot sits inside is enough for now. Only buy a real pot if the one it came in has no hole or is falling apart.
- A drainage check. Lift the pot and look at the bottom. Water needs a way out; a pot sitting in a wet saucer is the same as a pot with no hole.
- A watering can you can control. A fine rose or a bottle with holes poked in the cap is fine. You want to soak slowly rather than blast the soil out of the pot.
- A rough read on the light where the plant will go. Note when direct sun hits that spot and for how long. That single observation settles most placement arguments before they start.
Skip the extras. No fertilizer, no plant food, no granules, no new soil for the first few weeks. If a plant arrives already in decent mix, replacing the mix only damages roots that were left alone on purpose.
Step-by-Step
What to do when you bring a plant home from the store: inspect before you leave
Do this at the shop, in the car park, or the moment you get in. Ten minutes now saves you a month of guessing later.
- Read the label. Note the full plant name and the light requirement. If the shop cannot tell you what it is, that is itself useful information about how it was grown.
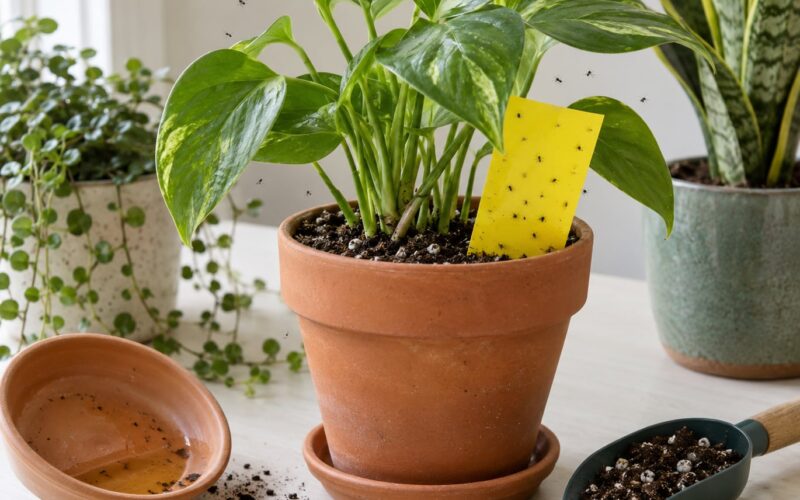
- Look at the leaf undersides. That is where pests sit. Tiny pale dots or stippling, fine webbing, fuzzy white cottony blobs, or flat brown shells all mean you are looking at spider mites, mealybugs or scale.
- Check the leaf axils and the stem joints. The V-shaped crotch where a leaf meets the stem hides thrips and mealybugs. Thrips also leave shiny, sticky black specks of frass on the surface below.
- Look at the compost surface. Small flies that shoot up when you move the pot are fungus gnats, and adults are the easy part; the larvae live in the wet top inch of mix.
- Press the soil and lift the pot. Wet and heavy with a sour smell means it has been sitting wet. Roots that are white or tan are healthy; brown, mushy or slimy roots are not.
- Take a photo. A day-zero picture of the whole plant plus a close-up of anything already damaged gives you a baseline to compare against in week two.
How do you tell handling damage from a real problem? A bent leaf, a torn edge or a couple of brown tips is cosmetic and usually fine. Active problems look different: a spreading stipple pattern, sticky residue, visible insects, a soft collapsing stem, or a smell from the pot. Brown spots that are dry and crisp are usually just sun or dryness, while brown spots that are soft and spreading with yellowing around them suggest wet roots.
If you find pests, buy the treatment before you leave. Insecticidal soap handles soft-bodied insects like aphids, mealybugs and whiteflies; neem oil covers mites and thrips better; scale needs repeated contact because a waxy shell protects it. University extension services run by universities publish houseplant pest guides, and those are a better reference than a shelf display at three in the afternoon.
Transport the plant without adding stress
Keep it upright. Most damage happens between the shelf and the car, not after. Bag the foliage loosely in the shop sleeve or a light bag so leaves don’t snap against glass and wind, but never seal the pot inside a closed bag for a long drive.
In a car, put it on the floor or in the footwell rather than the seat. Parked cars get hot and cold fast, and a plant that spent an hour next to an air vent is the one that drops its leaves in week two.
On public transport, hold it against your body with one arm and support the pot base with your hand. Walking crowds are the main risk, so avoid the carriage doors and board at the quiet end.
Getting it into a cold or unheated hallway first is common when you cannot go straight to a warm room. Leave it wrapped there briefly, but do not let it sit in a cold entryway for hours; cold plus wet compost is how root problems start.
You know the trip went well if the plant looks the same when you set it down as when you picked it up. Any new bent stem or snapped leaf happened during the journey and is not a sign of disease.
Decide whether the nursery pot should stay
In almost every case the nursery pot stays for the first few weeks. Keeping the same soil and the same pot means one less thing changes, and change is what the plant is already dealing with.
Keep it when the pot has drainage holes, the plant sits at a sensible height, and the pot is stable enough not to tip. A plastic nursery pot that is a bit ugly is a perfectly good home for a recovering plant. Drop it into a cachepot for looks and take the inner pot out to water, then put it back after the excess has drained.
Consider a different pot when the plant is genuinely rootbound, which you can often see as roots circling the surface or pushing the plant up out of the pot. Even then, wait. A plant that has just been through a move and a change of light should not also have its roots disturbed.
Two or three inches wider than the current pot is the usual jump when you eventually do repot. A pot several sizes larger holds water the roots cannot use, which is the same waterlogging trap with new packaging.
If the pot has no drainage hole, you have two options: put it inside a cachepot that catches the runoff, or repot into a pot with holes. Never leave a hole-less pot sitting in a full saucer.
Water based on the soil, not the calendar
This is the step that kills the most store plants. Greenhouse stock arrives pre-watered, often sitting in water, because that is how it survives the trip to the shop and how it survives being on a shelf nobody is watering.
Check before you water. Push a finger about an inch into the compost. If the top inch feels cool and damp, do nothing today. If it feels dry and light, water thoroughly until water runs out of the bottom, then let the pot drain fully before it goes back on its saucer.
Overwatering and underwatering look similar from across the room: a drooping plant. The tiebreaker is the soil. Soggy compost plus drooping means too much water, and more water will finish it. Dry compost plus drooping means thirst, and water now. Soggy soil is where beginner instinct does real damage.
A plant that has been sitting wet for days often needs help, not more water. Tip the pot, slide the root ball out, and look at it. Healthy roots are firm and pale. If the mix is sour and the roots are brown and mushy, trim the dead roots with clean scissors, repot into fresh potting mix in a pot with holes, and hold off on watering for a few days.
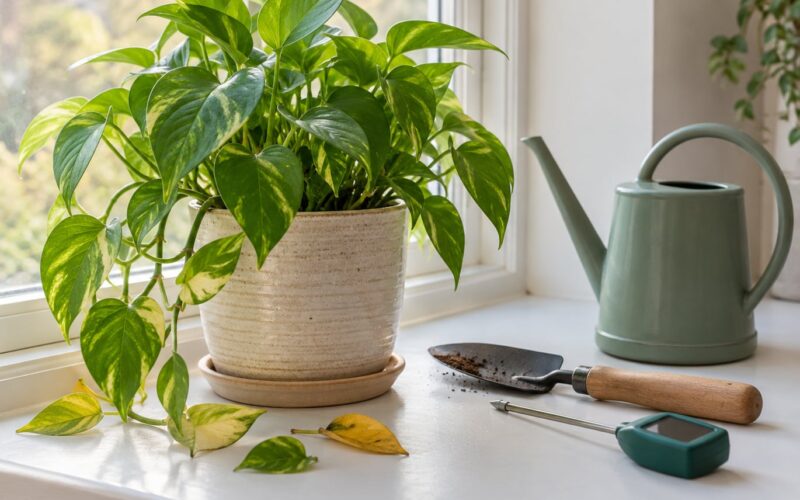
A soil moisture meter costs little and settles arguments faster than squinting at colour, though a finger test is genuinely accurate if you push it past the surface dust.
The pattern to aim for is watering when the soil asks, not on a schedule. Plenty of people find that in a warm room a plant needs water every 5 to 7 days, while in a cool room in winter it might go 14 days. Weekly is a check, not an instruction.
Choose the right light and temperature
Match the label, not the windowsill you happen to like. Bright indirect light means near a window but out of the sun’s direct path, which in most homes is a metre or two back from the glass. Direct sun suits a small group of plants and scorches the rest in one afternoon.
Watch the spot for a few days before you commit the plant to it. Note where the sun patch falls in the morning and where it has moved by mid-afternoon. That gives you the honest version of the light, which is very different from what the window looked like at 11am when you were choosing shelves.
Plants do fine in lower light, but they grow more slowly and stretch toward the window. That is a slow problem rather than a crisis, and a grow light solves it if the room is genuinely dim. It is not a substitute for placing a sun-loving plant correctly.
Keep the plant out of drafts: doorways, draughty windows, radiators, air conditioning vents and ceiling fans. Constantly moving air dries leaf edges and makes an already stressed plant lose more water than it can replace.
Cold glass is its own issue. A leaf touching a winter window can be several degrees below room temperature, which shows up as brown patches exactly where the leaf met the pane. Keep a hand’s width between foliage and glass.
Acclimate the plant gradually
Transition shock is the response to light, humidity, temperature and airflow all changing at once. Nothing fixes it, and nothing causes it either. You just stop adding to it.
Give it at least 48 to 72 hours before doing anything else. In that window: no repotting, no fertilising, no pruning, no leaf-shining products, and no rearranging of the plant’s position. Do not try to fix one wilted leaf by moving the plant somewhere else.
If it needs to go somewhere brighter, step it up rather than jumping. A plant coming out of a shaded greenhouse into a south-facing window can lose a lot of foliage to sun scorch. Move it closer to the light every week or so instead, and hold off on direct sun for a couple of weeks.
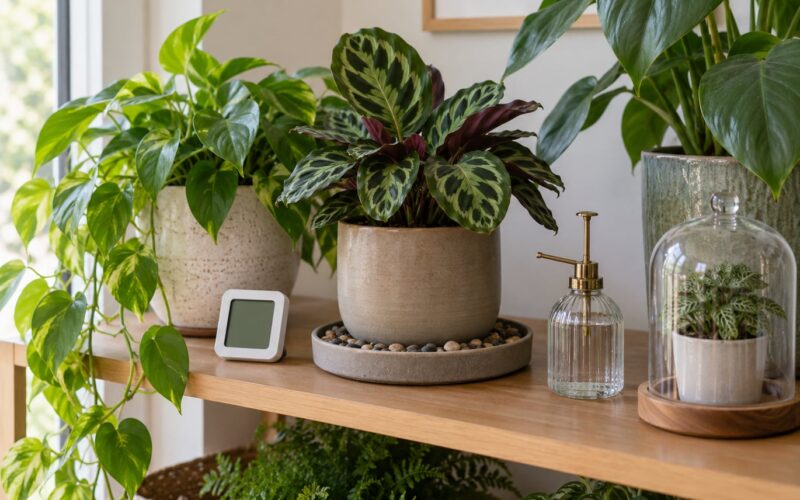
Watch for leaf curl, a little drooping, one or two yellow leaves and reduced movement on plants with sensitive leaves such as prayer plants. All of that is common in the first week and settles on its own as the plant adjusts.
Full recovery usually takes two to three weeks, and the honest test is not the leaves. It is the first new leaf. Until you see one, you cannot say the plant is thriving, but you also cannot say it is dying.
Check again after the first week
At day seven, look at five things.
- Soil moisture. Does the top inch feel damp, dry or somewhere between? This sets your watering rhythm for the next few weeks.
- Leaf condition. Compare against your day-zero photo. Are the same leaves there, or has anything new appeared since?
- New growth. A new leaf or a new spear is the best news you can get. Watch for it weekly.
- Drainage. Does water leave the pot freely when you water, and is the saucer emptying?
- Stability. Is the pot still upright and secure, or is the plant top-heavy and leaning?
If the soil is draining well, leaves are holding, and there is no new damage, keep doing exactly what you are doing. Consistency beats adjustment in month one.
Investigate when symptoms are moving rather than fading: yellowing spreading to new leaves, a soft stem near the soil, a sour smell, or new damage appearing daily. Those point at roots, light or pests rather than adjustment.
On quarantine, plan the full two to four weeks rather than one. Spider mite eggs hatch in roughly seven days, so two weeks of isolation catches the next generation. Mealybugs and scale cycle more slowly and justify the four weeks, particularly if you already own a collection. Isolation has to be a different room, not the same shelf, because mites and thrips travel short distances on hands, sleeves and shared tools.
No spare room? A ventilated clear plastic bag over the plant and pot, left open at the top and kept out of direct sun, gives you a workable barrier. A closed bathroom works too if it has light. Failing that, keep the plant on a separate surface, wash your hands after handling it, and never use the same pruning tools without a wipe-down.
Different sources carry different risk. Plants from a big-box greenhouse arrive in dense batches where pests spread quickly, plants from an independent nursery are usually grown more spread out but still unchecked, and shipped plants spend days in dark boxes where a leaf gets damaged and thrips ride along. None of that means skip inspection.
Common Mistakes
Watering on a fixed schedule. Every plant is on its own clock, and a store plant’s clock starts wet. Fix: check the soil with a finger every few days and water only when the top inch is dry.
Putting every plant on one windowsill. A west window is bright indirect light for a pothos and a slow roast for a fern. Fix: read each label and spread plants by light need rather than by shelf space.
Repotting in week one. This stacks root disturbance on top of relocation shock, and the plant cannot absorb both at once. Fix: keep the nursery pot for two to four weeks, and repot later into a pot only one or two inches wider.
Moving the plant around every other day. Each move resets acclimatisation. Fix: pick the spot during the first 72 hours and leave the plant alone until it has produced a new leaf.
Using a pot with no drainage. Water has nowhere to go, so the compost stays saturated and roots suffocate. Fix: use a pot with a hole, or keep the nursery pot inside a cachepot and empty the saucer after watering.
Ignoring the tag. It is free information about light, water and plant identity, and it disappears the moment you throw it away. Fix: photograph it on arrival and keep the pot for reference.
Spraying everything preventively. Treating a healthy plant on day one adds stress and sometimes burns leaves in bright light. Fix: inspect thoroughly, and treat only what you have actually found.
One habit worth keeping after the first week: check soil before you check anything else. Almost every problem people bring to a plant forum is diagnosed by a finger in the compost, and the answer is usually water, light or a pot problem rather than a mystery disease.
Frequently Asked Questions
Should I water a plant immediately after bringing it home?
Usually not. Store plants are watered regularly in the greenhouse and often arrive sitting in wet compost, so an immediate second watering is the most common cause of early death. Push a finger about an inch into the soil first. If it feels cool and damp, wait until the top inch is dry. Water thoroughly only when it is dry, and let the pot drain fully.
Do I need to repot a plant I bought from a store?
Not in the first few weeks. Keeping the same pot and the same soil means one less change for a plant already adjusting to new light, temperature and humidity. Repot later, ideally during active growth in spring or summer, and only when the plant is genuinely rootbound with roots circling or pushing out of the pot. Go one or two inches wider, never several sizes at once.
How long should a new plant stay in the same spot?
At least two weeks without moving it, and ideally until it puts out a new leaf. Relocation shock and sun adjustment both take time, and each move restarts the clock. If it needs brighter light, step it closer a little at a time over a couple of weeks rather than moving it straight to a sunny window, where the leaves may scorch.
Why are the leaves of my new plant drooping or turning yellow?
A drooping plant has two very different causes, and the soil tells you which. Wet compost plus drooping means too much water, and more water will finish the plant. Dry compost plus drooping means thirst, so water now. One or two yellow leaves in week one is normal adjustment. Yellowing that spreads to new leaves, a soft stem near the soil or a sour smell points at root rot and needs repotting into fresh mix.
Can I keep a store-bought plant in its nursery pot?
Yes, and for the first few weeks that is usually the better choice. A plastic nursery pot with drainage holes does the job perfectly well; drop it inside a decorative cachepot for appearance and take it out to water. Replace it only when the plant is clearly rootbound or the pot is damaged. If the pot has no drainage hole, use it as a cachepot inside a hole-less outer pot and never let it stand in water.
How do I check whether the pot has good drainage?
Look at the bottom first. Water needs at least one hole, and the pot should sit on a saucer or in a cachepot that you empty after watering. To test it, run water through the pot over a sink or in the shower; if very little comes out and the compost stays soggy, drainage is blocked. Clean the holes with a skewer, or repot into a pot with proper drainage before the plant sits in wet soil.
If you do only one thing today, put your finger in the soil before you water anything. Inspect the leaves for pests, choose the spot, and then leave the plant alone for a week. That single habit is most of what to do when you bring a plant home from the store, and it covers almost everything that goes wrong after that.