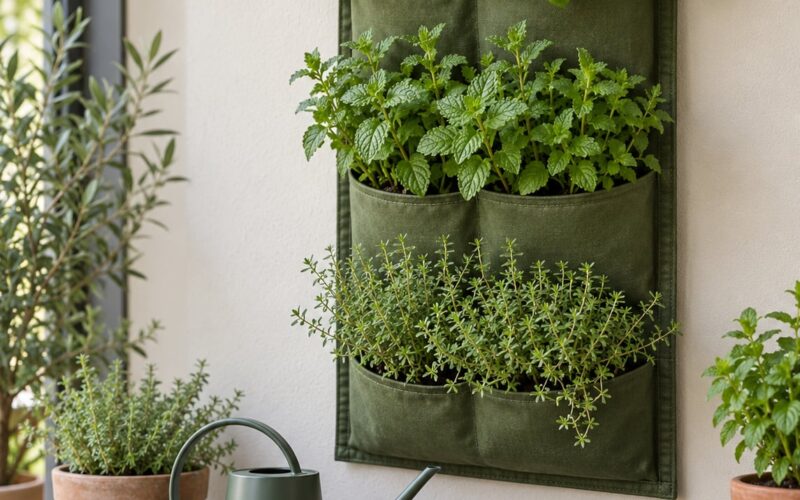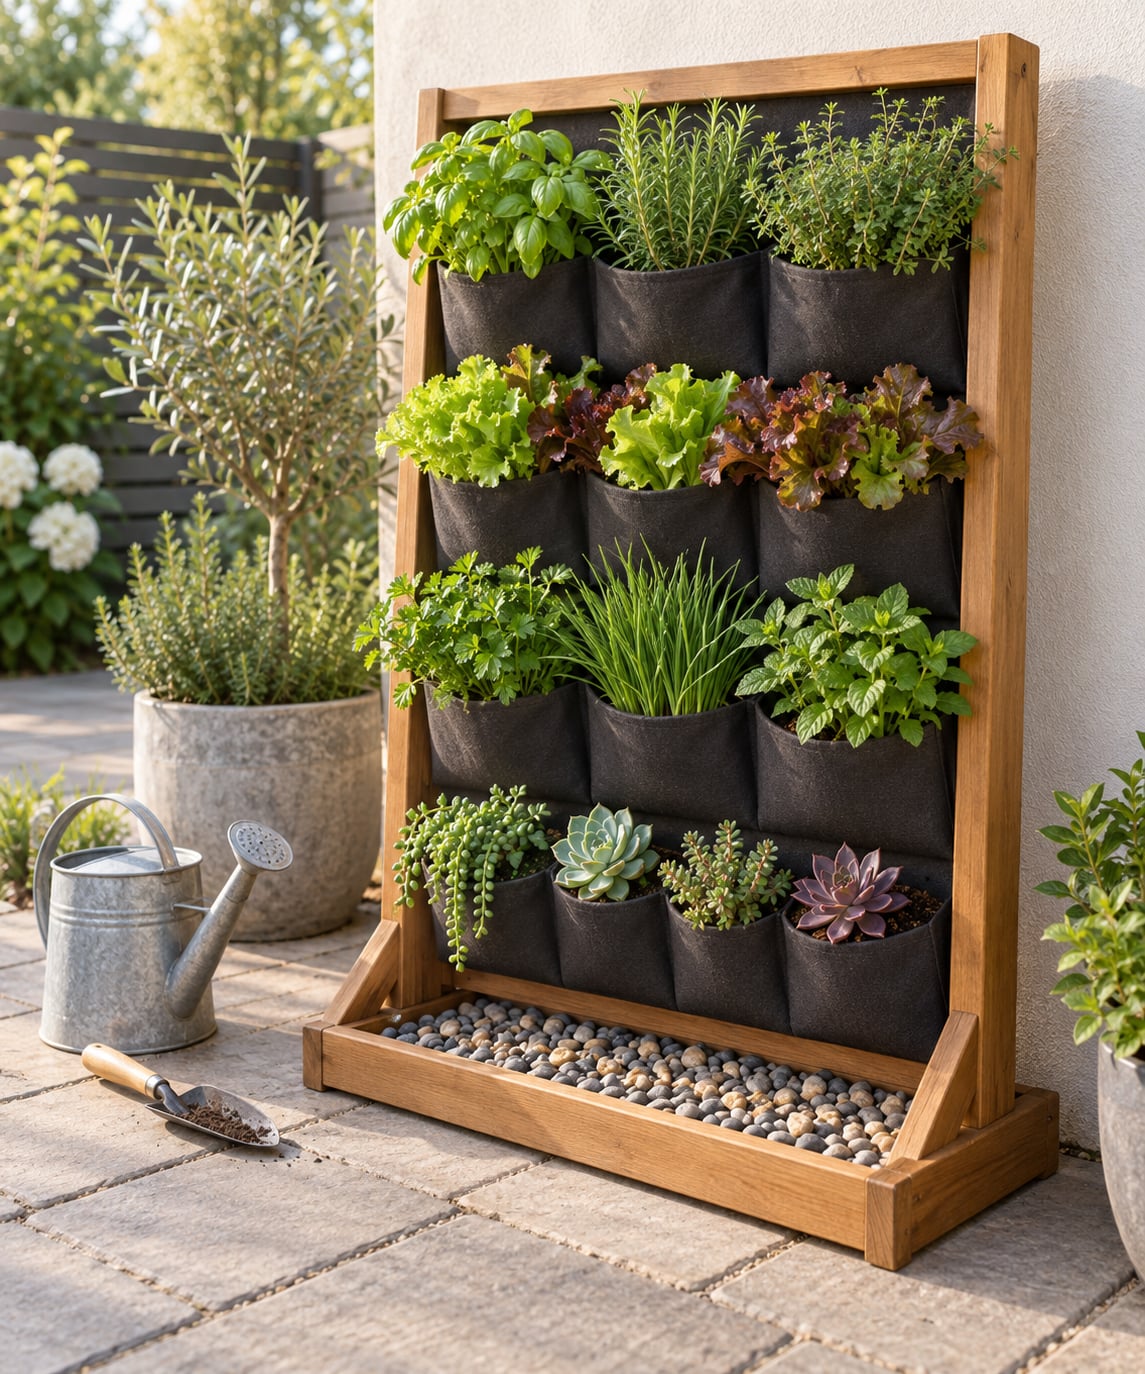
A DIY pocket planter wall is the cheapest square foot of growing space you can add to a small patio without taking any of it off the floor. Build one on a freestanding frame or hang felt pockets over a fence, and you get herbs, salad greens and trailing ornamentals at arm’s reach instead of another row of pots eating the walking space. Most first-time builds take a weekend afternoon, and the hard part is not the carpentry, it is getting the weight and drainage right.
The mistake almost everyone makes is treating it as a decorating job. It is a structural one. Get the frame rigid, the pockets level and the water moving before you plant anything, and the wall will still look good in three years.
Table of Contents
- What You Need
- Step-by-Step: How to Build a DIY Pocket Planter Wall
- Step 1: Measure the patio and choose the pocket planter wall position
- Step 2: Build or prepare a stable planter support
- Step 3: Add waterproofing and drainage layers
- Step 4: Attach the pockets and test the water flow
- Step 5: Fill the pockets and choose the right plants
- Step 6: Water, position, and maintain the finished wall
- Common Mistakes
- Frequently Asked Questions
- Can I build a pocket planter wall on a small patio without attaching it to a wall?
- What plants work best in a DIY pocket planter wall?
- How do I prevent water from damaging the patio?
- How often should I water a pocket planter wall?
- How heavy can a DIY pocket planter wall safely be?
- Do I need a waterproof liner behind the planter pockets?
- Conclusion
What You Need
The list is short if you keep the wall small. A 4ft by 4ft panel is the sweet spot for a patio: big enough to look intentional, small enough that one person can lift it into place and a single tap can water it.
| Item | Quantity for a 4ft x 4ft wall | What it does |
|---|---|---|
| Planter frame or fence backing | 1 | Carries the load and defines the wall shape |
| Felt or recycled PET pockets | 8 to 12 | Hold the mix; porous fabric lets roots air-prune |
| Waterproof liner sheeting | 1 large sheet | Stops moisture reaching the wall or patio |
| Stainless screws and eye hooks | 12 to 20 | Fix pockets to the frame at rated load |
| Free-draining potting mix | 2 to 3 bags | Root zone; keep it light, not dense garden soil |
| Mesh, gravel or perlite | 1 bag | Holds mix out of drainage holes and the drip tray |
| Shallow drip tray or gravel-filled base tray | 1 | Catches runoff and keeps it off the paving |
| Basic hand tools | Drill, driver, tape measure, snips, level, trowel | Everything else is optional |
Before you buy anything, spend ten minutes assessing the patio. Note how many hours of direct sun the spot gets, how hard the wind hits it, and whether there is a tap or hose reel within reach.
Light decides your plant list more than anything else. Six hours of sun suits herbs, most annuals and fuller succulents. A wall in bright shade with maybe two hours of light is a different project, and you would be looking at mint, parsley, chives, violas and foliage plants that tolerate low light.
If you are renting, keep the mounting idea at the back of your mind from step one. Anything that needs holes in a wall is off the table, which leaves two routes: a freestanding A-frame you build yourself, or pockets hung over the top rail of an existing fence.
Step-by-Step: How to Build a DIY Pocket Planter Wall
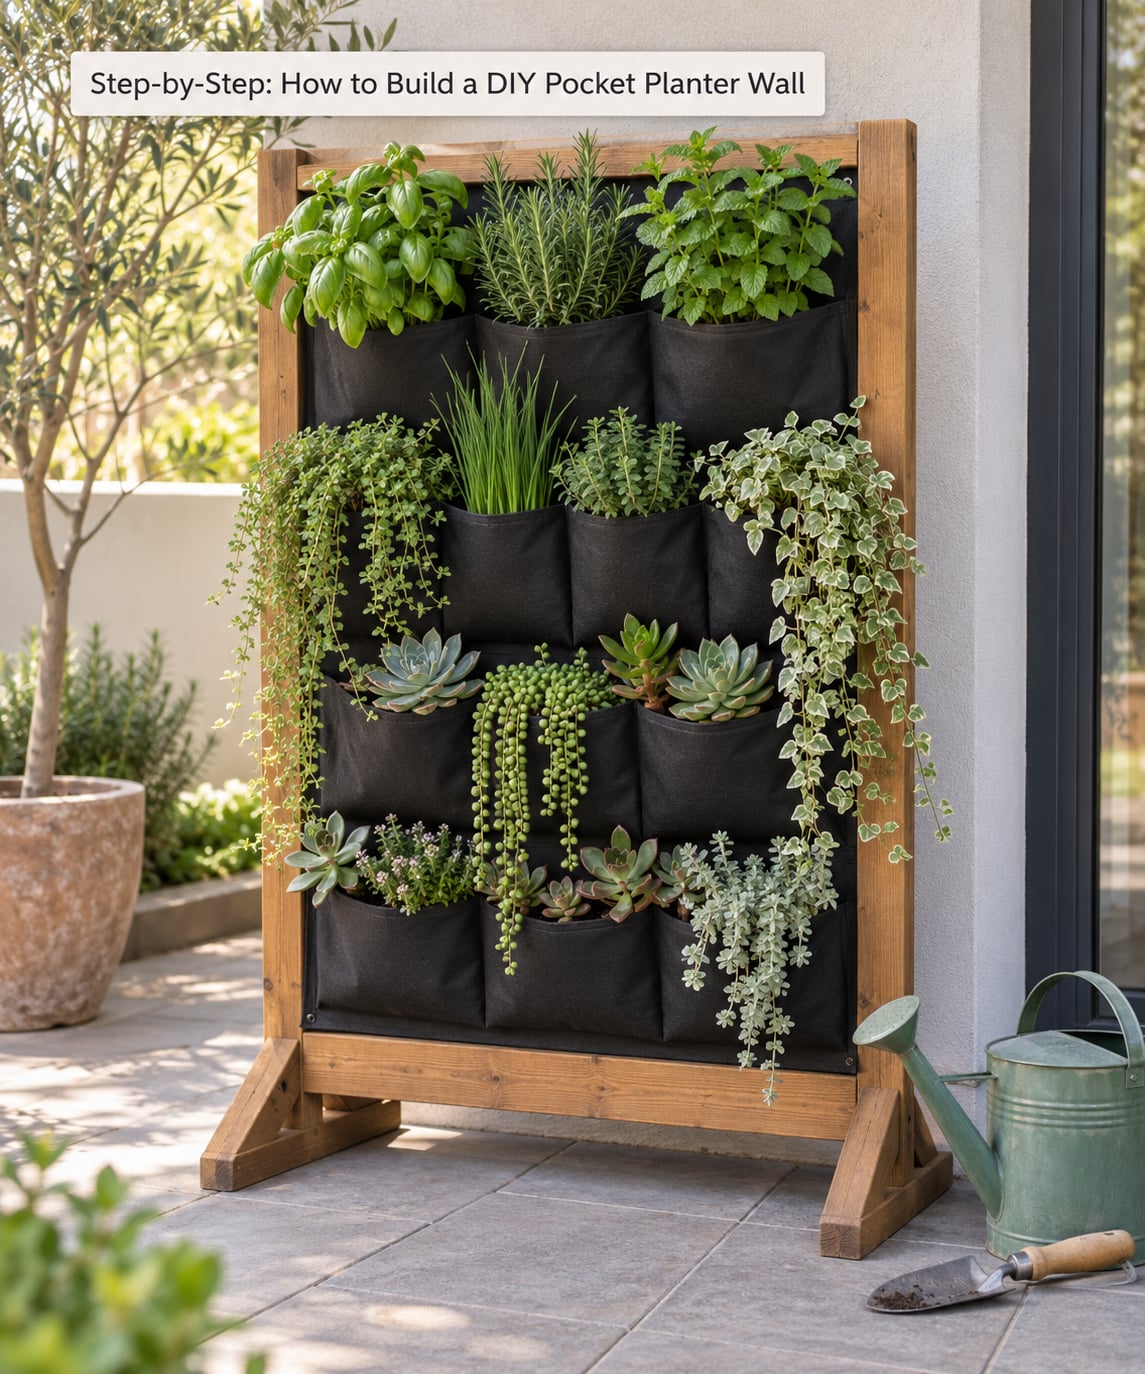
The build goes in six stages: site it, build the support, waterproof and drain it, hang the pockets, fill and plant, then maintain. Work in that order and each stage is easy to check before you move on.
Step 1: Measure the patio and choose the pocket planter wall position
Choose a spot with at least six hours of sun if you want herbs and greens, and one that is sheltered, because a tall planted panel catches wind like a sail. Keep the wall clear of door swings, gutters, downpipes and any escape route you need to reach.
Stand where you will stand when you water it. If the top row is more than arm’s reach without a step stool, you will end up skipping the top row, and that is the row everyone can see.
A second check is worth doing at the same time: look for the wall’s load capacity, or the absence of one. If you are fixing into masonry, a landlord’s wall or a lightweight fence panel, plan a freestanding frame instead. A one-gallon bucket of water weighs about 8.3 pounds, and a full wall weighs many times that.
Step 2: Build or prepare a stable planter support
A pocket wall needs a rigid, well-braced back panel, not a flat sheet of anything. A 4ft by 4ft frame with 2×4 uprights at each side, a center upright and a diagonal brace across the back will hold a fully loaded wall for years.
Keep the finished frame about 6 inches wider than the pocket array on each side, and leave a 3 to 4 inch gap between the back of the frame and any wall behind it. That gap is what lets air move and water dry out instead of sitting against the surface.
Use exterior-rated timber and stainless or galvanized fixings. Ordinary drywall screws will not carry this load outdoors, and a frame that is square and braced now is far cheaper than a leaning one later.
Step 3: Add waterproofing and drainage layers
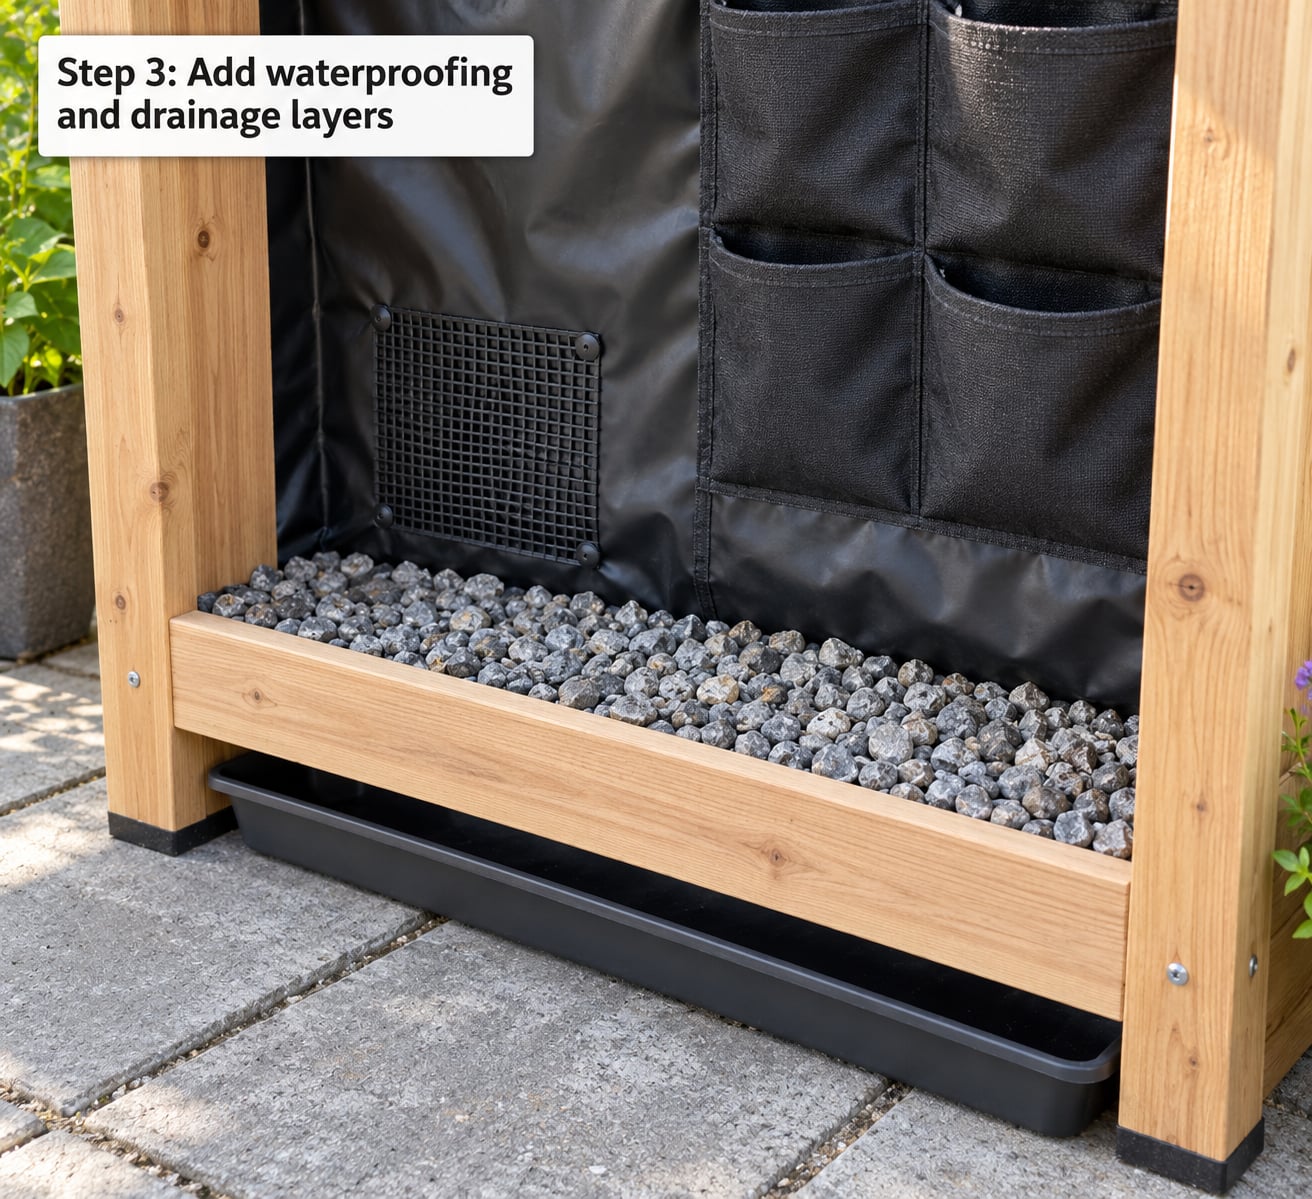
Line the back of the frame with waterproof liner sheeting, cut slightly larger than the frame and stapled along the edges. This is the layer that stops a saturated pocket from soaking the timber behind it or leaving a damp stain on the patio.
Pockets need to drain, but they need to drain into something. Line each pocket with a small square of mesh or add a thin layer of gravel or perlite at the bottom so mix does not wash straight through and out of the seam.
Under the whole frame, sit a removable drip tray or a gravel-filled base tray on paving stones. It catches the runoff, keeps it away from the surface below and lets you tip the water away when it turns bitter.
Test the whole arrangement before you fill a single pocket. Pour a jug of water into each pocket in turn and watch where it comes out. Anything that runs over the front lip instead of draining through the base is a pocket installed too far forward, and you want to know now.
Step 4: Attach the pockets and test the water flow
Fix the pockets in evenly spaced rows with two screws or a hook per pocket, working from the bottom row upward. Even spacing matters more than perfect alignment, because uneven pockets load unevenly and eventually pull loose.
Watch the sag. A pocket filled with damp mix pulls forward, and the water dumps off the front edge instead of reaching the roots. If your pockets hinge, add a small rigid clip at the base of each one or screw the outer edges straight to the frame so the pocket holds its shape.
Some builders run a thin drip line along the top edge of each row with a dripper dropping into every pocket. That turns a twice-a-day job into a five-minute one, and it is the single upgrade most worth making.
Step 5: Fill the pockets and choose the right plants
Use a free-draining potting mix, not garden soil and not heavy peat-based compost. A bag of general container mix with perlite mixed through it is ideal, and filling a pocket about two-thirds full leaves room to water without mix spilling over the rim.
Match the plant to the pocket. A 6 inch pocket fits compact herbs, salad greens and small annuals. A 12 inch pocket with a full 12 inches of depth will take a strawberry plant or a small tomato, but only if it gets the sun they need.
| Plant type | Minimum pocket depth | Light | Watering |
|---|---|---|---|
| Thyme, oregano, sage, winter savory | 4 in | Full sun | Light, let dry between waterings |
| Chives, parsley, cilantro, mint | 6 in | Sun to part shade | Regular |
| Lettuce, mizuna, arugula, kale | 6 in | Part shade | Regular |
| Strawberries | 8 in | Full sun | Regular |
| Sedum, echeveria, other succulents | 4 in | Full sun | Minimal |
| Nasturtium, calibrachoa, trailing annuals | 6 in | Sun to part shade | Regular |
| Ferns, violas, heuchera | 6 in | Part shade to shade | Keep evenly moist |
Two things not to grow in shallow pockets. Skip deep-rooted crops like carrots, parsnips and beets, and skip anything with a mature size bigger than the pocket, because a plant that outgrows its pocket tips forward and dries out in a week.
A community approach worth borrowing: set a nursery pot inside each pocket rather than planting bare-rooted. The pot gives you drainage, a replaceable root zone and a plant you can swap out in seconds when it declines.
Step 6: Water, position, and maintain the finished wall
Soak the wall thoroughly the day you finish planting, then check it the next morning. Any pocket that has dried out completely or slumped forward is a pocket you did not pack firmly enough, so press the mix down and re-seat the plant.
Move the wall into its final position once it is planted, because it will be awkward to move loaded. On an exposed patio, brace the back to the fence or wall with two straps at the top and bottom, and never leave it standing free in a wind tunnel.
Keep a clear path to the top row for pruning and deadheading. A wall you cannot reach into is a wall that stops looking good by August.
As of 2026, most pocket growers settle into a simple routine: check moisture with a finger every morning, water thoroughly twice a week in summer and weekly in spring, feed with a dilute liquid fertilizer every four to six weeks once growth starts, and repot or replace any plant that fills its pocket by midsummer. That is genuinely all of it.
Common Mistakes
Most pocket wall failures come down to four things: weight, water, light and soil. Here is what each one looks like and how to fix it.
| Symptom | Cause | Fix |
|---|---|---|
| Wall leans or fixings pull out | Load underestimated; drywall or short screws used | Rebuild as a braced freestanding frame, or use masonry-rated anchors and longer screws into solid material |
| Yellowing leaves, growth stalls mid-season | Nutrient exhaustion in a small volume of mix, usually mistaken for thirst | Feed with dilute liquid fertilizer monthly; refresh the top inch of mix each spring |
| Water pours off the front edge | Pockets mounted too far forward or unsupported when full | Fix the pocket base with a clip, or screw the outer edges to the frame so it holds its shape |
| Brown runoff staining the patio below | No liner, no drip tray, or blocked drainage | Add a waterproof liner behind the pockets and a removable tray under the frame; tip the tray out weekly |
| Outer plants wilt by midday, inner ones fine | Direct sun and wind on the exposed outer pockets | Shade cloth over the wall in peak summer, or move succulents to the outer column and shade-tolerant plants to the edges |
| Pockets empty within a day in heat | Overfilled with dense mix, or no drip line | Use a lighter mix and run a drip line with one dripper per pocket along each row |
| Roots circling and plant wilts from the inside | Roots not air-pruning at the pocket edge | Switch to porous fabric pockets, or use nursery pots inside the pockets so roots hit a hard boundary |
| Plants dead by the end of one season | Root-bound; no size matched to pocket depth | Pick compact varieties, and swap plants seasonally instead of stretching one plant to fill the space |
Two design tips that pay off more than anything else. Keep the wall wide rather than tall, because a wide panel is stable and a tall one is not. And leave an empty pocket or two at the bottom for overflow, since the most vigorous plant will always want to move up a row.
One maintenance tip: check the liner and fixings twice a year, in spring and fall. Fabric and timber both move with the seasons, and a pocket that has crept forward will be pouring water on the ground by late summer unless someone looks at it.
Frequently Asked Questions
Can I build a pocket planter wall on a small patio without attaching it to a wall?
Yes, and for most patios it is the better option. A freestanding A-frame or a braced 4ft by 4ft panel standing on paving stones needs no holes at all, which makes it ideal if you rent. Weight the base with the drip tray filled with gravel, brace the back diagonally, and strap the top to a fence or railing if the spot is windy. You can still move it, just not once it is full.
What plants work best in a DIY pocket planter wall?
Compact, shallow-rooted plants that finish small: thyme, oregano, chives, parsley, lettuce, mizuna, kale, strawberries, sedum, echeveria, violas and trailing annuals like nasturtium. Match the plant to the pocket depth, not the other way round, and skip root vegetables such as carrots and beets. Herbs and greens want regular water; succulents want to dry out between waterings, so keep them in separate pockets from your salad greens.
How do I prevent water from damaging the patio?
Three layers do most of the work. Line the back of the frame with waterproof sheeting stapled along the edges, put mesh or a gravel layer in the bottom of each pocket so mix does not wash out, and stand the frame on a removable drip tray filled with gravel. Check the tray weekly in summer and tip the water away rather than letting it stand, which is what causes staining and smells.
How often should I water a pocket planter wall?
Check it every morning with a finger, then water to that, rather than following a fixed schedule. In summer heat most felt pocket walls need a soak two or three times a week, and daily during a hot spell, with the outer and top rows drying first. In spring and fall once a week is usually enough. A drip line with one dripper per pocket along each row is the best upgrade, because it takes five minutes instead of twenty.
How heavy can a DIY pocket planter wall safely be?
Budget for saturated weight, not dry weight. A typical 12 by 6 inch pocket holds roughly 1 to 2 pounds of dry mix and 3 to 4 pounds when wet, so eight to twelve pockets add up to 30 to 45 pounds on a 4ft by 4ft wall, plus the frame. Spread that load across at least four rated fixings, use masonry-rated anchors, and if in doubt build it freestanding.
Do I need a waterproof liner behind the planter pockets?
Yes, if the frame touches a wall, fence or the paving. Saturated fabric pockets drip, and without a liner the moisture stains the surface behind and eventually rots the timber or the fence board. A single sheet of pond liner or damp-proof membrane stapled to the back of the frame costs very little and takes ten minutes to fit. A freestanding frame on a gravel tray needs it less urgently but still benefits.
Conclusion
A DIY pocket planter wall for small patios is really three decisions: a stable support, a working drainage path and plants that suit the light you have. Get those right and the rest is a weekend of assembly and an afternoon of planting.
Start by measuring the space and standing in front of it, then count the sun hours and decide whether you are fixing to a wall or building a freestanding frame. After that, build the frame, line it, drain it and test it with a jug of water before a single seed goes in. Plant shallow, water often, and feed monthly, and you will have herbs within arm’s reach all season without giving up an inch of patio floor.