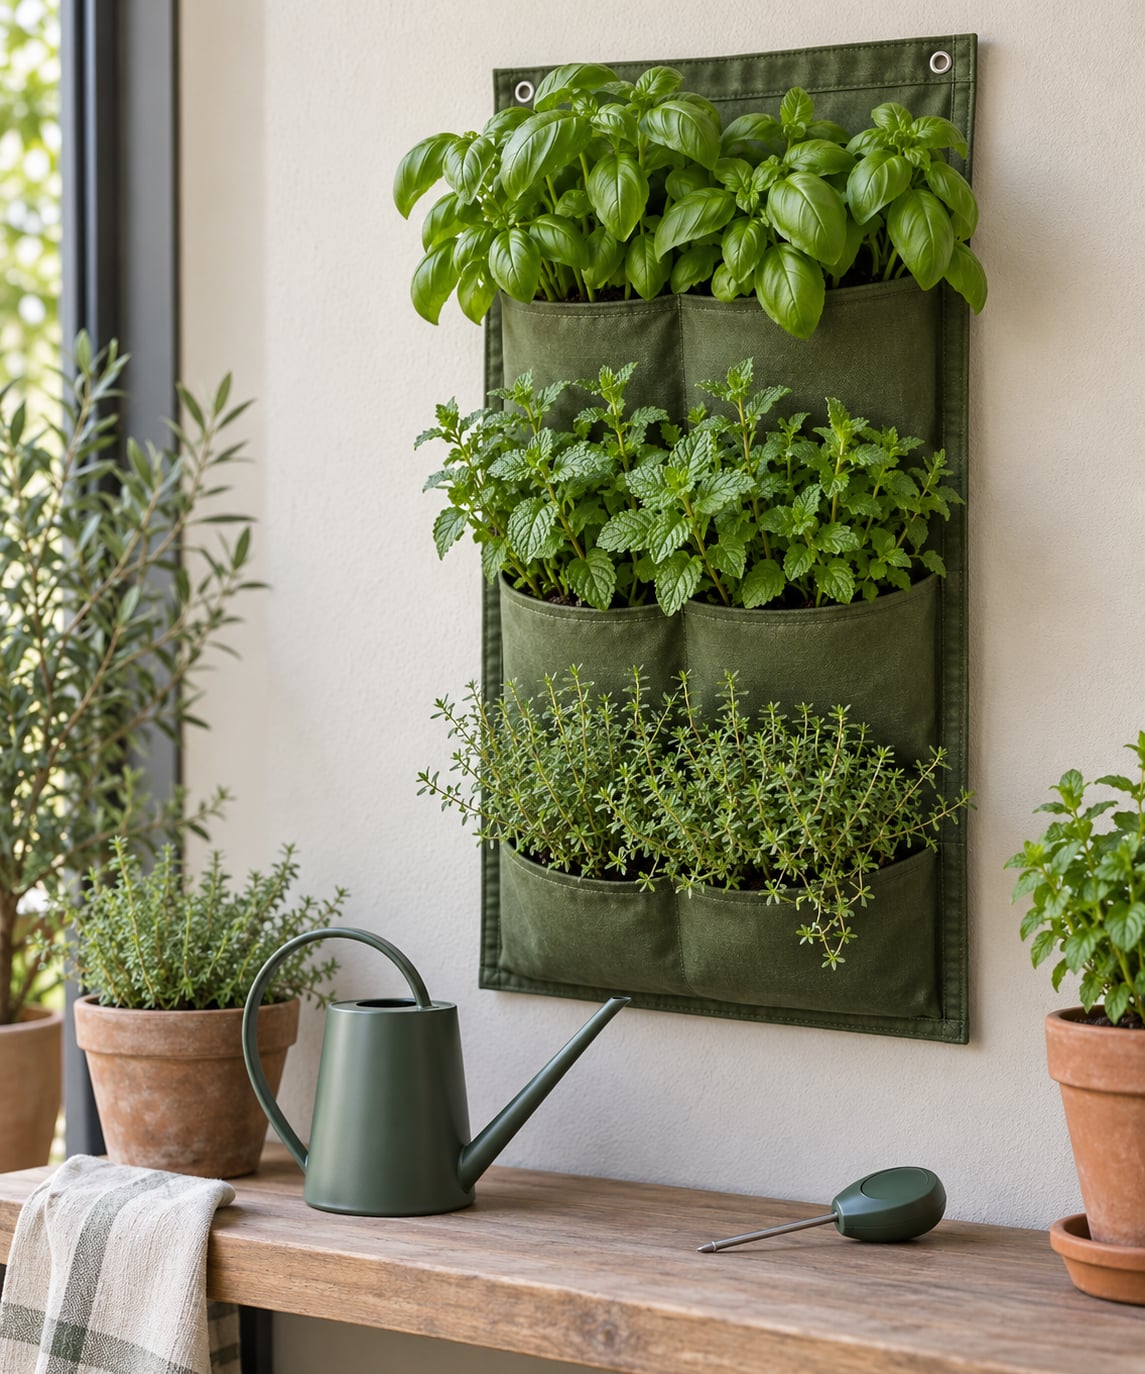
A vertical herb garden watering schedule works best as a starting point rather than a fixed rule. Check the top 1-2 inches of soil in several pockets, then water when that layer feels dry and the soil below still holds moisture. In summer that often means every 2-3 days; in cooler months, once a week or less.
Vertical gardens dry out faster than a bed in the ground. Air moves around every pocket, soil volume is small, and water you pour at the top runs straight down through the tiers instead of soaking sideways. Get that wrong in either direction and you get the usual problems: root rot in the lower pockets, wilted basil at the top.
Most experienced growers I talk to throw out calendar-based watering almost entirely. They check the soil, water the root zone slowly, and write down the interval. That interval becomes your schedule, and it changes as the season, the light and the size of the plants change.
Table of Contents
- What You Need
- Step-by-Step: Build Your Vertical Herb Garden Watering Schedule
- Step 1: Group Herbs by Watering Needs
- Step 2: Check Moisture Before You Water
- Step 3: Water the Root Zone Slowly
- Step 4: Adjust for Light, Heat and Growth
- Step 5: Build a Weekly Routine Around Your Watering Schedule
- Common Mistakes
- Frequently Asked Questions
- How often should I water a vertical herb garden?
- Should I water my vertical garden every day in 100 degree weather?
- How do I tell if my plants are overwatered or underwatered?
- How do I water a vertical herb garden while on vacation?
- Can I run drip irrigation on a timer for a vertical herb garden?
- Should I water vertical herbs in the morning or the evening?
- Conclusion
What You Need
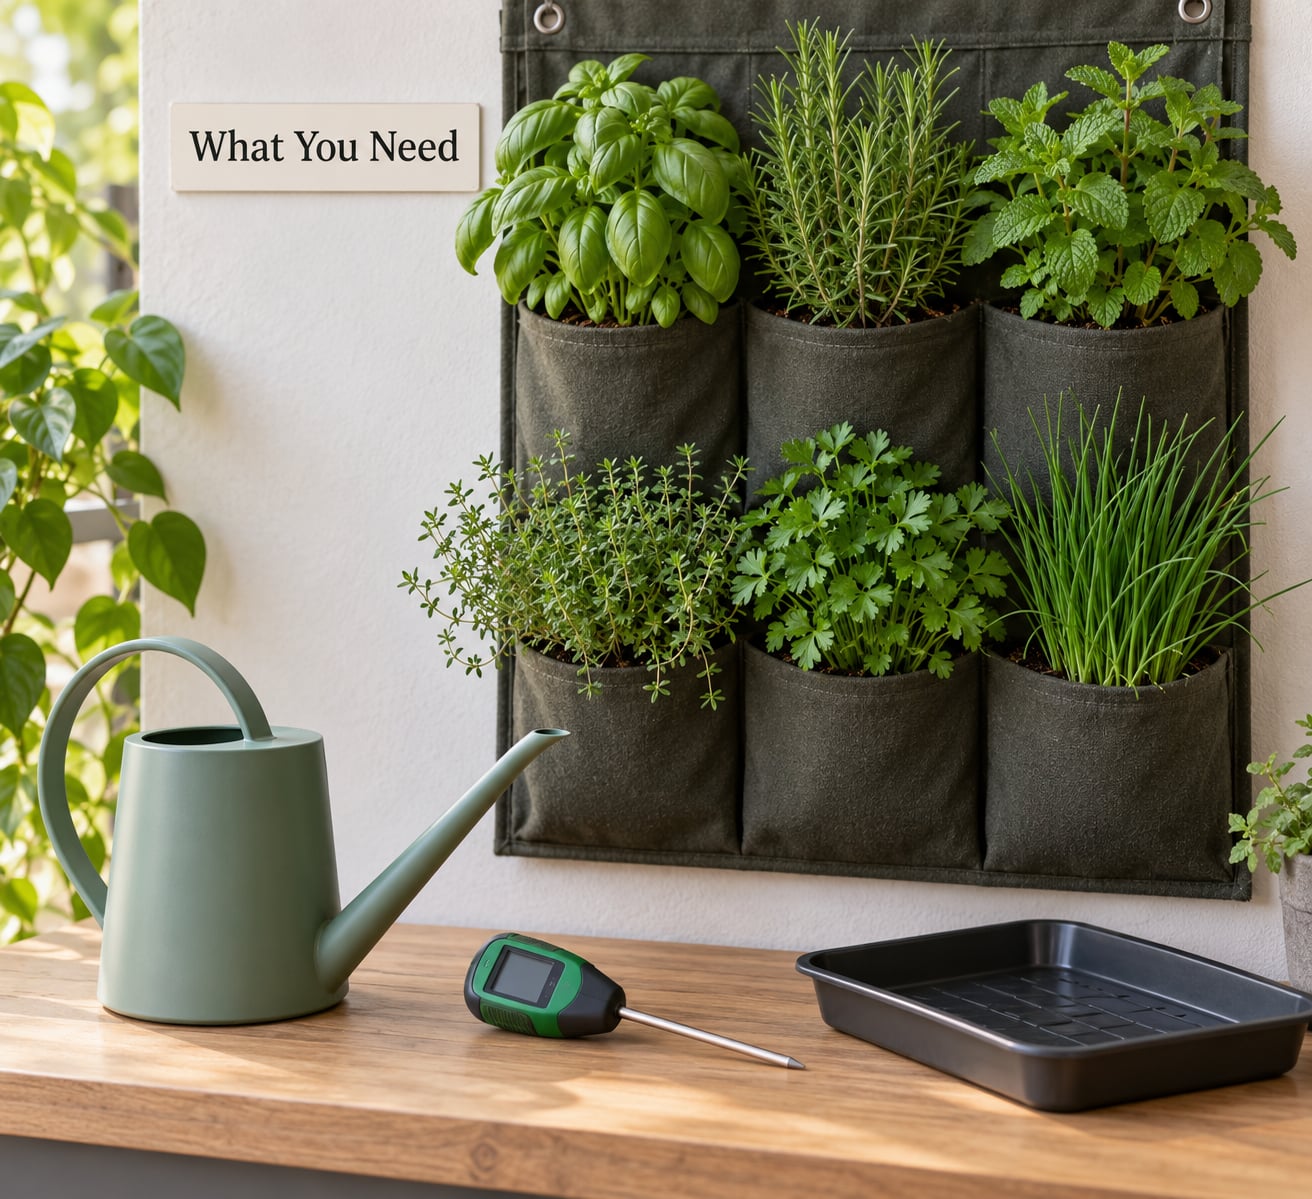
You do not need much to run a reliable routine, and none of it is specialized equipment. Here is the short list I would assemble before touching the plants.
- Well-draining herb mix. A quality potting mix amended with perlite, pumice or coarse sand drains freely and holds air around the roots. Peat-heavy mixes that hold water like a sponge are the main reason vertical gardens rot.
- Containers with drainage holes. Check every pocket, tray and saucer in the system before you plant. A pocket without drainage has no schedule that saves it.
- A watering can with a narrow spout, or a watering wand. A gentle, targeted stream is what you want. A wide rose sprays leaves and wastes water on the wall.
- A moisture meter or a wooden tester. A meter takes the guesswork out of deeper pockets you cannot reach with a finger.
- A drip-irrigation option for larger systems. A tower or a full green wall is impractical to hand-water consistently. Small systems do not need it at all.
- A calendar, a notebook or a phone reminder. You are recording dates, not obeying them. The record is what tells you the schedule is drifting.
One small addition worth having is a cheap kitchen scale. Lift a pot before and after watering and write the difference on the pot rim with a marker. Weight is the most honest moisture test there is, and it works on any system you can pick up.
Step-by-Step: Build Your Vertical Herb Garden Watering Schedule
Step 1: Group Herbs by Watering Needs
Start by sorting your herbs into two groups, because one watering routine rarely serves both. Thirsty herbs include basil, mint, parsley, cilantro and chives. Mediterranean herbs include thyme, rosemary, sage, oregano, marjoram and lavender.
Basil will tell you within hours when it is unhappy, and mint is close to impossible to overwater. Rosemary and thyme rot in soil that stays wet, and they genuinely prefer to dry out between drinks. Plant both groups in the same pocket and you are choosing which one suffers.
How you separate them depends on your system. In a tower with five tiers, put all the Mediterranean herbs on the lowest tier and the thirsty herbs above. In a pocket planter, dedicate one row to each group. With individual containers on a wall shelf, you can simply group them physically and water them in one pass.
You will know the grouping works when the driest and wettest pockets in your system line up with your two groups rather than fighting each other.
Step 2: Check Moisture Before You Water
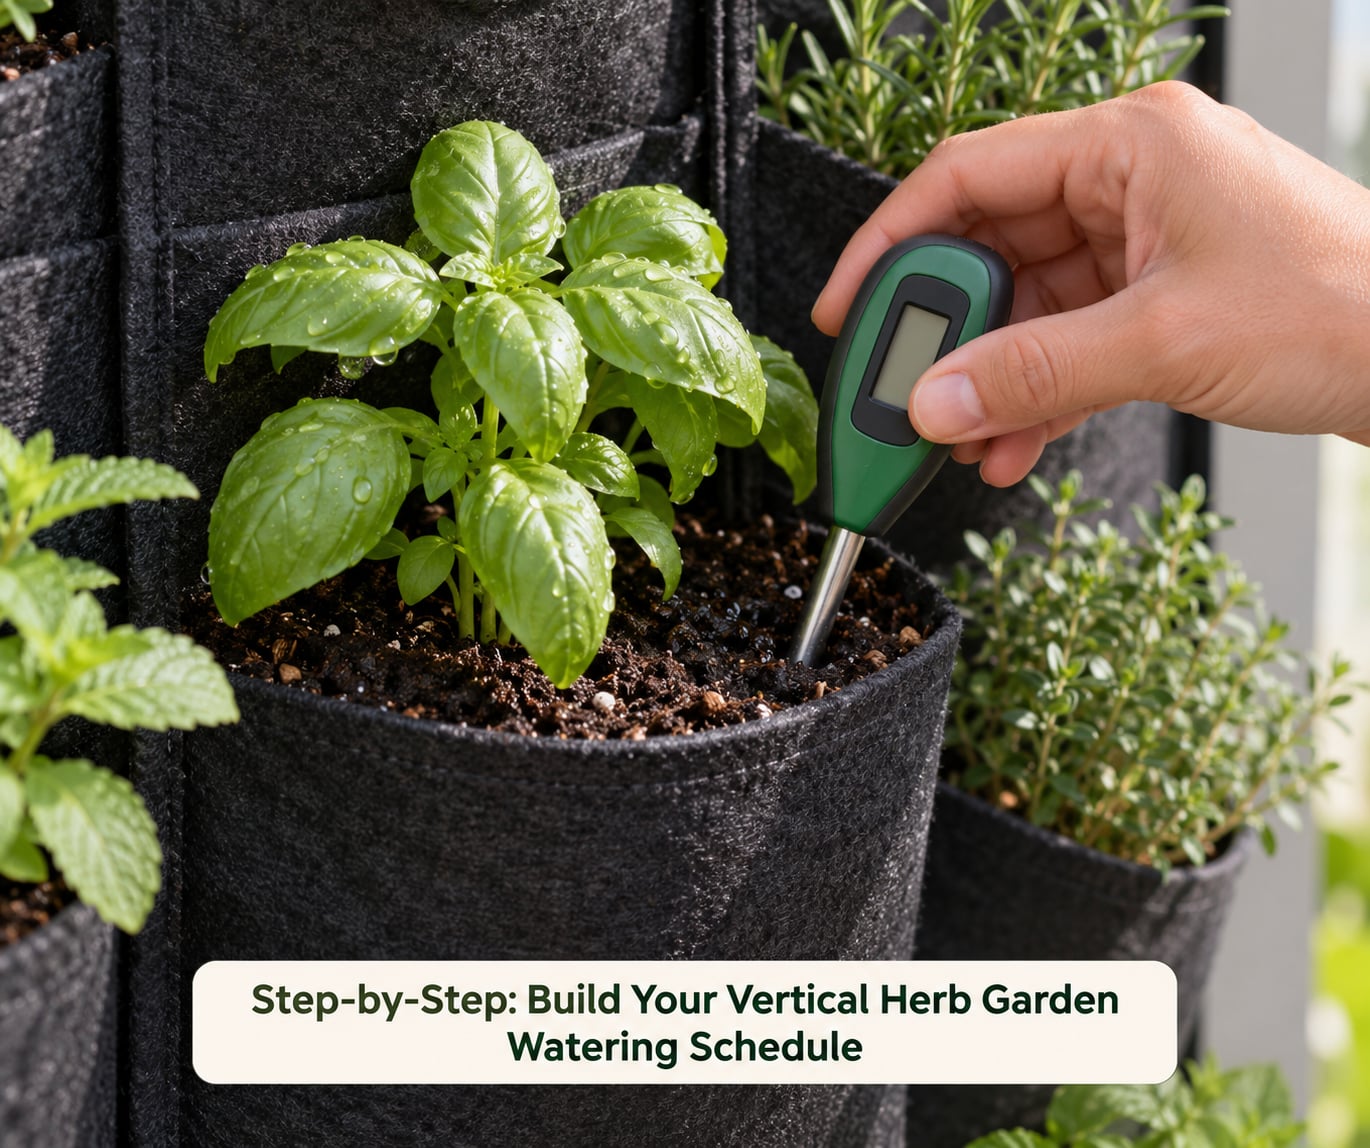
Push a finger about 1-2 inches into the soil in at least three pockets: one near the top, one in the middle, one near the bottom. Do this before you decide, not after you have already watered.
If the surface is dry and cool and the soil an inch down is still slightly damp, wait a day. If it is dry all the way down, water now. Crumbling soil that will not hold its shape, or a pocket that feels light when you lift it, means you are past due.
Check more than one pocket because vertical systems dry unevenly. Upper pockets near a sunny window or an outdoor wall in summer can be dry while the bottom tier is still saturated. In winter the reverse happens: the top stays cool and damp, and the bottom collects runoff.
A moisture meter extends the same test to the root zone. Insert it to the depth of the pot and read the number, then write that number next to the dry reading. Next time you water, you have a real threshold instead of a feeling.
Step 3: Water the Root Zone Slowly
Apply water at the soil, not the leaves, and do it slowly enough that it soaks in rather than running down the wall. Water each pocket or tier until a small amount drains from the bottom. That drainage is how you know the root zone is fully saturated.
Deep, less frequent watering beats a light daily sprinkle. Frequent shallow watering wets only the top inch, which encourages roots to stay near the surface where they dry out fastest and where temperatures swing hardest. Every gardener with a green wall seems to arrive at the same conclusion here, usually after a bout of root rot.
A few container-specific adjustments are worth knowing. Small fabric pockets hold very little medium, so they may need a check every day in high summer and should never be left completely dry. Porous terracotta pulls moisture out of the mix faster than plastic, so expect to water it sooner. Containers with no drainage hole need far less water, and a liner or a layer of gravel at the base helps more than any schedule change.
Stop when drainage appears. Pouring extra water on top of already-saturated soil pushes oxygen out of the root zone, and that is where root rot starts.
Step 4: Adjust for Light, Heat and Growth
Your schedule is a snapshot. These are the things that make it wrong.
Light. A pocket next to a south-facing window in July can lose moisture twice as fast as the pocket on the other side of the same wall. Repositioning a plant changes its schedule, so note any move in your log.
Heat and airflow. Radiators, HVAC vents, dry winter indoor air and outdoor wind all pull moisture out. Wind is the one balcony growers underestimate, and it dries the exposed face of a planter faster than direct sun does.
Humidity. A cool, humid basement corner needs far less water than a warm dry kitchen. In high humidity you can usually stretch intervals by a day or two before the next deep watering.
Growth stage. A seedling in a two-quart pocket uses a fraction of the water a full basil plant does. As roots fill the container and foliage multiplies, shorten the interval. The reverse happens after a heavy harvest, when the plant suddenly loses much of its transpiring surface.
On hot days, an early-morning check tells you more than an evening one. Plants that looked fine at dusk are often visibly wilted by nine the next morning.
Step 5: Build a Weekly Routine Around Your Watering Schedule
Turn your measurements into a routine you will actually keep. Check the top and bottom pockets on the days you cook most, at least three or four times a week, and always before a heat wave or a few days away.
After each watering, note the date, which pockets you watered, and roughly how long it took. After a week of notes, count the days between waterings and that number is your vertical herb garden watering schedule for the current season.
Here is how a working week looks for a five-pocket herb wall kept outdoors in a warm climate, with basil and mint in the upper three pockets and thyme, rosemary and oregano in the lower two.
- Day 1. Finger test the top and bottom pockets, deep water anything dry at 2 inches. Basil pockets usually need this every 2-3 days, lower pockets every 4-5.
- Day 2. Quick check only, no watering unless a pocket feels light. Usually no action in spring or autumn.
- Day 3. Deep water the thirsty pockets, skip any Mediterranean pocket that still holds moisture. This is the main basil and mint watering day.
- Day 4. Inspect for drainage, blocked outlets and dry pockets on the sun-facing side. Catch problems before wilting shows.
- Day 5. Deep water the lower Mediterranean pockets if dry. Thyme and rosemary get their turn.
- Day 6. Light check, water only if a heat wave is underway. An extra watering in midsummer, none in mid-autumn.
- Day 7. Full finger test, note the interval, adjust next week’s plan. Your record is what builds the schedule.
Review the notes every two weeks and shorten or stretch the interval to match. If you are doing two waterings a day, your medium holds too much water or your system lacks drainage. If you are skipping weeks in summer, the medium is probably too coarse and the roots are too shallow.
Common Mistakes
Watering on a fixed calendar without checking. A schedule you never verify is a guess with a date attached. The fix is simple: the finger test comes first, every single time.
Watering the top of the system and letting the rest run through. A fast pour at the top pocket often just drains past the roots and collects in the bottom tray. Fix it by slowing the stream down and watering each pocket individually until drainage appears.
Using potting mix that does not drain. Dense peat-heavy mix in a small pocket holds water for days. Amend it with perlite or pumice, roughly a third of the final volume, and check that every pocket drains.
Mixing thirsty and Mediterranean herbs in one pocket. One schedule cannot fit both. Separate them by tier, row or container, and accept that you will water the lower group less often than the upper.
Ignoring blocked outlets and standing water. Drainage holes mat with root debris and composted medium. Check them monthly with a thin wire or a bottle brush, and empty any tray that holds water after an hour.
Watering every day out of habit. Daily light watering keeps the surface damp and the interior dry, which encourages fungus and weak roots. Fewer, deeper waterings fix both.
Ignoring wilt until it is severe. A basil plant that droops at midday and recovers by evening is telling you its interval is too long. Adjust the schedule before it drops leaves.
Two habits prevent most of this. Mulch the top of each pocket with a centimeter of compost or fine bark to slow evaporation, and water in the morning so leaves that do get splashed dry before evening.
Frequently Asked Questions
How often should I water a vertical herb garden?
Check the top 1-2 inches of soil in several pockets and water when that layer is dry while the soil below still feels slightly damp. In warm weather that is usually every 2-3 days for basil and mint, every 4-5 days for thyme and rosemary, and daily in a heat wave. In cooler months, once a week or even every two weeks can be right. Treat those numbers as a starting point and let the soil decide.
Should I water my vertical garden every day in 100 degree weather?
Not automatically. Daily watering is justified in extreme heat only when the soil is genuinely dry at 2 inches, and even then a deep watering every morning is better than a light sprinkle twice a day. Check the top, middle and bottom pockets separately, because the bottom tiers often stay wet while the top wilts. Shade the wall during the hottest part of the afternoon and mulch each pocket to stretch the interval.
How do I tell if my plants are overwatered or underwatered?
Overwatering shows as yellowing lower leaves, soft or dark stems, a sour smell from the soil, damp soil that stays wet for days, and a plant that droops even though the soil is moist. Underwatering shows as dry, crisp or curling leaf edges, wilting that does not recover overnight, pale or bleached foliage, and soil that has pulled away from the pot edges. The soil test settles it quickly: dry means water, wet and sour means stop and improve drainage.
How do I water a vertical herb garden while on vacation?
Move containers off the wall into a shaded, sheltered spot and water them deeply the day you leave, until each drains. Group them so foliage does not touch, and add a layer of mulch to slow evaporation. For trips of a week or two, a simple drip line on a timer or refillable watering spikes work well; a reservoir tower with a wicking insert is the most forgiving option. Ask someone to water once mid-trip if you can, and do not leave fabric pockets in full afternoon sun.
Can I run drip irrigation on a timer for a vertical herb garden?
Yes, and for a large tower or living wall it is the only realistic way to stay consistent. Run the line from the top so gravity feeds the tiers, add a filter and pressure regulator at the source, and place emitters above each pocket rather than one per row. Start with short cycles of a few minutes in the early morning, then extend the runtime rather than adding cycles. Test by hand after the first run so you know water reaches the bottom pockets.
Should I water vertical herbs in the morning or the evening?
Morning is better. Leaves and stems have hours of light and airflow to dry, which cuts down on fungal problems in the crowded lower pockets where air moves least. Water at the soil surface rather than over the foliage, since wet leaves in a humid pocket invite mildew. Evening watering is not harmful, but it leaves foliage wet overnight, so avoid it if you already see mildew in the system.
Conclusion
Start this week with three actions, not a plan. Put your finger 1-2 inches into the driest pocket and the wettest pocket, note how each one feels, then water the dry ones slowly until drainage appears at the bottom. Write that date down.
Repeat the check every few days for a week or two and count the days between waterings. That interval is your vertical herb garden watering schedule for this season, and it is worth more than any fixed rule you could copy from someone else’s garden.
As light, temperature and plant size change, adjust the interval rather than the method. The method stays simple: check the soil, water the root zone deeply, record what you did, and let the herbs tell you when the schedule is due for a change.