Vertical garden mistakes to avoid come down to physics more than gardening: shallow root zones, water that runs down and off instead of soaking in, a structure carrying far more weight once it is wet than when it is dry, and a wall microclimate nobody planned for. Nearly every failed green wall traces back to a good-looking fix on a wall that was never really checked. These ten problems cover the bulk of the failures, and each one comes with the fix that prevents it.
The advice suits balcony and apartment growers, renters without drill rights, patio owners wanting an edible wall, and indoor designers building green walls for offices and hallways. Nothing here needs a professional system; almost all of it applies to pocket planters, railing planters, stacked frame towers and modular panels alike.
Updated for 2026
Table of Contents
- Vertical Garden Mistakes to Avoid at a Glance
- 1. Choosing a Location With Too Little Light
- How to measure the light a wall actually gets
- 2. Ignoring the Wall’s Load Capacity
- 3. Selecting Plants With Incompatible Light Needs
- 4. Using a Growing Medium That Holds Too Much Water
- The gravel myth and why a drainage layer does not drain
- 5. Overwatering the Whole System
- 6. Designing an Irrigation System Without Checking Drainage
- How to test an irrigation run before you plant
- 7. Crowding Plants Into Small Pockets
- 8. Choosing Plants That Cannot Handle the Indoor Climate
- 9. Failing to Plan Access for Maintenance
- 10. Forgetting Safety During Installation and Everyday Use
- A one-pass audit of the vertical garden mistakes to avoid
- Frequently Asked Questions
- What are common mistakes in vertical gardening?
- What are the downsides of having a vertical garden?
- Are indoor living walls hard to maintain?
- What are the best plants to put in a living wall?
- How can I create my own living wall?
- What are some good vertical garden ideas for a balcony?
- Conclusion
Vertical Garden Mistakes to Avoid at a Glance
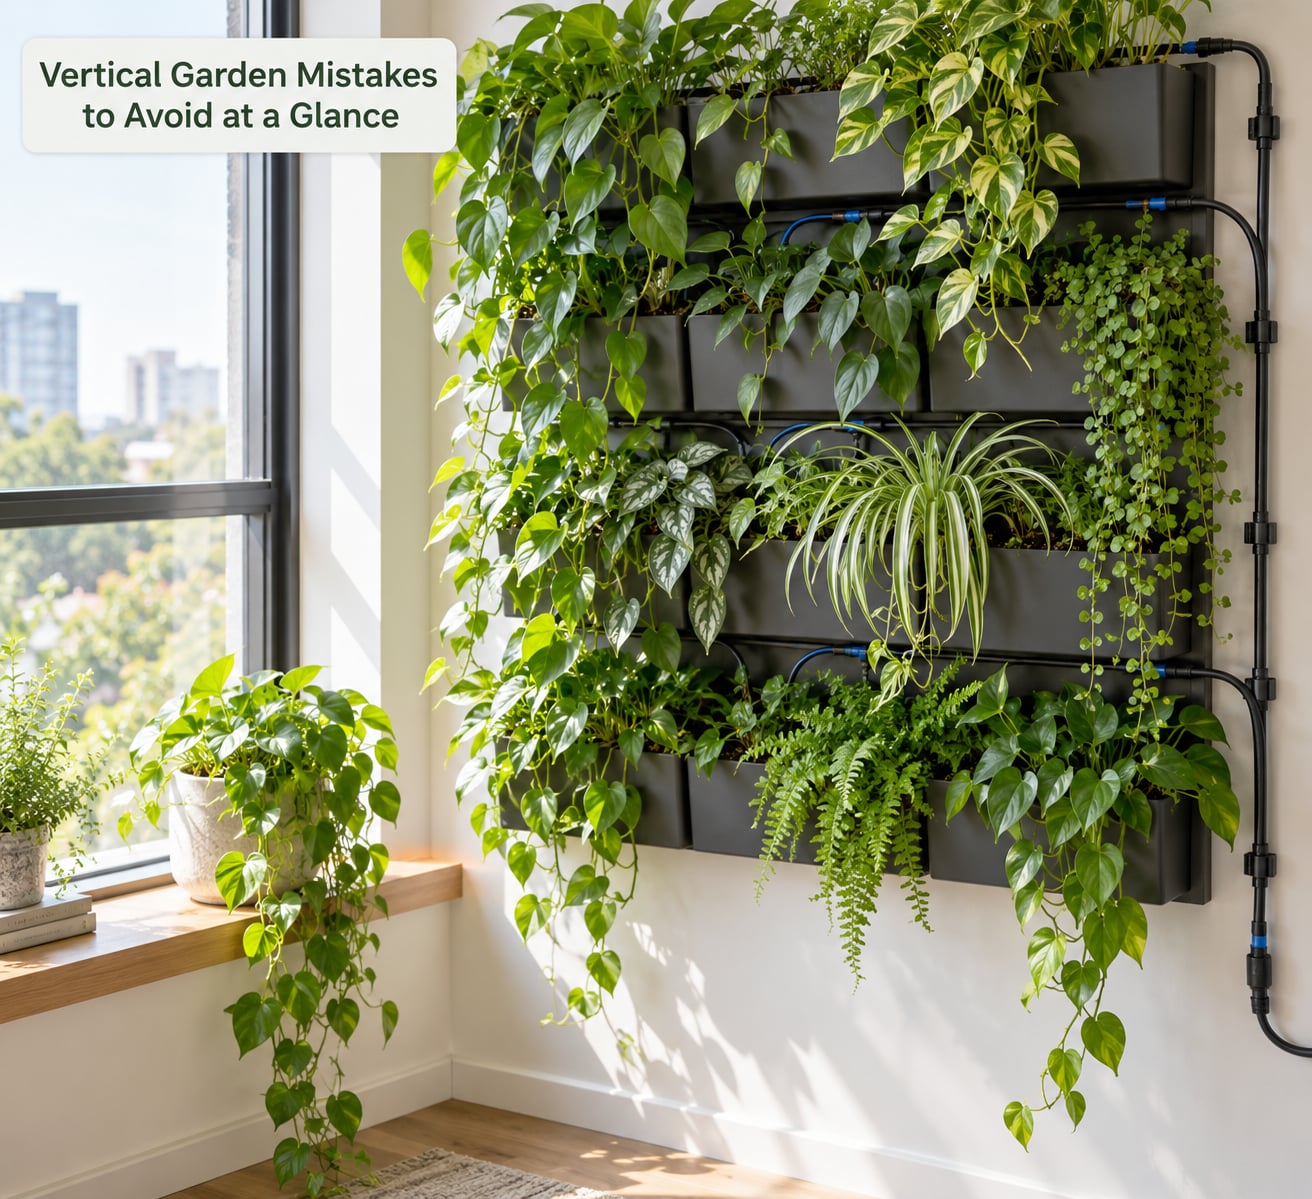
Scan the table for the symptom you already recognise, then jump to the numbered section for the full fix.
| Mistake | What goes wrong | Likely consequence | Quickest correction |
|---|---|---|---|
| Poor light choice | Wall is shaded by a building, tree or the plants above it | Stretching, pale growth, losses in the lower rows | Measure light across a full day and add a grow light |
| Ignoring load capacity | Fixings chosen for the dry frame, not the saturated system | Sagging rail, cracked plaster, wall failure | Fix into studs or masonry and size for wet weight |
| Mixed light needs | Succulents and ferns share one module | One half thrives, the other dies off | Group plants by light requirement, not by looks |
| Water-retentive medium | Garden soil or dense peat-based mix in small pockets | Root rot, moss, collapse of the planting | Lightweight peat-free mix with a third perlite by volume |
| Overwatering | One timer for the whole wall | Rot at the base, dry tops, algae | Zone the run and water on soil moisture, not schedule |
| Ignoring drainage | Outlets never tested, no runoff containment | Leaks, stained walls, wet paving | Run the system empty-handed before planting, add gutters |
| Overcrowded pockets | Too many seedlings in one cell | Root-bound plants, gaps later in the season | One plant per pocket, sized to mature habit |
| Wrong plants for the climate | Outdoor species moved into a dry, drafty room | Brown tips, pest outbreaks, slow growth | Pick resilient species and stabilise the microclimate |
| No maintenance access | Modules installed at head height and above | Skipping pruning, dead patches, unsafe ladders | Plan a step, a walkway or a reachable panel layout |
| Skipping safety checks | Improvised fixings, ungated lights, ladders on wet ground | Injury, water near electrics, wind throw | Check fixings, load, wind anchoring and electrics before planting |
1. Choosing a Location With Too Little Light
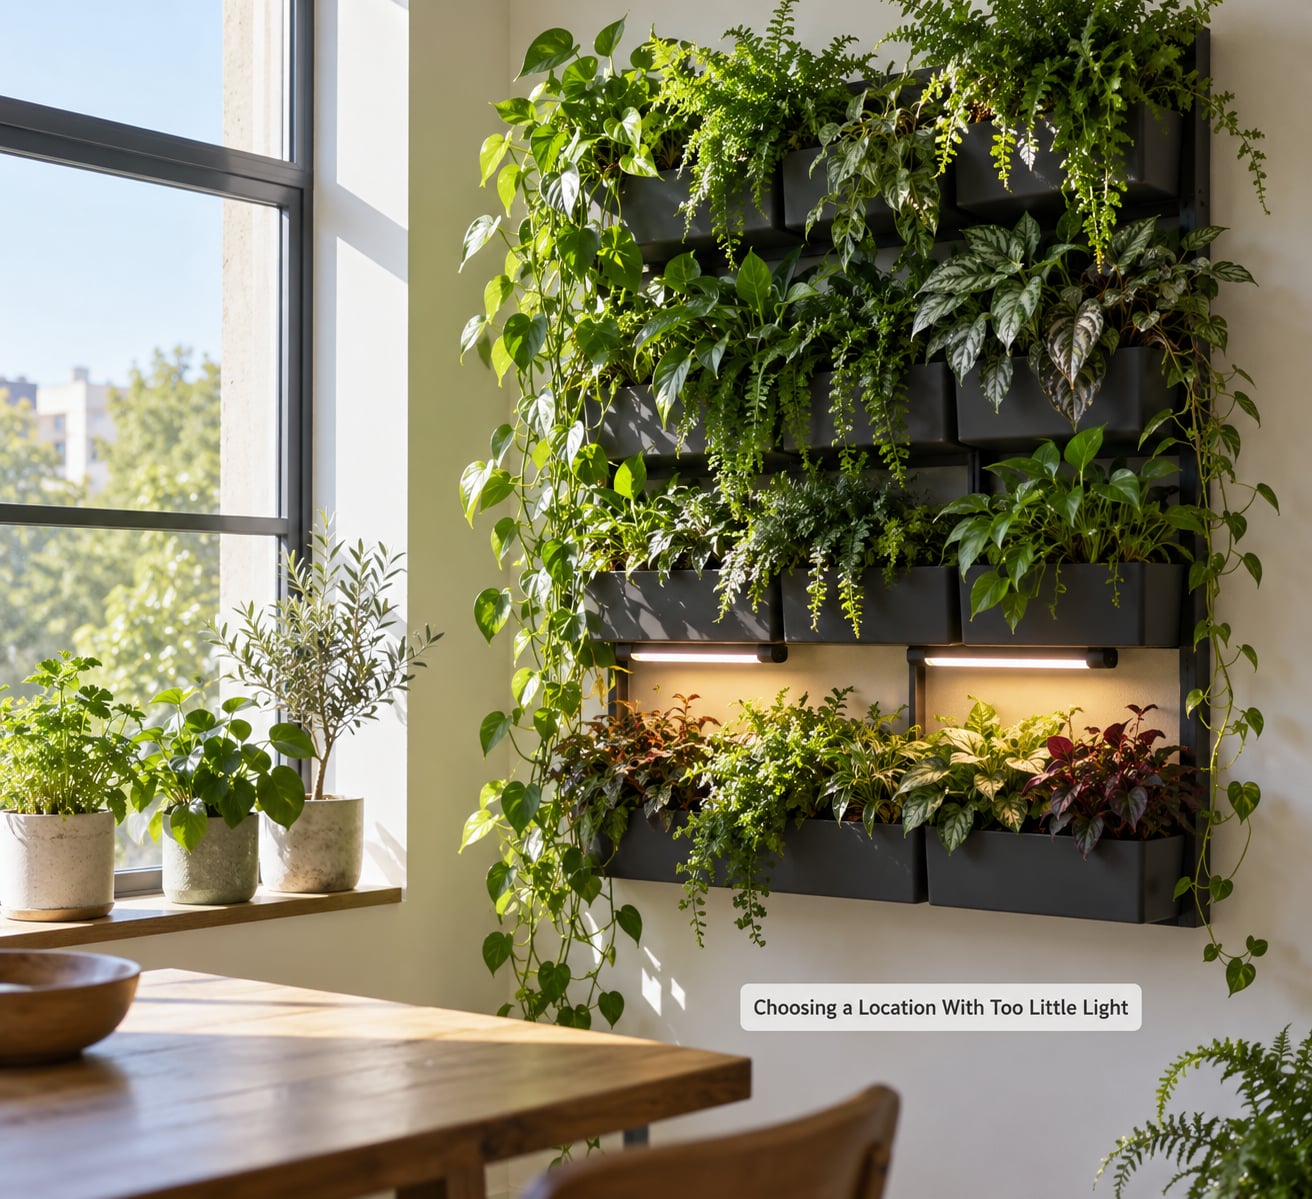
The first vertical garden mistake is choosing a wall for its look rather than its light. A north-facing or permanently shaded wall cannot support most productive or flowering planting, and adding plants to it produces stretched stems and thin leaves no matter how good the care is. Fix it by measuring the site honestly before you buy a single module.
Watch the wall for a full day, including an overcast stretch, and note where shadows fall. Then read the wall top to bottom: a wall that is bright at eye level is often dim by knee height, because every plant shades the one beneath it. That vertical shading is often called the shade factor, and it is the reason a two-metre wall needs different plants at the top and bottom.
How to measure the light a wall actually gets
Use a cheap light meter or a phone app on a bright day, and take a reading at the top, middle and base of the planned wall. Repeat after three months of leaf cover if you can wait that long, since the planting changes the readings. Where light is short, grow lighting is the honest fix.
| Light available | What grows there | What to add |
|---|---|---|
| Full sun, six hours or more of direct light | Most culinary herbs, strawberries, thyme, oregano, sedums, trailing verbena | Nothing; check for heat scorch in summer |
| Part shade, three to five hours or bright indirect light | Lettuce and other salad greens, parsley, mint, thyme, trailing vines, ferns, small strawberries | A light fixture for the lower third if it stays dim |
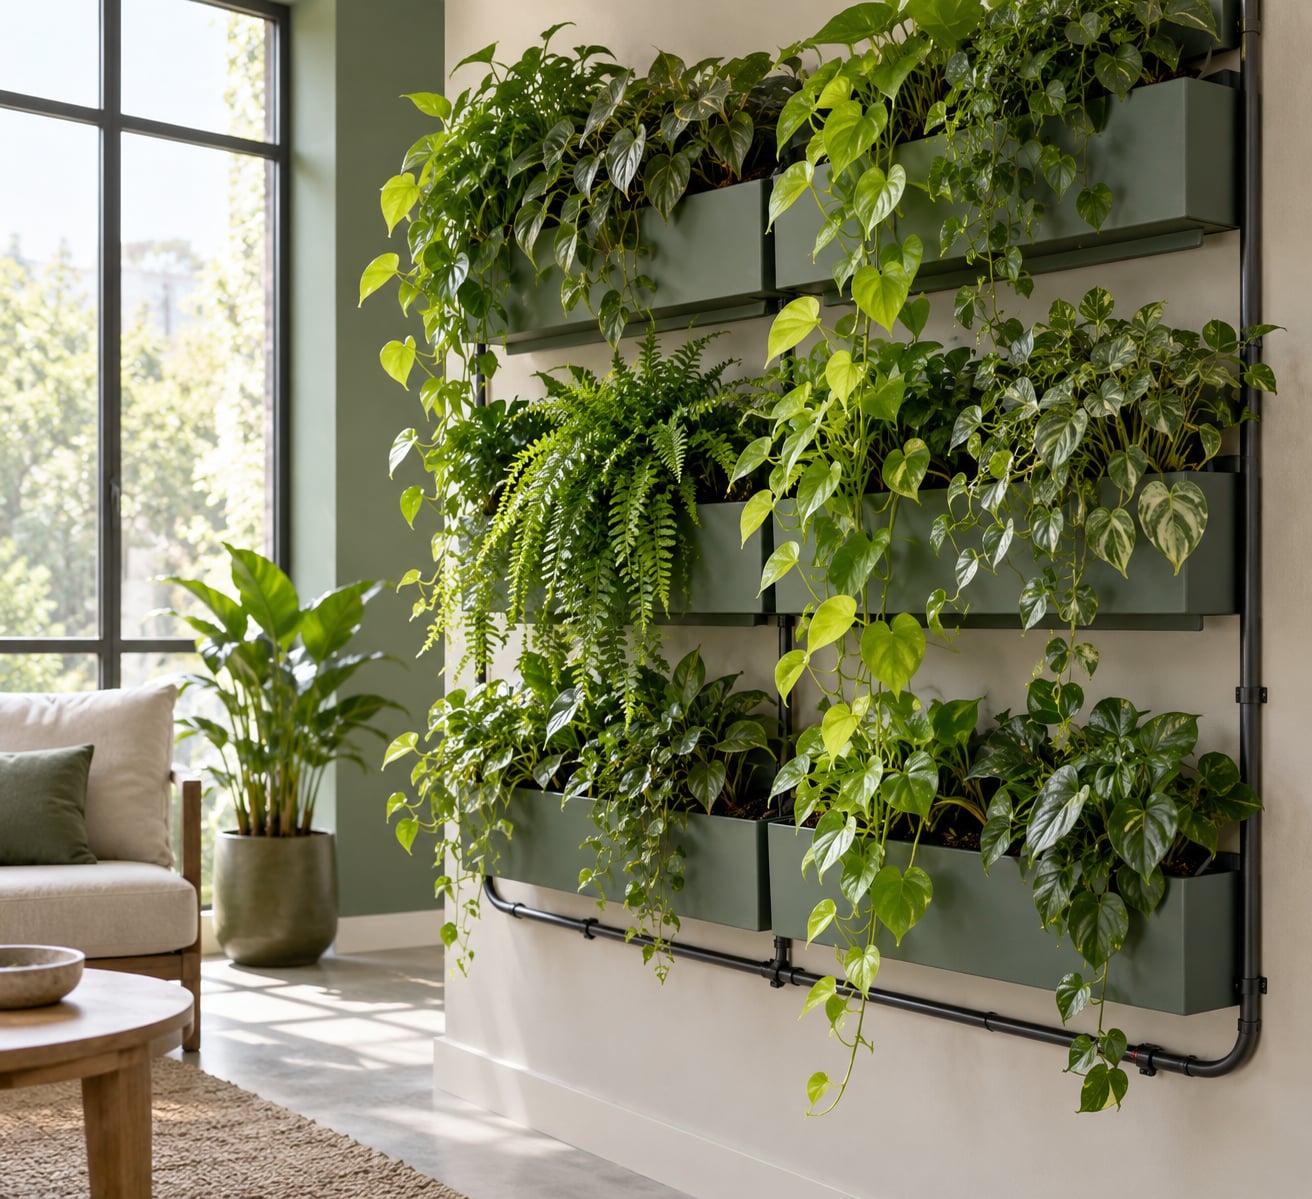
| Low indoor light, no direct sun | Pothos, philodendron, peperomia and most foliage trailers | A full-spectrum fixture on a timer, 12 to 14 hours a day |
Grow lights bring their own problems, which is why safety gets its own section below. Keep the fixtures above head height, out of splash range, and on a circuit handled by a qualified electrician.
2. Ignoring the Wall’s Load Capacity
The second mistake is treating a planted wall as a hanging basket rather than a structure. Growing medium, plants and frame look manageable when the system is dry on the floor, and roughly twice the weight once every pore is full. A single square metre of saturated module commonly lands between 20 and 35 kg, before the frame, the plants and any water sitting in the base channel.
That figure has to reach the fixing points. Plasterboard, thin plywood and unrendered block cannot take it on ordinary screws; fix into studs, masonry or a purpose-built support frame rated for the load, and spread the weight across several fixings rather than concentrating it at two corners. On anything taller than a metre or two, over a balcony or a public space, get a structural opinion before you start.
Safety first: a wall that comes down takes the fixings, the plants and whatever is beneath it. Where there is any doubt about the substrate behind the surface, ask a qualified builder. Do not rely on adhesive pads for a saturated system.
3. Selecting Plants With Incompatible Light Needs
Mixing species with opposite requirements in the same pocket or the same row is the third common error. A sunny succulent and a moisture-loving fern will not share a module in a vertical profile, because the sunnier side of the wall dries first and the lower pocket holds water longest. One of the pair will always be wrong.
The fix is to group by requirement, then by look. Read the label on every plant before it goes into the wall: light, water, mature size and hardiness. Where a tall, bright section shades a short, dim one, either accept a shade-tolerant planting below or step the plants so each gets the light it needs. Shade-tolerant trailers in the lower half and sun-loving herbs above is a pairing that works well.
4. Using a Growing Medium That Holds Too Much Water
Heavy or dense medium is the fourth mistake, and it is the usual reason a wall fails in its first season. Garden soil, straight compost and dense peat-based potting mix hold far more water than a shallow vertical pocket can drain between runs, so the lower layer stays saturated while the surface looks dry. That combination produces root rot, moss, and a wall that collapses from the bottom up.
Use a lightweight, peat-free growing medium formulated for containers and amend it with an inert aeration material. Mixing roughly one part perlite to every two parts medium is a sensible starting point, and bark fines or pumice work as well. Keep the mix loose in the pocket without leaving it so open that water runs straight through.
The gravel myth and why a drainage layer does not drain
A layer of gravel at the bottom of a pocket does very little, and it is widely assumed to be essential drainage. In a vertical planter the perched water table forms above the gravel rather than below it, so the layer mostly adds weight. Drainage comes from free-draining medium and a clear path for excess water to leave the pocket, not from stones.
5. Overwatering the Whole System
Overwatering is the fifth mistake, and it arrives disguised as care. A single timer running every emitter for the same number of minutes cannot serve a wall with a dry top and a sodden base, because gravity moves water down far faster than it wicks up. The result is exactly what owners describe on indoor gardening forums: crisp, pale growth up top and soft, yellowing leaves at the bottom.
Signs of too much water include yellowing lower leaves, soft or dropping growth, a sour smell in the base channel, and green algae film on surfaces that stay wet. Check with a finger or a moisture meter two or three centimetres into the medium rather than following a calendar, and water less often but more thoroughly. Splitting the run into zones, so the top tier is irrigated on a different cycle from the bottom, fixes most of the imbalance.
6. Designing an Irrigation System Without Checking Drainage
Designing irrigation before checking where water leaves the system is the sixth mistake. Emitters clog, pressure drops as runs get longer, and a pump that handles the bottom tier may not push water to the top at all. Meanwhile excess water leaves through cracks and over the lip, which is what stains walls, fences and paving below. That runoff problem comes up constantly in owner discussions, and it is entirely preventable.
How to test an irrigation run before you plant
Run the system empty for a full cycle before the medium goes in. Check every outlet with a paper towel for even flow, look for weeping at seams and fixings, and confirm that each tier drains into the channel below rather than onto the wall. Fit pressure-compensating drippers, a flushable filter at the inlet, and enough zones that each zone is short enough to hold pressure.
Give the base somewhere to go: a gutter or channel with a clear outlet, and a splash tray over paving if you want to protect it. In hard-water areas, descale the gutters and rail channels every few months and clear algae from any part that stays damp. Keep water away from electrical fittings, and plan for absence by testing a timer and, where a pump is involved, a fail-safe that stops the run when flow drops.
| Symptom | Likely cause | Fix |
|---|---|---|
| Top rows dry, base wet | Single zone, no pressure compensation | Split into two or three zones and rebalance run times |
| Soft yellow leaves, sour smell at the base | Water-retentive medium and poor drainage | Amend the medium, clear outlet paths, reduce frequency |
| Green film in gutters and channels | Standing water and light | Improve drainage, scrub the channel, keep it shaded where possible |
| White scale on frames and channels | Hard water evaporating on surfaces | Use a less hard supply for irrigation, descale regularly |
| Streaks on the wall or paving below | Runoff escaping at the lip | Add a lip, gutter and splash tray; reseat tilted modules |
7. Crowding Plants Into Small Pockets
Packing pockets full is the seventh mistake, and it produces a wall that photographs well in its first month and thins out by midsummer. Small vertical pockets give plants a shallow root zone with little air, so seedlings compete for moisture, become root-bound, and dry unevenly across the width of the cell.
Choose one plant per pocket and size it to the mature habit, not the plug. Cascading and trailing species suit the visible edges; compact upright plants suit the interior of a panel. Leave room for air to move, because packed foliage traps moisture and invites pests and fungal problems. For an edible wall, sow a few successional batches rather than filling every cell at once, and keep greens and quick herbs in the pockets you can reach.
8. Choosing Plants That Cannot Handle the Indoor Climate
The eighth mistake is assuming an indoor wall is a sheltered greenhouse. Indoor air is often drier than the plants’ origin, heating and air conditioning push warm dry drafts straight at the foliage, and a wall next to a window swings between cold and hot through the day. Species that need consistent moisture struggle, and species that need cool nights suffer near a radiator.
Pick resilient plants for the room rather than for the wish, and stabilise the environment where you can. Group plants near each other to raise local humidity, keep them clear of heating vents and doorways, and move the wall away from glass if temperatures swing hard. Warm grow lights raise the temperature around the leaves directly underneath, so leave a gap and check the wall in the evening as well as at midday. A wall that needs constant intervention to stay alive is the wrong wall for that room.
9. Failing to Plan Access for Maintenance
The ninth mistake is designing a display rather than a garden. Everything above head height means a ladder for pruning, a watering can held overhead, and inspections that get skipped because they are awkward. Owners on forums describe aching shoulders and dead patches that survived for months simply because reaching them was too much trouble.
Plan access before you mount anything: leave a step, a walkway or a clear working zone in front of the wall, and prefer modular or cassette systems that lift out and can be worked on at ground level. Where full access is impossible, keep the top tiers to species that need little intervention, and schedule the effort in your calendar. Renter-friendly, no-drill options exist, using hooks, over-door organisers or freestanding frames that lean against the wall instead of fixing into it, and they are worth the trade-off if you may move.
10. Forgetting Safety During Installation and Everyday Use
The tenth mistake is treating installation as decoration. Safety covers four separate things: the fixing, the tools, the water and the electrics. A saturated vertical system is a heavy object held above head height, so it belongs on rated fixings, installed with the manufacturer’s hardware, and checked again after the first wet week.
On exposed balconies and terraces, wind matters as much as weight. Anchor lightweight or freestanding structures so they cannot tip, and avoid tall, loose, top-heavy planting where gusts can reach it. For daily use, keep ladders and step stools on dry, level ground, and never reach over one while carrying a full watering can. With grow lights, use fixtures rated for wet areas, keep cabling out of drip paths, and have any new circuit or fixed installation done by a qualified electrician.
A one-pass audit of the vertical garden mistakes to avoid
Before you plant, walk the site and confirm each of these:
- Light measured at the top, middle and base of the wall, with a plan for the dimmest part
- Fixings into studs or masonry, sized for saturated weight and spread across the frame
- Wind anchoring if the wall is on an exposed balcony or terrace
- One plant per pocket, each labelled for light and water needs
- Lightweight, peat-free medium amended with perlite or pumice
- Irrigation run empty and checked outlet by outlet, with zones and a filter
- Gutters, outlet paths and splash containment over the wall and the paving
- A safe route for watering and pruning, with a plan for absence
- Electric fixtures rated, protected and clear of water
Frequently Asked Questions
What are common mistakes in vertical gardening?
The most common mistakes are poor light choice, ignoring the saturated weight of the system, mixing plants with opposing light and water needs, heavy water-retentive growing medium, one overwatered zone for the whole wall, irrigation with untested drainage, overcrowded pockets, unsuitable plants for the room, no safe maintenance access and unrated fixings. Each has a simple fix, and all of them are cheaper to prevent than to correct.
What are the downsides of having a vertical garden?
A vertical garden costs more per square metre than a bed, because you are buying structure, fixings and irrigation as well as plants. It needs regular attention, it dries unevenly from top to bottom, and the wall behind it can be stained by runoff. Access above head height is awkward, plants need replacing every one to two growing seasons, and a weak frame or weak fixing can damage the surface it is mounted on.
Are indoor living walls hard to maintain?
They are moderate rather than demanding, provided the light is right and access is planned. Most indoor walls need watering checks every two or three days, a monthly feed, pruning to keep growth inside the pockets, and plant replacement each spring. Walls with no natural sun need a fixture on a timer, and walls in an empty office at the weekend will fail without a reservoir or a watering check.
What are the best plants to put in a living wall?
Choose plants with shallow roots, a cascading or trailing habit, and a tolerance of the light your wall actually provides. For edibles, lettuce, parsley, mint, thyme and strawberries work well. For low indoor light, pothos, philodendron and peperomia are dependable. Avoid deep-rooted crops, large shrubs and anything that wants wildly different conditions in the same pocket.
How can I create my own living wall?
Measure the light first, then choose a system to match it: a modular panel for a wide wall, a stack of frame towers or railing planters for a balcony, and freestanding hooks if you cannot drill. Fix rated support, fill with a lightweight peat-free medium, run and test the irrigation before planting, and put in one plant per pocket sized to its mature habit. Start with a section a couple of metres wide rather than the whole wall.
What are some good vertical garden ideas for a balcony?
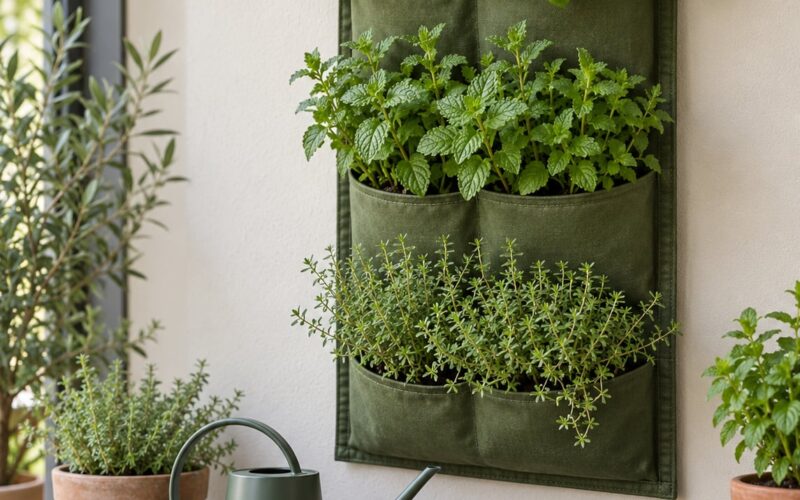
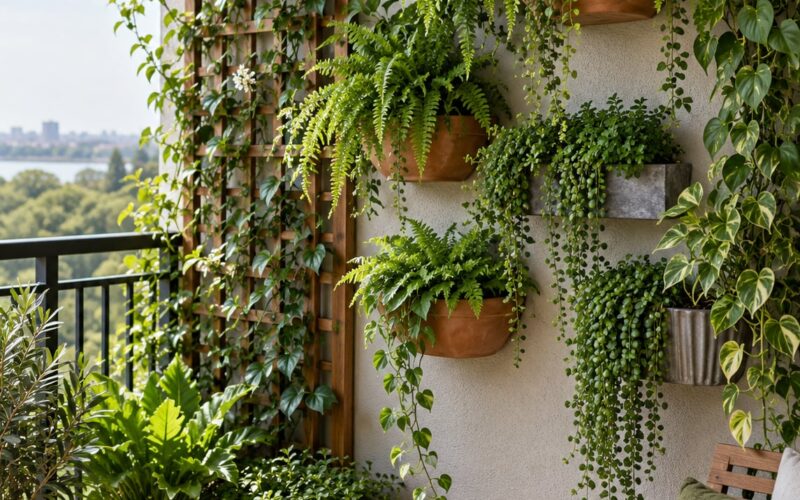
A railing planter of trailing herbs and salad greens suits a narrow balcony with no drilling. A stack of frame towers works for a sunny corner and can be moved with the season. A freestanding slatted screen with climbers gives privacy without touching the wall. A narrow vertical herb run on a sunny wall gives a kitchen crop. On a shaded balcony, use foliage trailers and add a grow light rather than fighting the aspect.
Conclusion
Four checks decide whether a vertical garden works: the light at the top, middle and base of the wall, the structure behind the fixings, the medium and irrigation you can actually keep an eye on, and a route for watering and pruning. Get those right and the planting choices narrow themselves.
Then start small. A section a couple of metres wide, planted this season, tells you more in three months about your light, your drainage and your watering habits than any planning does. Scale it only once that section is thriving, and you will avoid every one of these ten problems on the way up.