To clean a living wall, work dry first: dust the leaves with a soft brush, then wipe only the foliage that still looks dull with a barely damp microfiber cloth and plain water. Keep the cloth away from grow lights, power supplies, and drip lines, and never spray the wall directly. Most dust comes off in ten minutes.
A living wall, also called a vertical garden or green wall, is a flat installation of plants held in felt pockets or modular cassettes, usually fed by drip irrigation from a reservoir. That setup is why cleaning feels risky: the plants, the growing media, and the plumbing all sit within a few centimetres of each other.
Plenty of wall owners treat cleaning as an occasional deep job. In forums, the thing people actually want to know is how often to touch the wall, what to put on a leaf, and what kills the installation outright. Nobody wants a wet cloth and a ladder with live plants underneath. The method below is the one I would use, and it works whether you have a felt-pocket hydroponic wall, a modular cassette system, a live moss panel, or a preserved or artificial feature wall.
A note before you start: cleaning a living wall is normal care, not maintenance that needs a professional. You do want a professional, or the manufacturer’s instructions, when the wall is taller than your stepladder comfortably reaches, when the frame or fixings are structural, or when the system is still under warranty and the warranty says panels come out in a particular order.
Table of Contents
- What You Need for Living Wall Cleaning
- How to Clean a Living Wall, Step by Step
- Inspect and Prepare Before You Clean the Living Wall
- Remove Dust and Loose Debris
- Spot-Clean Leaves and Hard Surfaces
- Check Drainage, Irrigation, and Drying
- Common Mistakes That Damage Living Wall Plants
- Maintenance Habits That Reduce Buildup
- Frequently Asked Questions
- Can I spray a living wall directly to clean it?
- How often should I clean an indoor living wall?
- What is the safest way to clean living-wall leaves?
- Can I use household cleaners on a living wall?
- How do I remove hard-water stains from living wall panels?
- Should I remove the plants before cleaning the wall?
- Conclusion
What You Need for Living Wall Cleaning
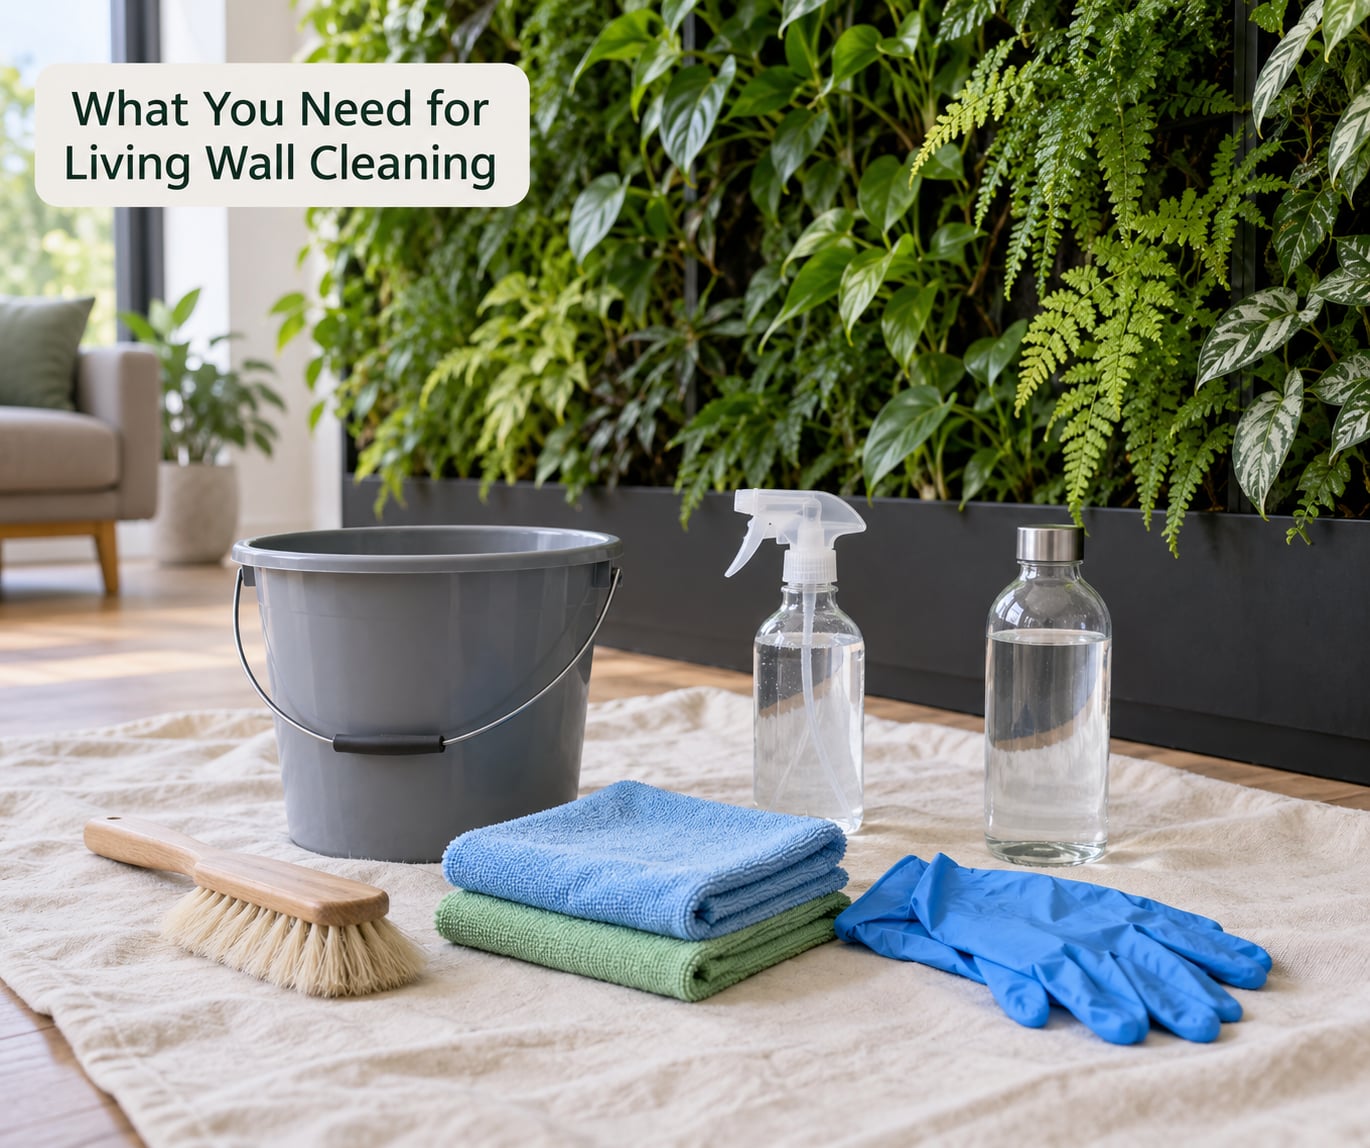
You need less than most people expect. The expensive-feeling item is a ladder, and the item that actually matters is patience.
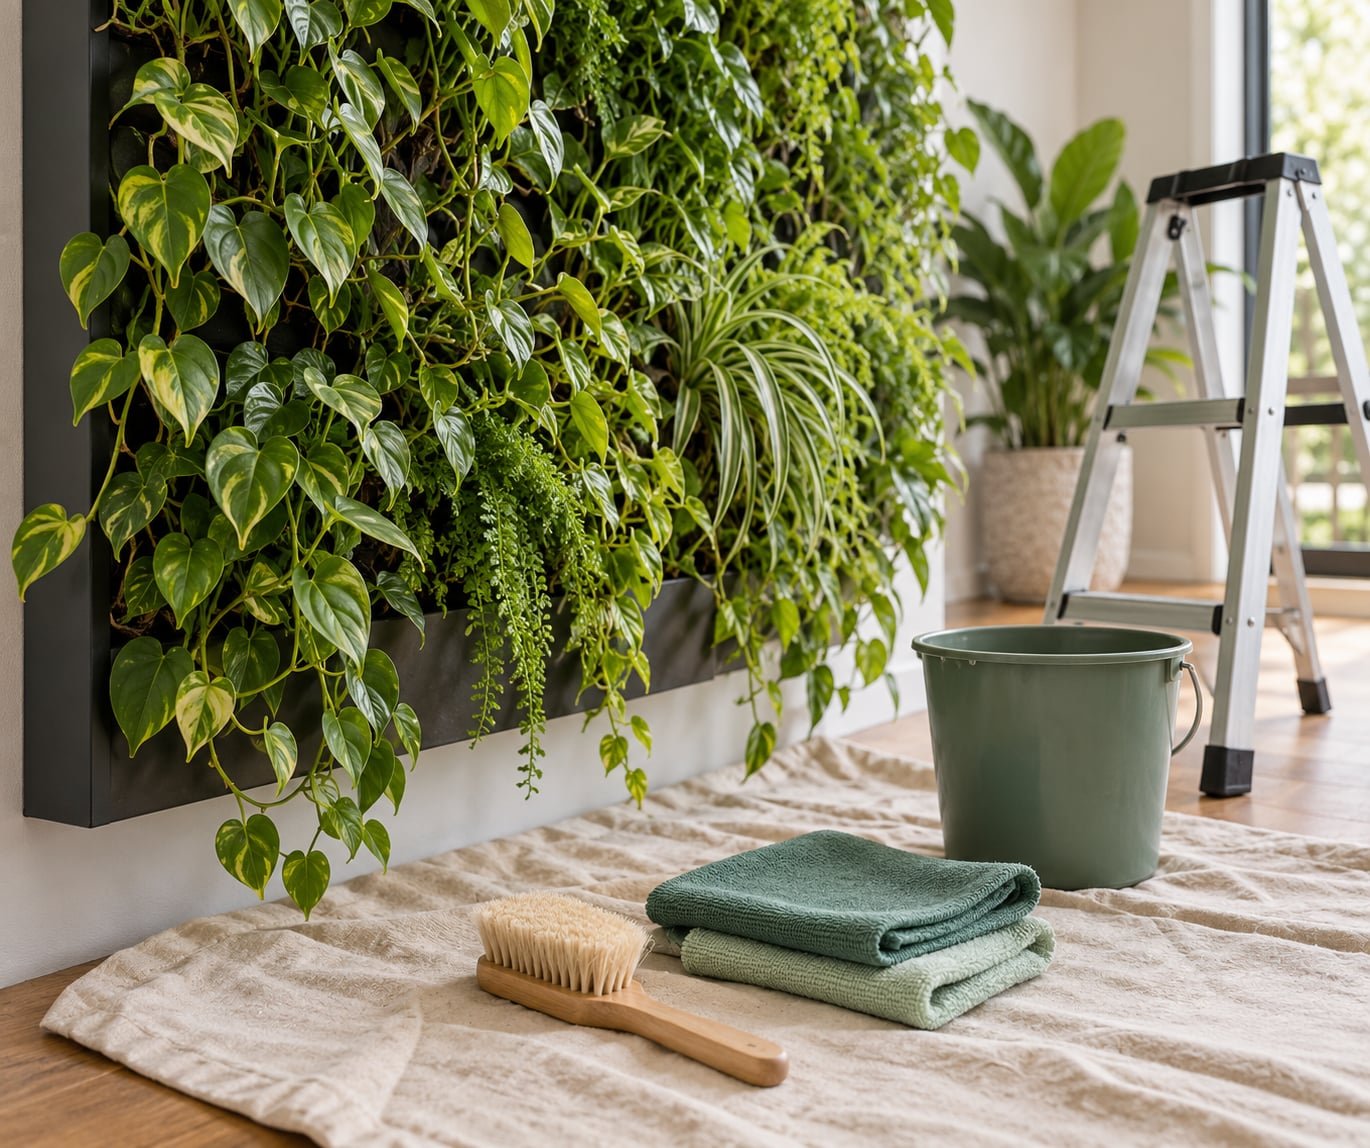
- Soft-bristle brush. A clean, natural-bristle paintbrush or a soft upholstery brush moves dust off leaves without tearing them. Skip anything with stiff synthetic bristles; it will shred soft growth like pothos and philodendron.
- Microfiber cloths, two or three. One for leaves, one for the frame and planter trays, and a third for the surrounding wall. Keep them separate so you are not dragging grit across foliage.
- Clean lukewarm water. Most dust and light film comes off with water alone. If the water is very hard, use filtered or distilled water for the final wipe, because hard water leaves the mineral crust you are trying to remove.
- Optional mild soap solution. For sticky residue or greasy leaf surfaces, one drop of mild dish soap per litre of water, in a spray bottle you trigger by hand rather than a hose. Never use bleach, ammonia, household disinfectants, or any cleaner with a fragrance on living plants.
- Nitrile gloves. Panels hold moisture and the media can carry mould spores. Gloves also stop your hand oils spotting the frame.
- Fine mist sprayer. Only if you are working on a live moss panel, and only to pre-moisten the surface so cleaning does not lift the moss off.
- Clean pruning shears. Wipe the blades with alcohol before you cut, and after you cut a diseased stem. This is half cleaning, half disease control.
- Old towels or a drop cloth. Water finds the floor, and a wooden floor under a living wall is not a place you want to test.
- A stable step ladder. Rated for the job, placed so you are not reaching sideways. Ladder safety matters more here than in most chores, because a vertical garden is tall and a fall means falling foliage too.
- Access lighting. A clip-on work light if the wall sits in a dim corner, so you can see leaves you would otherwise miss.
How to Clean a Living Wall, Step by Step
Budget 30 to 45 minutes for a full clean of a small indoor wall, plus drying time. The order matters: you protect the room and the system first, because every later step involves water near electrical parts.
Inspect and Prepare Before You Clean the Living Wall
Before anything else, work out what you are dealing with. Look for a brand name, model or installer sticker on the frame, and check the manual for cleaning guidance. Manufacturers of felt-pocket and hydroponic systems vary widely, and the one thing they all agree on is that panels do not come out while the system is pressurised.
Then isolate the system. Switch off the pump at the controller or timer, and switch off the wall at the mains if the system has grow lights, a heater, or a fan. Do not wet a living wall that has power at it. If the wall is hard-wired and you are not certain which breaker serves it, use a non-contact voltage tester or call an electrician.
Next, look at the plants. Mark any that are already yellowing, wilting, or covered in white fuzz so you can watch whether your cleaning changed anything. This is the most useful habit on the whole list: it turns cleaning into a free health check.
Clear the area below and beside the wall. Move furniture, protect the floor, and if you are working above a counter or desk, cover it. If a panel looks unstable, or you find salt crust pushing a seam apart, stop and deal with that first.
Remove Dust and Loose Debris
Start dry, always. Dust is the main thing you are removing, and dry removal is the safest method because no water touches the media, the root zone, or the frame.
Hold the soft brush at roughly a 45-degree angle and brush upward from the base of each cluster toward the leaf tips. Always work in one direction. Back-and-forth scrubbing drives dust into the leaf axles and onto the soil below, which is how you get a wall that looks dirtier after cleaning than before.
For ledges, tray lips, the top edge of the frame and the wall behind a low planter, a handheld vacuum with a brush head on the lowest suction is faster and better than a cloth. Keep the nozzle about 5 cm off the foliage; at that distance a strong vacuum can rip leaves out of the pocket.
Fallen leaves and any dead growth come out of the pockets during this stage. Compost them rather than leaving them in the tray, where they trap moisture against the frame.
Spot-Clean Leaves and Hard Surfaces
After dusting, most walls already look good. Only treat what still looks dull, and treat it lightly. Support each leaf from behind with your free hand and wipe once with a barely damp cloth, following the leaf shape rather than scrubbing across it.
For sticky leaves, use the mild soap solution, but dampen the cloth rather than the plant. You want a damp cloth, not a wet one. Squeeze out excess before you touch a leaf, and keep the number of passes low; every pass is stress the plant has to absorb through stomata that are already small.
Use plain water on a preserved moss panel and nothing stronger. Preserved moss has been chemically treated, and soap or cleaning solution will break the treatment and leave you with grey patches. Live moss is different: pre-moisten with a fine mist so the surface stays bound, then lift loose debris with a soft brush instead of a cloth, which will pull the moss off the panel.
Artificial greenery is the only type you can genuinely soak. Vacuum it, then wipe leaves with a cloth dampened with diluted mild soap, and let it dry away from direct sun so the plastic does not warp.
Clean the hard surfaces separately and last: frame rails, planter boxes, panel faces, and drip line runs. Wipe the frame with your separate cloth, and check that no water has wicked into a seam or dripped down the wall face behind the panels. Wipe those runs with a barely damp cloth only while the pump is off, and reconnect nothing until the fittings are dry.
Do not send a spray bottle, a hose, or a pressure washer at a live living wall. Water drives moisture straight into the felt pockets, washes nutrients out of the substrate, and strips leaves of the wax and hairs that many vertical garden plants use to survive.
Check Drainage, Irrigation, and Drying
Once surfaces are clean, look at what the cleaning has revealed. Check that drainage holes and any drain mat are still clear, and that no wet leaf is lying across a tray lip where it will start rot in a few days. Push any runoff back into its own pocket rather than letting it sit under a neighbour.
Look for the classic signs while the wall is still open. White or crusty deposits around the leaf tips and along drip emitters point to mineral buildup from hard water; a faint webbing or grey-white fuzz near the base points to mould, which thrives in a damp pocket with no airflow. Swollen, soft, dark media with a sour smell means overwatering, the single most common cause of living wall failure that people report.
Leave the wall to dry before you return it to service. For a small indoor wall this is two to four hours of ordinary airflow; for a dense or shaded wall, overnight. A good rule is to clean mid-morning on a dry day, so the wall has the rest of the day to dry and you are not running the pump into wet media at night.
Avoid cleaning in high humidity, in dim light, or in the evening. A bathroom wall and a north-facing hallway wall both dry far more slowly than a bright living room, and a wall that goes back into service damp is a wall that develops mould and root rot within a few weeks.
When everything is dry, switch the pump back on zone by zone, confirm each emitter still drips, and check that a reservoir or timer is running normally. Wipe the first runoff from the reservoir, then leave the system alone for a day and see how the plants respond.
Common Mistakes That Damage Living Wall Plants
A few errors account for most of the cleaning damage I hear about.
- Soaking the foliage. Saturated felt pockets have nowhere to drain quickly, and roots sitting in wet coir turn brown and soft. A damp cloth is enough.
- Using bleach, ammonia or sanitiser. These burn leaf tissue, and the damage shows as brown edges days later, so you blame the cleaning for something you cannot see the cause of. Also avoid any cleaner containing salt, acid, or essential oils.
- Cleaning while irrigation is running. Water carries detergent straight into the substrate and out of the reservoir. Turn the pump off first and let the lines drain.
- Wetting power and grow lights. Isolate first. Grow light fixtures and power supplies are the one part of a living wall that cannot be replaced casually.
- Pulling plants out of their modules. Pockets and cassettes are designed to hold roots in place. Popping a plant out usually breaks the felt seam or the drip emitter, and forum users who have done it describe the panel as a write-off. If one plant truly must come out, a well-meaning workaround is to remove a single panel and work on the wall from the front rather than disturbing the whole installation.
- Cleaning over soil and not catching runoff. Debris pushed down into the pockets feeds mould.
- Ignoring the manufacturer’s instructions. Some systems are sealed by design and come apart only with tools. Check the manual before you touch a fixing.
Maintenance Habits That Reduce Buildup
The cheapest way to clean a living wall is to keep it from needing cleaning. A monthly dusting takes about ten minutes and removes most of what would otherwise harden into film.
Frequency depends on four things. Dust load is the first: a wall near a road, a fireplace, or an active construction site needs weekly attention, while a wall in a quiet bedroom can go a month. Plant type is the second, since large, dense-leafed species like pothos trap dust and hold moisture, while succulents and small-leaved herbs shed it. The room is the third; kitchens and workshops dust faster than bedrooms, and humid rooms stay wet longer. Access is the fourth and the one people forget: a wall you can reach with a step and a cloth gets cleaned, and a wall behind a sofa does not.
Outdoors, the rhythm is different. Wind pushes soil onto a green facade continuously, so check it monthly and wash foliage in spring and again in early autumn. Skip the mid-summer full wet clean; heat plus full sun can scorch a wall that would be fine in spring. A soft hose on the lowest setting is acceptable on most exterior systems, but still never on an interior one.
Two habits pay off more than any other. Wipe broad leaves monthly, since dust you can see is already reducing light. And clean your shears with alcohol between plants, which costs nothing and stops a single pest moving through the whole panel.
If a wall looks tired after cleaning, cleaning is not the problem. Gaps open up because plants outgrew their pockets, and root-bound pockets in a felt wall need repotting and trimming back, not scrubbing. Bunching, holes, and bare substrate are plant-care problems, and a wall can look untidy simply because nobody trimmed it this season.
Frequently Asked Questions
Can I spray a living wall directly to clean it?
Not on a live or indoor wall. A spray mists water into the felt pockets and root zone, where it has nowhere to drain, and it carries any cleaning solution into the substrate. Mist from a distance does not clean a leaf, it just wets it. Turn the irrigation off, dampen a microfiber cloth instead, and support each leaf from behind as you wipe.
How often should I clean an indoor living wall?
Dust a small indoor wall monthly, and increase to weekly if you cook a lot, work near a fireplace, or are near building work. A full wet clean is usually enough once or twice a year, in spring and early autumn. Always pick a dry morning so the wall has the rest of the day to dry before the pump switches back on.
What is the safest way to clean living-wall leaves?
Support the leaf from behind with one hand and wipe once with a barely damp microfiber cloth, following the leaf from base to tip. Use plain lukewarm water as your default, and a drop of mild dish soap per litre only for sticky leaves. Never scrub back and forth, and never use bleach, ammonia, alcohol, or scented cleaners on living plants.
Can I use household cleaners on a living wall?
Avoid them. Bleach, ammonia, and standard disinfectants burn leaf tissue and show up as browning a few days later. Anything containing salt, acid, or essential oils does the same. For a living plant wall, plain water handles nearly everything, and one drop of mild dish soap per litre is the strongest solution worth risking. Preserved moss takes even less: water and nothing else.
How do I remove hard-water stains from living wall panels?
Those white crusty marks on leaf tips, frames, and drip emitters are mineral deposits from hard water. Wipe foliage with a cloth dampened with filtered or distilled water rather than tap water, and use a little mild soap on the frame and panel faces. Clean emitters gently with a soft brush. If deposits return quickly, switching to filtered water in the reservoir stops the buildup at source.
Should I remove the plants before cleaning the wall?
No. Panels should stay mounted, because popping plants out of pockets and cassettes breaks felt seams and drip emitters. The one exception is a live moss panel, which you pre-moisten with a fine mist before brushing off debris. If a single area is badly affected, remove that one panel and work on the wall from the front rather than taking the installation apart.
Conclusion
Start by identifying the system and switching off the pump and the power, then work dry with a soft brush from the base of the plant upward. Wipe only what still looks dull, using a barely damp cloth and plain water, and keep the water away from grow lights, drip lines, and the media until everything has dried for a few hours. If the wall is taller than your ladder, structurally fixed, or under warranty instructions, follow the manufacturer before you start rather than improvising.