Living wall maintenance for beginners comes down to five things: check the growing medium before you water, give the wall enough light, feed lightly during active growth, prune to keep the shape, and look for pests once a week. That is genuinely all it takes for most walls, and it takes 15 to 30 minutes a week once the plants are established.
The reason people get nervous about living walls is water. Plants on a wall sit in small pockets of growing medium that dry out fast, so both overwatering and underwatering kill walls quickly. Check with your hands instead of following a schedule, and most of the difficulty disappears.
If you have never owned one, it also helps to know what you are signing up for. A moss wall or an air-plant wall needs a misting bottle and little else. A planted panel or pocket system needs real care but stays dense for years if you keep up the routine below.
Table of Contents
- What You Need for Living Wall Maintenance
- Step-by-Step Living Wall Care Routine
- Inspect the System and Plants
- Water Without Overwatering
- Fertilize Lightly and Consistently
- Prune and Train the Growth
- Check the System and Repair Small Problems
- Common Mistakes
- Frequently Asked Questions
- How often should I water a living wall?
- Can I use a living-wall watering system instead of checking by hand?
- What plants are easiest for a beginner living wall?
- How do I remove dead plants from a living wall without damaging the others?
- Why are the leaves on my living wall turning yellow?
- How much light does an indoor living wall need?
- Conclusion
What You Need for Living Wall Maintenance
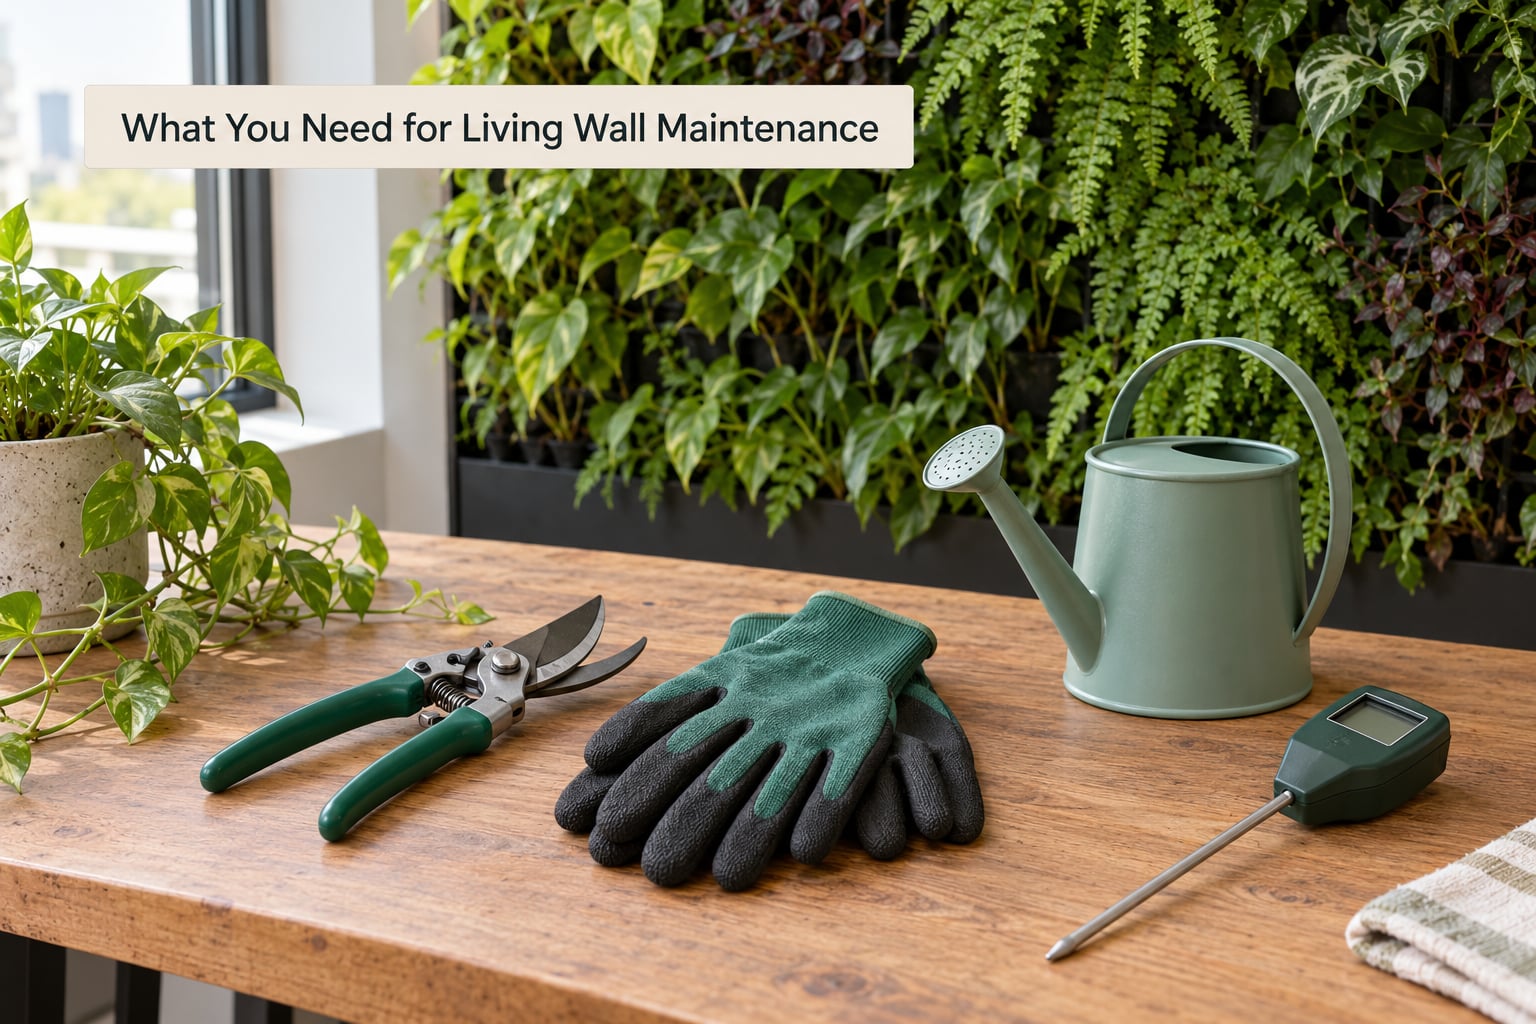
You need far less gear than a gardening shop will try to sell you. Most beginners can run a whole living wall maintenance routine with a handful of items and a printed page of instructions.
- Gloves and eye protection. Panels are awkward to handle and potting mix is messy. Nitrile or gardening gloves are enough; eye protection matters if you are working overhead.
- Clean water and a small watering can. Room-temperature water with a fine spout lets you target each root zone instead of soaking the whole wall. A bottle with holes in the cap works nearly as well.
- Two pairs of clean, sharp pruning shears. Keep one pair for healthy growth and a second pair you use only on anything diseased, so you do not spread problems through the wall.
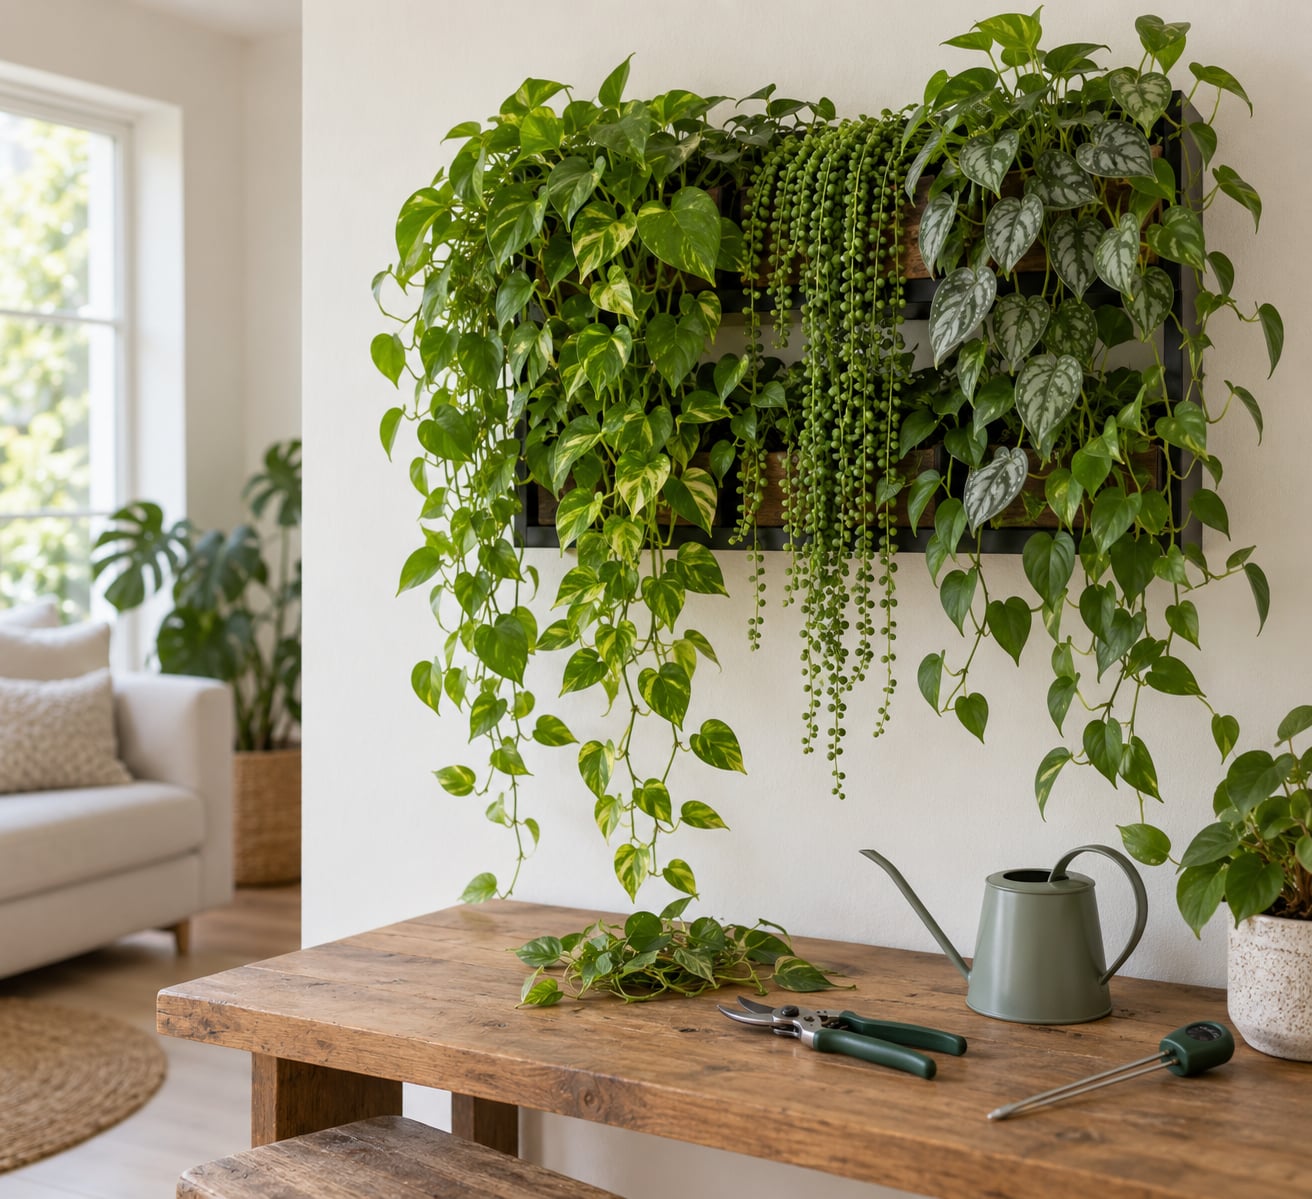
- A moisture meter or a wooden chopstick. A cheap analogue meter takes the guesswork out of watering. If you would rather not buy one, push a clean chopstick into the growing medium and see how damp it feels at 3 to 4 cm.
- A soft brush and a clean cloth. For dusting leaves and wiping the frame and panel faces, which blocks light and holds moisture against the wall.
- Balanced fertiliser. A slow-release granular feed or a liquid feed you dilute to about a quarter of the label strength. Nothing stronger.
- A notebook or phone reminders. Jot down what you watered and what changed. Six weeks of notes will teach you your wall faster than any article.
- The manufacturer’s instructions. The watering diagram, irrigation manual, fixings torque figures and support load rating. Read this before you touch the wall, not after something fails.
- A step ladder, and a second person if it is tall. Never lean a step ladder against a living wall. The frame is not built to take your weight.
Before your first session, also find out one thing: is this wall fed by hand, by drip irrigation, or by a recirculating tank? The routine changes a lot between those three, and the instructions should say which one you have.
Step-by-Step Living Wall Care Routine
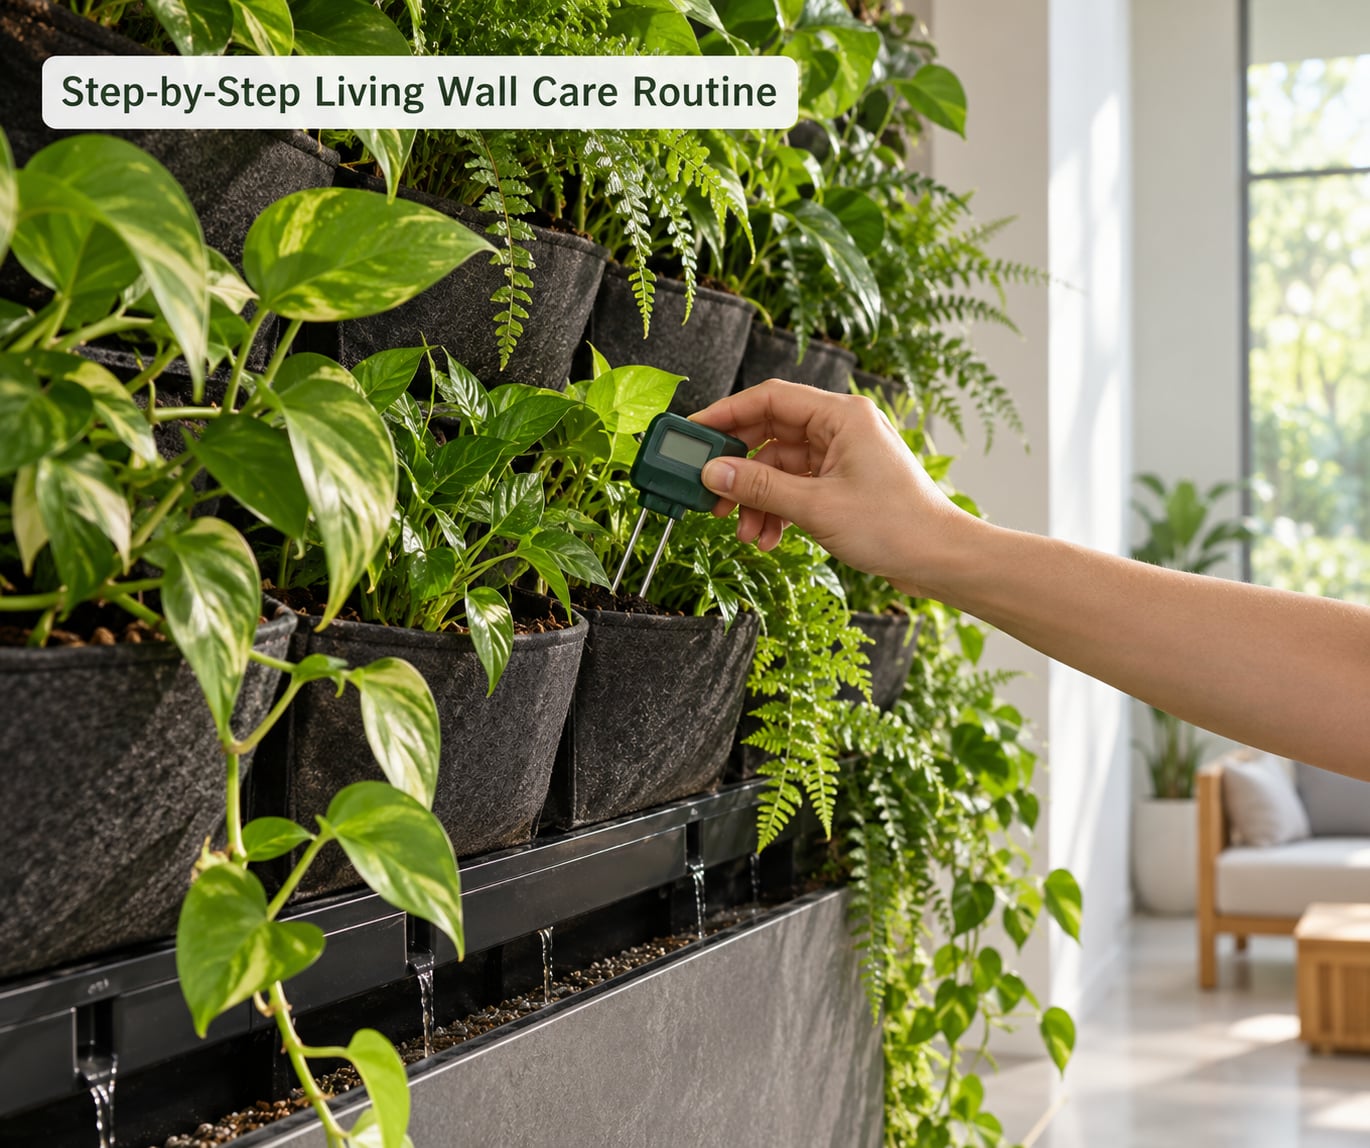
Work through this order every week and you will never miss a problem, because you check before you act rather than reacting to a dead plant. A well-kept indoor wall takes about 20 minutes; an outdoor one in summer can take 40 with the irrigation checks.
Inspect the System and Plants
Start by looking, and only then touch. Spend five minutes reading the wall before you change anything, because most problems look identical until you know which one you have.
Look at the leaves first. Healthy foliage is firm, evenly coloured and held up or trailing naturally. Soft yellowing lower leaves, brown crisp edges, bare patches or a plant hanging out of its pocket all point to different causes, so decide what you are seeing before you reach for the watering can.
Then check the growing medium in three places: the top row, the middle, and the bottom. Vertical walls dry from the top down and can be waterlogged at the base at the same time. Push the meter or chopstick into each spot and compare. Moist and cool is right. Soggy or sour is too wet. Dusty and warm is too dry.
Check the drainage path next. Look for a blocked channel, a pocket sitting proud of the panel and holding water, mineral crust around the drainage holes, or a panel that has come away from the wall. Healthy result: water leaves the lowest pockets, the frame is firm, and nothing smells sour.
Finally, look for pests. Check leaf undersides and the joints where leaves meet the panel, which is where spider mites and aphids gather first. Fine pale speckling, sticky residue, webbing or tiny moving dots all mean stop and deal with it now, because a dense wall gives problems a perfect highway.
Water Without Overwatering
Water when the growing medium tells you to, not when the calendar says to. Push the meter in and water any pocket that reads dry, then skip the rest of that row. This one habit prevents more living wall deaths than anything else a beginner can learn.
Water slowly and evenly across the whole wall rather than one section at a time, and finish the pass before starting again. Fast, heavy watering pushes water straight down the channels and leaves the upper pockets dry, which is exactly how a patchy wall forms.
Aim at the growing medium just above each pocket, not at the leaves. Leaf surfaces that stay wet for hours invite mould, especially indoors with poor airflow.
Watch the runoff. Steady drainage from the bottom of the panel means the medium is being wetted properly. A rush of water within seconds means the medium is already saturated and you have overdone it. No drainage at all after a slow pass means the channel is blocked, so clear it before the next watering rather than adding more water to a full pocket.
Adjust the interval as the seasons change. Spring and summer growth, warmer indoor temperatures and a wall near a window all dry the medium faster. In autumn and winter it holds moisture much longer, and watering on your old schedule is how beginners cause winter root rot.
Fertilize Lightly and Consistently
Feed lightly, roughly every four to six weeks during active growth, at a quarter to a half of the label strength. Growing medium in a small pocket exhausts nutrients quickly, but a strong dose burns roots, and damaged roots lose the ability to take up water.
Skip feeding on any plant that is wilted, yellowing, freshly transplanted or recovering from a problem. Stressed plants cannot use nutrients, and adding more usually makes the stress worse. Feed them once they are growing again.
Apply liquid feed to the growing medium, not the leaves, and water it in with plain water afterwards if the label suggests it. A slow-release granular feed suits people who forget; a diluted liquid feed suits people who want to control the dose precisely.
Stop feeding through the darker months when growth slows or stops, and resume as new leaves lengthen in spring. If a wall gets no light beyond a dim corner, feeding it hard achieves nothing, because the plant cannot convert nutrients without energy.
Prune and Train the Growth
Prune to keep the wall inside its frame and to redirect energy into the growth you want. Trim long trailing vines back to the panel edge so the wall reads as a wall, and pinch soft tips to encourage branching instead of a few runaway stems.
Remove dead, damaged or diseased material completely, cutting back to healthy tissue with clean shears. Anything soft, dark or collapsing at the base is a rot sign, and it should come out rather than be left to spread into the neighbouring pocket.
Never remove more than about a third of a plant’s total growth in one session, and never cut into a plant’s growing point or slice through its crown. Severe cutting on a wall plant is slow to recover from because there is so little root volume to draw on.
Repot or replace through the season rather than in the middle of active growth. When you take a plant out, work gently, support the root ball with one hand, and check that the pocket seat and the irrigation emitter went back exactly where they were.
Check the System and Repair Small Problems
Every month, or every two weeks in summer, check the hardware. Look for loose pockets, panels that have moved, fixings that need tightening to the manufacturer’s torque, and frame parts that have started to rust.
Clear mineral buildup from drainage holes with an old toothbrush and warm water. White crust around an opening means the hole is narrowing, and the pocket behind it will stay wet no matter how carefully you water.
Flush the irrigation line if your system has one. Run it until the water comes out clear, and check that each emitter still delivers to its pocket rather than spraying sideways. Blocked emitters are the usual reason an automated wall dries out unevenly.
Isolate pests fast. Take the affected plant or pocket out of the wall, treat it separately, and check its neighbours before returning it. Never spray a whole wall on a hunch, because you risk killing the beneficial insects along with the problem.
Call the manufacturer or a qualified installer if the failure is structural rather than horticultural: a leaking irrigation circuit, a frame that has moved, a wall that is out of square, or a support that has loosened in masonry. Plant problems you can fix yourself. Fixings and water inside a wall you cannot.
Common Mistakes
Most beginner mistakes come from doing too much of one thing and not enough of another. Each of these has a simple correction.
Watering on a schedule instead of checking. A fixed day of the week ignores temperature, season, light and how wet the wall already is. Check the medium first and water only what is dry.
Soaking the whole wall at once. A heavy pass sends water down the channels and leaves upper pockets bone dry, so the top browns while the base stays soggy. Water slowly, evenly, in two lighter passes.
Watering the leaves instead of the medium. Wet foliage that does not dry invites mould and mildew indoors. Aim at the growing medium and let the air move through the wall.
Placing a low-light wall in a dark corner. No amount of care fixes insufficient light. Watch the wall for a week, move it closer to a window, or add a grow light that covers the upper rows, which shade the lower ones.
Using blunt or dirty shears. Ragged cuts tear tissue and a dirty blade carries disease from plant to plant. Sharpen and disinfect between cuts, and keep a separate pair for anything suspect.
Cutting back too hard. A wall plant has a tiny root volume, so a hard prune can set it back a full season. Take a third at most, and remove dead material more generously than healthy growth.
Ignoring drainage. Blocked channels and crusted holes keep pockets wet, and a wet pocket rots. Clear the channels monthly and never add water to a pocket that is already full.
Fertilising at full label strength. Concentrated feed scorches fine roots, and scorched roots cannot drink, so the plant yellows and dies from a mistake made in the best possible intentions. Dilute to a quarter strength and feed only actively growing plants.
One last habit worth naming: write things down. A wall that is failing somewhere usually gives you a month of warning signs, and a short weekly note is what turns those signs into a diagnosis.
Frequently Asked Questions
How often should I water a living wall?
Usually two or three times a week for a hand-watered indoor wall, less in winter and more in summer, but check rather than count. Push a moisture meter or chopstick into the top, middle and bottom pockets. Water only what reads dry. A drip or recirculating system needs a weekly check instead, because failures show as dry patches rather than wilting.
Can I use a living-wall watering system instead of checking by hand?
You can, and for larger walls it is usually worth it, but never set it up and forget it. Drip and recirculating systems fail quietly, and the first sign is a brown patch rather than a drooping plant. Run the line by hand once a month, flush it until the water runs clear, and check that each emitter still reaches its pocket.
What plants are easiest for a beginner living wall?
Pothos, philodendron, spider plant and dracaena all tolerate a spread of light levels and forgiving watering, and they trail well enough to hide the frame. Ferns and Asparagus fern want steadier moisture and humidity, so they suit a bathroom or a wall away from draughts. A moss or air-plant wall is the lowest-maintenance option of all, needing misting rather than watering.
How do I remove dead plants from a living wall without damaging the others?
Work from the outside in, ease the dead plant out with one hand supporting the root ball, and never pull by the stem. Empty and rinse the empty pocket, check the channel below for debris, and fit a replacement of similar size with its root ball at the same depth. Water the area lightly afterwards and skip feeding it for a few weeks.
Why are the leaves on my living wall turning yellow?
Yellow lower leaves on an otherwise healthy plant usually mean too much water, poor drainage or a blocked channel holding the pocket wet. Check the medium at the base before anything else. Yellowing across the whole wall, with dry brown edges and crisp growth at the top, points the other way, toward underwatering or light that is too weak.
How much light does an indoor living wall need?
Most planted systems want several hours of bright, indirect light, which means close to a window but out of harsh midday sun, and they will stretch and thin out in a dim corner. Check for growth leaning toward the glass or long, pale stems, both signs of too little light. Upper rows shade the lower ones, so a full-width grow light beats a lamp in the middle.
Conclusion
Start with the medium, not the watering can. Check the top, middle and bottom pockets every week, water only what reads dry and only over the growing medium, feed at a quarter strength in active growth, and prune a third at a time. Do those four things and living wall maintenance for beginners becomes a short weekly routine rather than a second job.