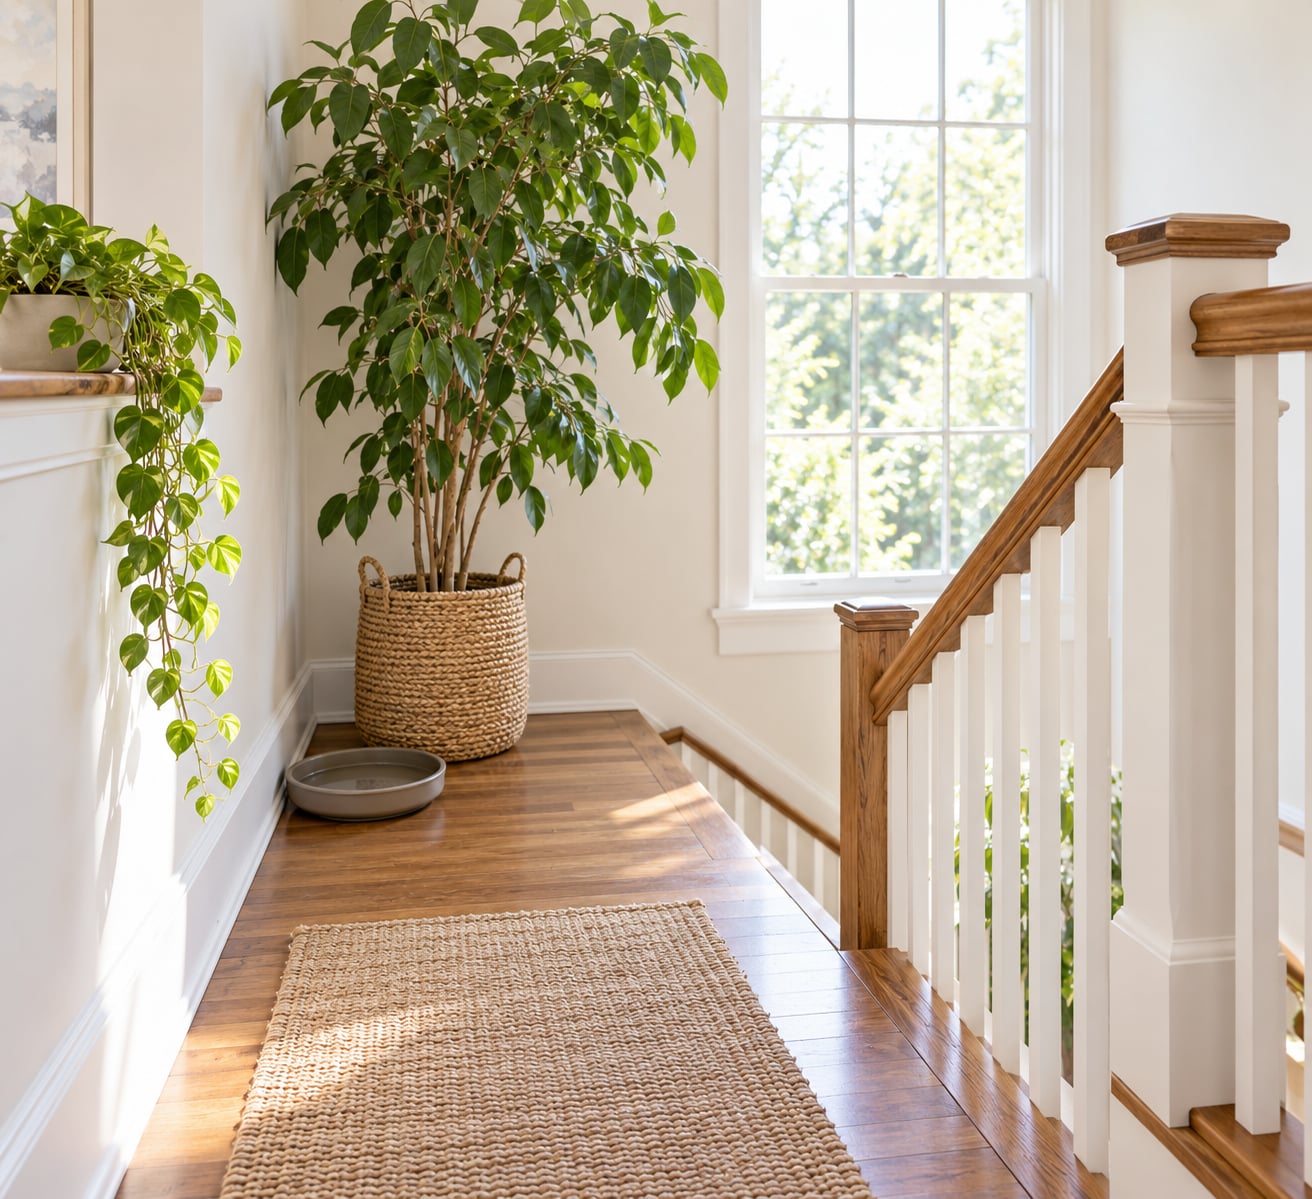
A stair landing is the first thing guests see and the narrowest, highest-traffic floor space in most homes, so the trick to display plants on a staircase landing is to keep every pot off the walking line and off the handrail. Most of the work is measuring and choosing the mount; the planting itself takes minutes. Give the whole job an afternoon the first time, then ten minutes a week on upkeep.
Two rules carry most of the weight. Never let a planter narrow the path you walk or the section of the handrail you can grab, and never put loose soil or standing water anywhere a foot lands. Everything else is decoration layered on top of that.
Table of Contents
- What You Need
- Step-by-Step: How to Display Plants on a Staircase Landing
- Measure the landing and find the zone nobody walks through
- Match the plant to the light the landing actually gets
- Choose a stable planter and protect the surface underneath it
- Build height without narrowing the route
- Check the display, then keep it that way
- Common Mistakes
- Frequently Asked Questions
- Can you put plants on stairs safely?
- What are the best plants for a stair landing with no natural light?
- How wide should a pot be on a stair landing?
- How do I keep water from dripping down the stairs?
- Are stair landing plants safe for cats and kids?
- What is the 27 rule for stairs?
- Conclusion
What You Need
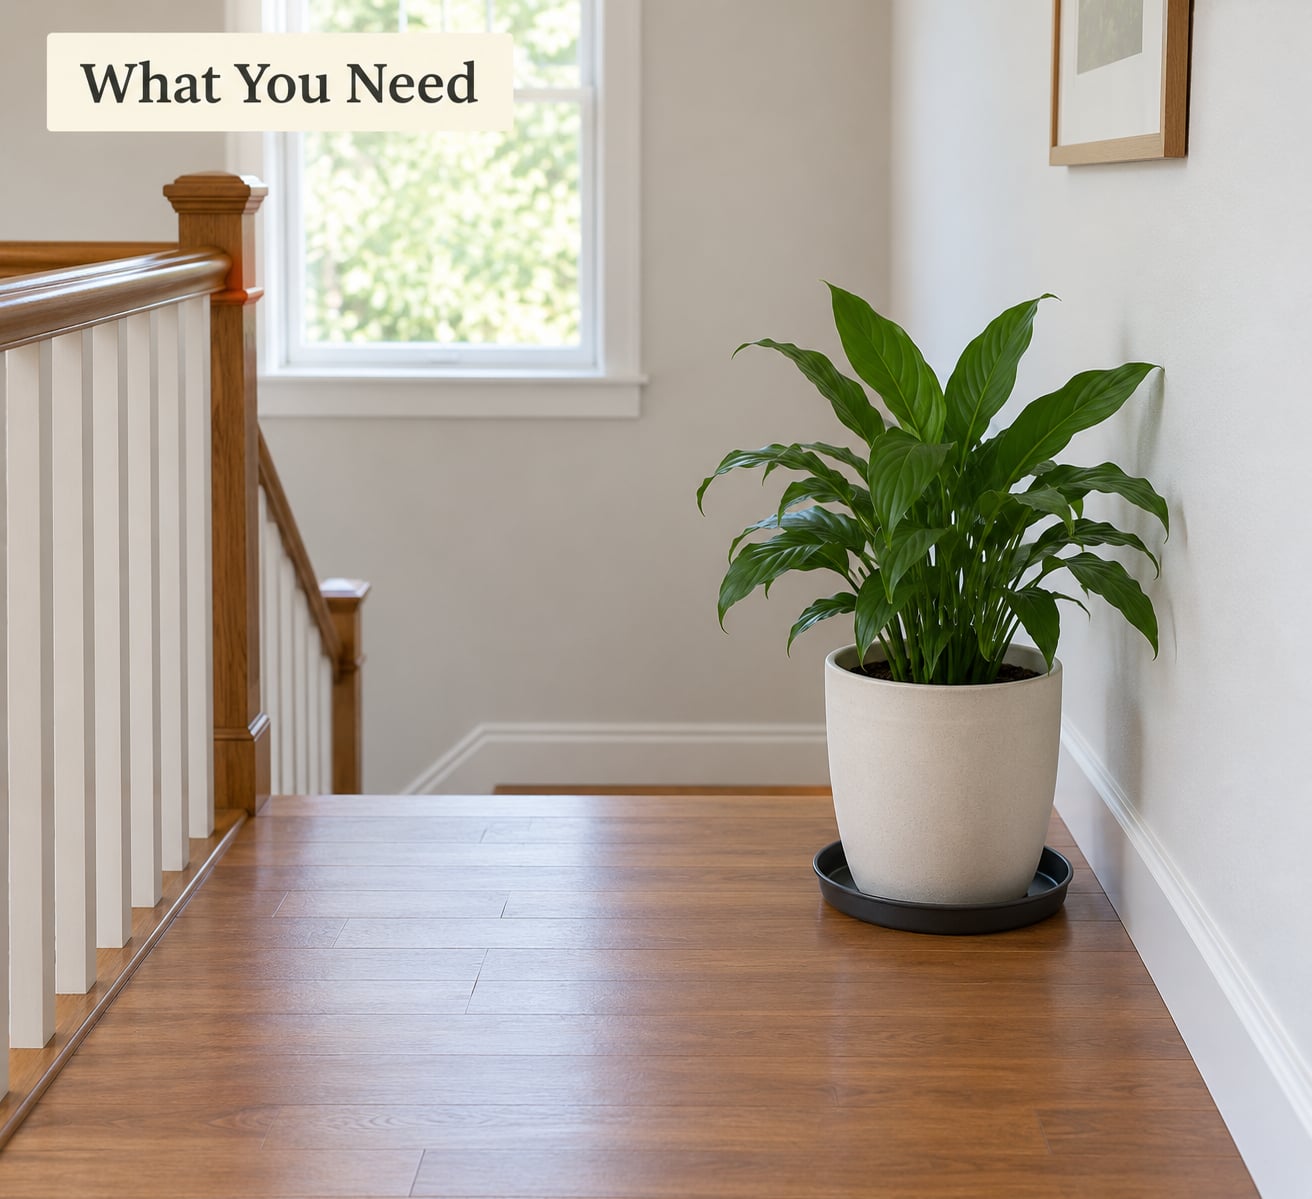
Most people arrive with a plant in hand and no hardware. Gather these first and the install turns into an afternoon, not a weekend.
- A tape measure. You need four numbers before anything else: landing width, landing depth, ceiling height above the landing, and roughly how much daylight reaches it.
- A wall or a rail you can actually use. Note whether the handrail is wood, metal, or a mounted-on-wall rail, because each takes different hardware.
- Waterproof protection. A plastic tray, a waterproof mat, or a cachepot with a sealed base sits under any pot that will ever be watered indoors.
- A mount. Options run from adhesive hooks and S-hooks to a picture ledge, a floating shelf, a tension rod, or a small plant stand. Renters should default to adhesive or tension-mounted hardware and skip anything that needs a drill into a stairwell wall.
- A second plant for height. One floor pot plus one trailing or upright plant reads as designed. Three start to read as a garden center.
A pot base wider than about a quarter of the tread depth is the point where a pot starts reading as an obstacle, so measure your largest available pot against the smallest tread before you commit to it.
Step-by-Step: How to Display Plants on a Staircase Landing
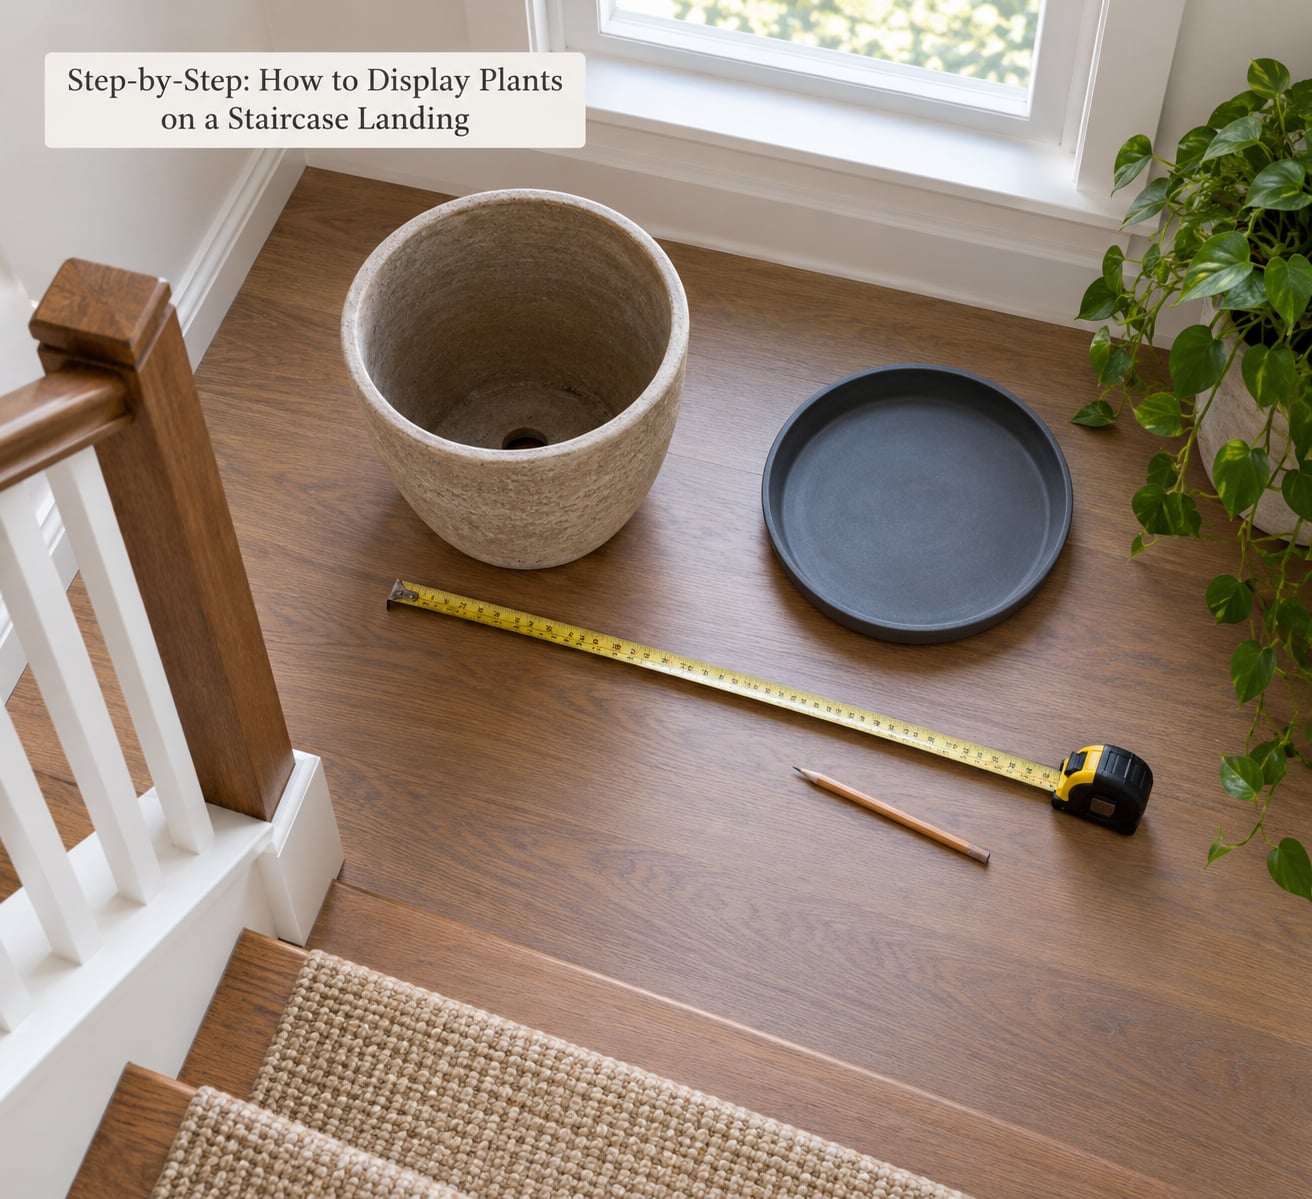
Work in this order. Measure, choose the zone, match the plant to the light, pick a stable planter, protect the surface, layer the heights, and check it before you walk away.
Measure the landing and find the zone nobody walks through
Start by measuring width and depth at both the top and the bottom of the flight, since a landing that is generous at one end can pinch at the other. Then walk the route yourself and note where your shoulder or hip brushes the wall on the way down. That contact zone, plus anywhere a door swings, a stair rises, or the handrail terminates, is off limits for floor pots.
What remains is usually a corner or a wall-side strip. Mark it with tape on the floor if you need to, and check the mark with a full pass before you bring anything upstairs. Landings with a quarter-turn or a split flight have two usable corners; the ones beside the newel post are the safest because the post already acts as a barrier.
Match the plant to the light the landing actually gets
Classify the landing before you shop, because it decides the plant list more than taste does. Bright indirect landings near a window can carry a flowering plant or a monstera. Filtered landings suit a fern or a prayer plant. A no-window or north-facing stairwell is a low-light situation, and there you want plants that tolerate neglect: pothos, ZZ plant, snake plant, Chinese evergreen, or spider plant.
Stairwells are cooler and airier than living rooms in winter, which slows evaporation and cuts the risk of a dry-out between visits. It also means a plant that looks thirsty on a landing may be perfectly happy. If a landing gets no daylight at all, a clip-on grow light turns a dead corner into a working display, and a high-quality faux plant is a fair choice when nobody wants to water anything on a staircase.
Choose a stable planter and protect the surface underneath it
A wide, heavy base beats a tall, narrow pot every time on a landing. A tapered pot topples when someone brushes it; a straight-sided ceramic pot with a base wider than its middle stays put. Check the drainage hole, and slip a waterproof mat or a shallow tray with a raised rim underneath so a single watering cannot reach the tread.
For hanging planters, weight is the deciding factor. Load a hanger empty first, then load it with soil, then hang it low over a stair and stand under it. If the hook creeps, the pot drops, and the soil cracks, use a lighter plant or a shallower container. On a high-traffic stair, skip anything hanging that low; keep the bottom of the planter above head height for anyone on the step below.
Build height without narrowing the route
Layer the display instead of stacking it. Put the largest plant at the back against the wall, a medium plant beside it at a different height, and one trailing plant whose foliage softens the hard line of the stair. A small plant stand or a wall-mounted ledge under the trailing plant gives you the third height without using floor width.
Wall-mounted and rail-mounted displays win on tight landings because they borrow space you do not have at floor level. A picture ledge fixed to a stud or a nail holds small pots and frames. Adhesive hooks hold macrame hangers or vine cuttings. S-hooks or magnetic planters clip onto a metal balustrade, though they never belong on a graspable handrail. Keep foliage out of doorways and off the sightline down the flight, so nobody looks up mid-step into a hanging pot.
Check the display, then keep it that way
Do a full walk test: go up and down twice carrying something awkward, and note whether you slow down, turn sideways, or reach for the rail with both hands. If any of those happen, move the plant back. Then push each pot gently at the top. Nothing should rock, creep, or shift.
Put the display on a routine. Water at the sink, downstairs, and carry the pot up already drained rather than pouring on the landing. Sweep fallen leaves weekly, since stairs collect them fast and a wet leaf on a hardwood tread is a slip risk. Rotate pots a quarter turn monthly so the plant grows evenly, and check the mount hardware every few months, especially adhesive hooks in a warm or cool stairwell where the strip loses grip faster.
Common Mistakes
Most of these are fixable in an afternoon, and each one is easy to spot in someone else’s house.
- One oversized pot on the floor. Fix: drop to a pot no more than a quarter of the tread width wide, and push it fully back against the wall so it sits outside the walking line.
- A plant in front of the handrail. Fix: move it a foot to the side so the full length of the rail stays graspable with one hand.
- A floating shelf with no anchor into a stud. Fix: use a properly rated bracket or a picture ledge designed for the load, and test it before you hang soil on it.
- No drainage protection. Fix: put a tray or a sealed cachepot under everything, and never water over the treads.
- A fiddle leaf fig in a windowless stairwell. Fix: swap to a low-light plant, or add a grow light if the corner needs a statement shape.
- Foliage trailing over the sightline. Fix: keep hanging planters above eye level and let vines run along a wall or rail, never across the opening of the stair.
- Potting soil scattered on the treads. Fix: water and repot at the sink or outdoors, and sweep after every session.
- Too many plants at once. Fix: pick two ideas, live with them for a month, and add a third only if the landing still reads calm.
A note on the 27-inch stair art rule some people ask about: that convention is about wall art, not plants. It is a good prompt to look up the wall before you buy anything, but a pot on a ledge does not count as art in that sense.
Frequently Asked Questions
Can you put plants on stairs safely?
Yes, as long as the planter stays outside the walking line and the handrail stays fully graspable. Keep floor pots against the wall, use wide heavy bases instead of tall tapered ones, hang planters above head height for anyone on the step below, and give every pot a waterproof tray. Test each mount with weight before you trust it.
What are the best plants for a stair landing with no natural light?
Pothos, ZZ plant, snake plant, Chinese evergreen, and spider plant all handle a windowless stairwell. They are slow growers in low light, so pick the size you want at the shop rather than expecting fast growth. A clip-on grow light lets you add a leafier plant, and a good faux plant is a reasonable option where nobody wants to water anything.
How wide should a pot be on a stair landing?
Keep the pot base to roughly a quarter of the tread depth, and no wider than about 12 inches in most homes. Wider than that and people start stepping around it, which is the exact problem you are trying to avoid. If you want a bigger plant, hang it or put it on a wall ledge instead of growing it outward from the floor.
How do I keep water from dripping down the stairs?
Water at a sink rather than on the landing, and let the pot drain before you carry it upstairs. Sit every pot in a tray with a raised rim or a sealed cachepot, and empty the tray a few hours later. If you pot or repot anything, do it outside. A dry stair with a leaf sweeper nearby is a far better habit than a damp one.
Are stair landing plants safe for cats and kids?
Stick with non-toxic species if pets or small children use the stairs, including prayer plants, spider plants, parlor palms, most ferns, and African violets. Skip lilies, philodendrons, pothos, and sago palm, which are toxic if chewed. Place anything borderline well above head height and out of a child’s reach.
What is the 27 rule for stairs?
The 27-inch rule is a decor convention about where to hang artwork on a stairwell wall, measured from the stair nose. It is not a plant rule. It is still worth knowing before you mount anything, because it tells you where the eye naturally travels and where a small ledge or planter will read best.
Conclusion
Start with the walk. Measure your landing, mark the strip people actually use, and ban floor pots from it. Then pick one corner, one wall, or one rail, choose a mount that suits the light and your rental situation, and start with a single plant. Add the second one at a different height a few weeks later, once you know the landing can take it.