Paint peels off terracotta because the clay is porous and alkaline, so water moves through it in both directions. Once a pot holds damp soil, that moisture travels out to the surface and lifts the paint layer from underneath. Knowing how to paint terracotta pots so the paint lasts comes down to sealing the inside and outside of the clay before you paint, applying two thin coats of paint suited to porous mineral surfaces, and finishing with a waterproof, UV-resistant top coat. Most of the job happens before the first brushstroke.
A basic refresh takes an afternoon plus drying time. The prep takes longer than the painting, which is exactly where most people go wrong.
Table of Contents
- What You Need
- How to Paint Terracotta Pots So the Paint Lasts
- Step 1: Clean the Terracotta Thoroughly
- Step 2: Repair and Sand the Surface
- Step 3: Choose the Right Primer and Paint
- Step 4: Apply Thin Primer and Paint Coats
- Step 5: Let the Paint Cure Fully
- Step 6: Seal the Painted Pot if Required
- Common Mistakes
- Frequently Asked Questions
- Can you paint a terracotta pot that is already painted?
- Should you rinse terracotta pots before painting them?
- What type of paint is best for outdoor terracotta planters?
- Can you paint over the drainage hole in a terracotta pot?
- How do you stop painted terracotta from fading outdoors?
- How long should a painted terracotta pot dry before using it?
- Conclusion
What You Need
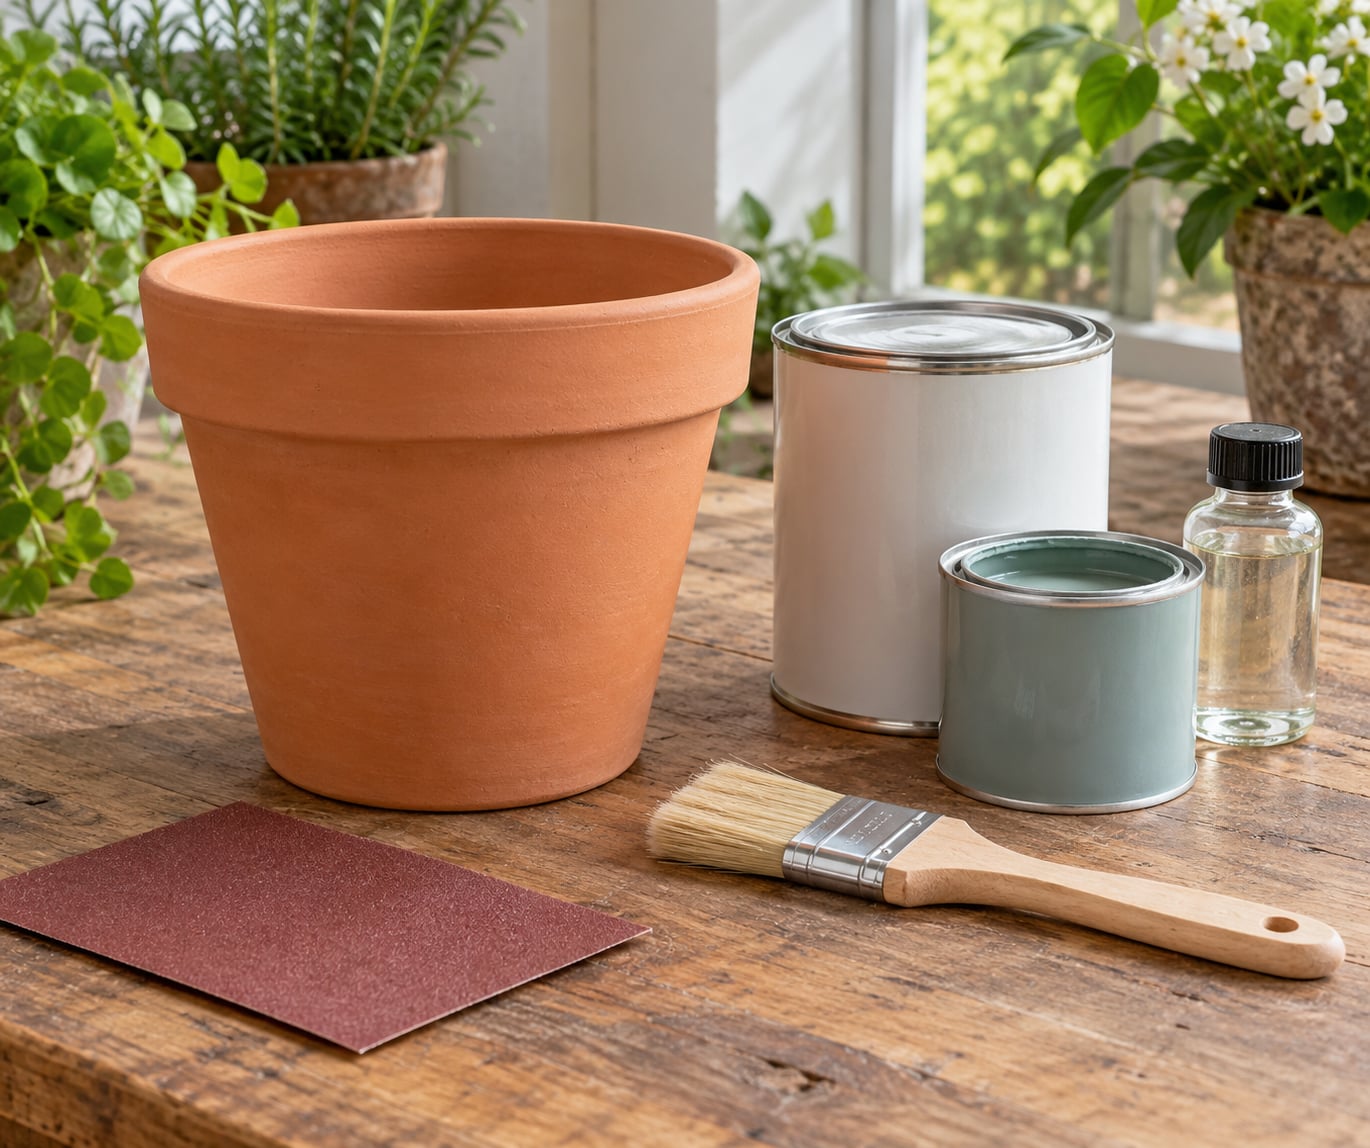
Gather everything before the pot goes on the work surface. This is a short list and none of it is specialised, but two items matter more than the rest: an adhesion primer made for porous mineral surfaces, and a sealer that is waterproof and UV-resistant.
- An adhesion primer formulated for porous clay, ceramic or masonry. Gesso or a bonding primer both work on bare terracotta.
- Exterior acrylic or latex paint for pots that live outdoors, or acrylic craft paint for indoor pieces and small designs.
- A narrow synthetic brush for detail work, plus a small roller or a wide flat brush for larger pots.
- Fine sanding paper, around 120 to 220 grit, for scuffing the surface and smoothing rough clay.
- Cleaning supplies — a stiff nylon brush, a bucket, mild dish soap, and a scraper or wire brush for flaking old paint.
- Exterior-grade filler or patching compound if the pot has chips, cracks or holes.
- A clear waterproof sealer with UV protection for outdoor work, a matte one if you want the clay texture to show through.
- A plastic pot liner or a pot-within-a-pot — optional, but the strongest durability move available.
- Drop cloth, gloves and a dust mask for sanding, and a paint tray for rolling.
Which materials change depends on where the pot goes. Indoor pots skip the UV-resistant sealer and can use a simple acrylic craft paint. Anything on a patio, balcony or step needs exterior paint and a real top coat, because those surfaces take rain, direct sun and freeze-thaw cycles.
How to Paint Terracotta Pots So the Paint Lasts
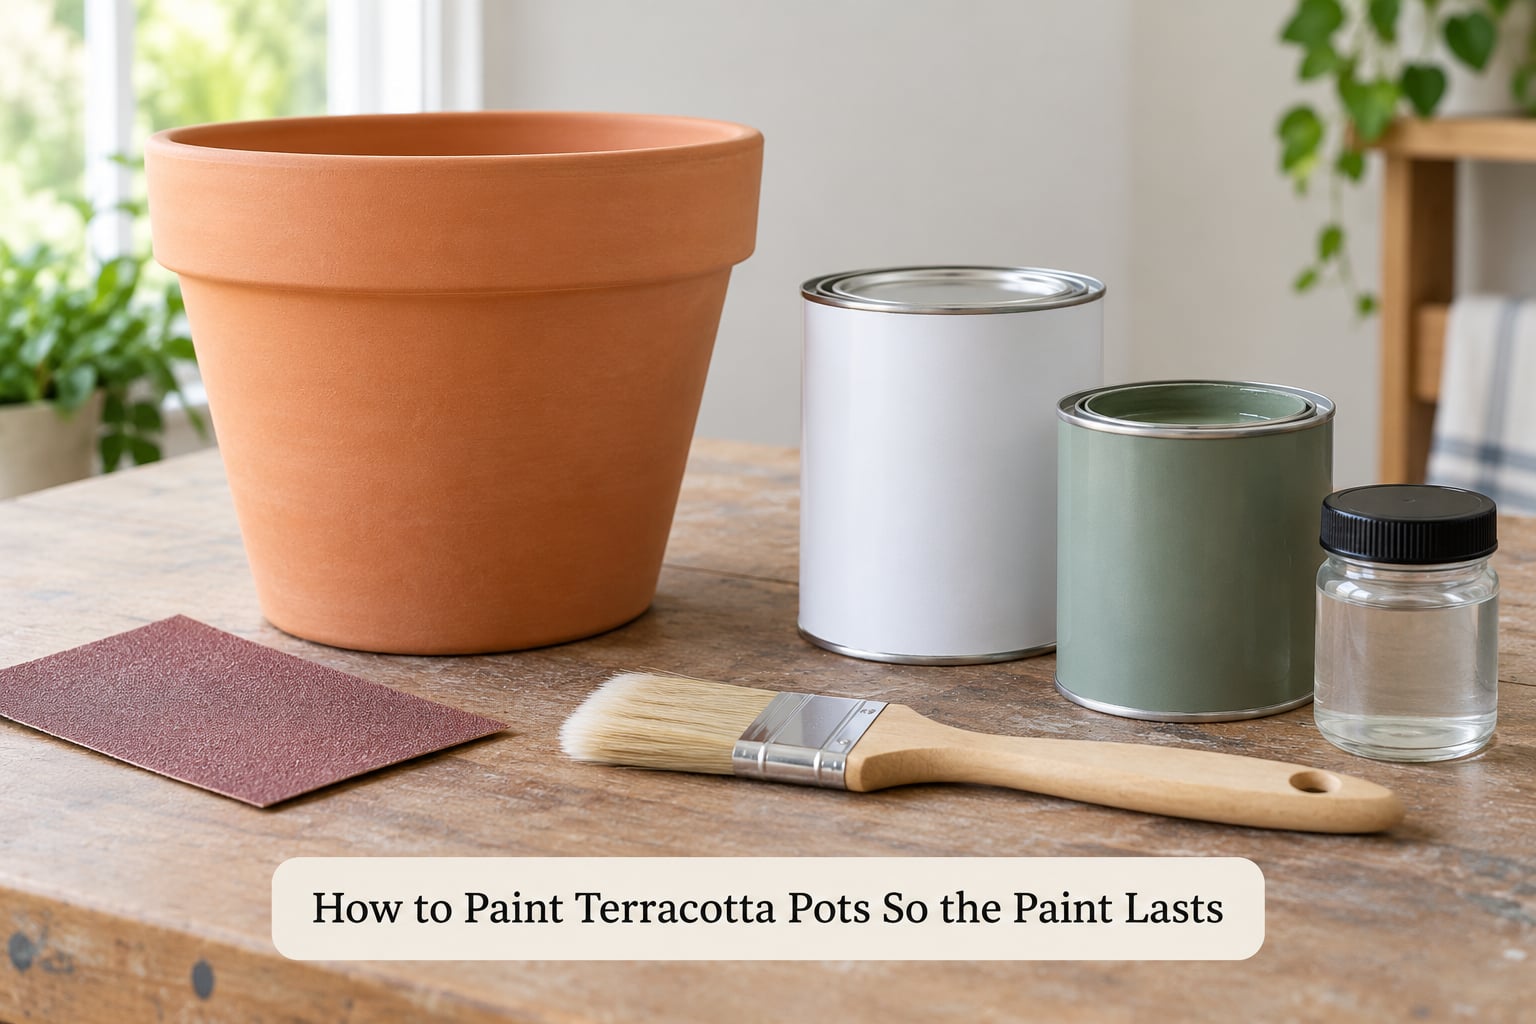
The full process runs in six stages, and each one protects the one after it. Clean and dry the pot so nothing is trapped under the paint. Repair flaws and scuff the surface. Prime and choose a paint that flexes with the clay. Apply thin coats. Let each coat dry properly. Then seal the finished surface if the pot will be used where water or sun reaches it.
Skip any stage and the next one does more work than it should. A pot painted straight over dust will peel at the first watering, and a thick coat of the best paint on earth will still lift in sheets.
Step 1: Clean the Terracotta Thoroughly
Start with a dry brush. Take a stiff nylon brush over the whole pot to knock off dust, dried soil and loose fibres from the drainage hole, then scrape away any paint already flaking. A putty knife does this well without scratching the clay.
Next, wash the pot. Mix a little mild dish soap into warm water, scrub with a soft brush, and rinse with a cloth rather than the full tap pressure so you do not drive water deep into the clay. A hose is fine for a large pot, but let the clay get properly dry afterwards.
White powdery bloom on the surface is efflorescence — salts carried out of the clay by water. Wipe it off with a damp cloth before it goes under primer; a clear sealer over salt will trap it against the surface.
Now the checkpoint people skip. Set the pot somewhere with good airflow and give it time until it feels completely dry and room temperature all the way through, including the base. A pot that feels cool to the touch is still holding water. Trapped moisture under a paint film turns to vapour in the sun, and that is what causes blistering and peeling later.
Step 2: Repair and Sand the Surface
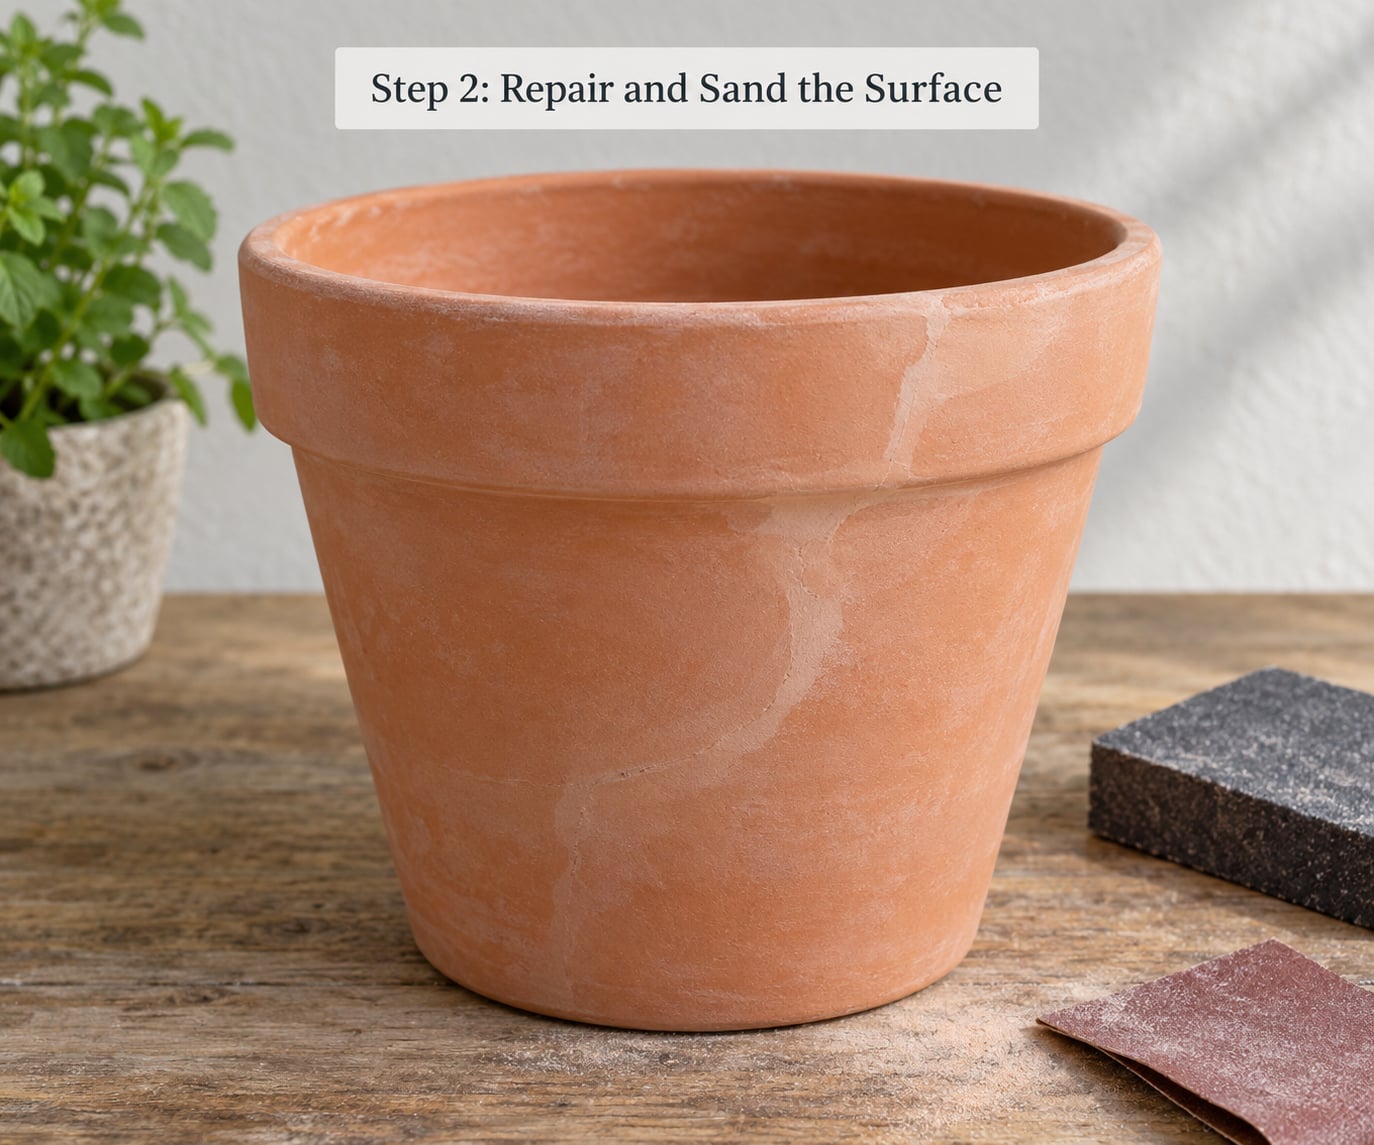
Fill chips, cracks and holes with an exterior-grade filler or patching compound. Work it into the damage with a small putty knife and let it dry hard enough to sand. Any filler left proud of the surface will show through the paint forever, so sand it flush.
Sand the repaired areas smooth, then scuff the entire pot lightly with 120 to 220 grit paper. You are not trying to remove the clay — you are roughening a smooth, dusty surface so the primer has something to grip. Work in circles with light pressure and wipe the dust off with a damp cloth afterwards, then dry it again.
Keep the rim and base edges crisp and leave any decorative texture, ridges or impressed pattern intact. Those details take the longest to fill in, and rounding them off changes the character of the pot.
Step 3: Choose the Right Primer and Paint
Prime before every coat job. A bonding primer or gesso designed for porous mineral surfaces reduces how much the clay drinks up, which is what makes ordinary paint slide off after a few weeks. Gesso is a popular choice among pot painters because it levels the surface and gives a consistent base; a masonry bonding primer works just as well outdoors.
Then pick paint for the location. Flexible acrylic formulas keep their bond as clay expands and contracts with heat and cold. Anything that dries hard and brittle on the surface will crack and lift over a few seasons.
| Paint type | Adhesion on terracotta | Best use |
|---|---|---|
| Acrylic craft paint | Good with primer, weak alone | Indoor pots, small designs, colour blocking |
| Exterior acrylic latex | Strong, stays flexible | Outdoor planters, full coverage |
| Spray paint | Even with primer; thin films | Quick, uniform coverage on large pots |
| Ceramic or tile glaze paint | Very strong, hard finish | Pots that get constant handling or splashing |
Do not assume household spray paint will bond reliably. It forms a thin shell that peels neatly off in sheets when moisture reaches it from inside. Spray is fine for a decorative pot that never touches soil, as long as it is primed and sealed. For a pot that holds a plant, use paint sold for exterior surfaces.
If the pot will grow edibles or you are unsure about fumes curing near roots, choose a product labelled non-toxic or low-VOC and let it cure fully before planting.
Step 4: Apply Thin Primer and Paint Coats
Brush or roll the primer on evenly and follow the product instructions for thinning and drying. Keep the edges wet as you work across a section, because a line that dries before you reach it leaves a visible lap mark.
For paint, load a brush about a third of the way and spread the paint thinly rather than pushing it on. Work from one side of the pot to the other, then around the body, letting the last stroke feather into wet paint. Avoid puddles in the base and in the decorative grooves, where thick paint collects and dries hard.
Two thin coats beat one thick coat every time. Thick paint shrinks as it dries, and the top skin hardens faster than the layer beneath, so it cracks and then peels off in chunks. Thin coats dry more evenly and stay bonded.
You know a coat is dry when it has lost all sheen, feels matte to a light touch and no longer transfers to your knuckle. If it smudges, wait. Between coats, sand lightly with fine grit only if the first coat has lifted into a texture, then wipe the dust off again.
Step 5: Let the Paint Cure Fully
Dry and cured are different states, and this is where most pots get ruined. Paint can feel dry to the touch within an hour and still be soft underneath for days. The label’s drying time tells you when to recoat; the cure time tells you when the film is hard.
For most water-based paints on clay, allow at least 24 hours before handling and 48 to 72 hours before the pot goes anywhere near soil, water or direct sun. Spray and fast-drying products cure sooner, and full cure can take a week or two. The manufacturer’s stated cure time wins over any rule of thumb here.
Check before you move it. The surface should have no tackiness, the colour should be uniform with no patchy dull areas, and a light knuckle press should leave no print. If it marks, it is not ready.
Paint the inside of the pot before the outside if you want a neat finish. Even better for longevity is sealing the interior so soil moisture never reaches the outer paint film at all.
Step 6: Seal the Painted Pot if Required
A clear top coat earns its place on outdoor planters, on pots with a moisture-prone interior, and on any pot that gets handled often. Indoors, a matte sealer is mostly about scuff resistance and cleaning, so a light coat is enough.
Choose a sealer the paint manufacturer approves. Look for waterproof and UV-resistant, non-yellowing, and either breathable or specifically recommended over your paint. A gloss sealer lasts longer and shrugs off water but adds a plastic sheen; a matte one keeps the clay’s texture but protects less aggressively and is harder to scrub.
Apply it in even, thin passes with a soft brush or a spray can held at the distance printed on the label. Let each pass dry before the next, and do not pool it in the base. Then leave the pot for the stated final cure time before planting.
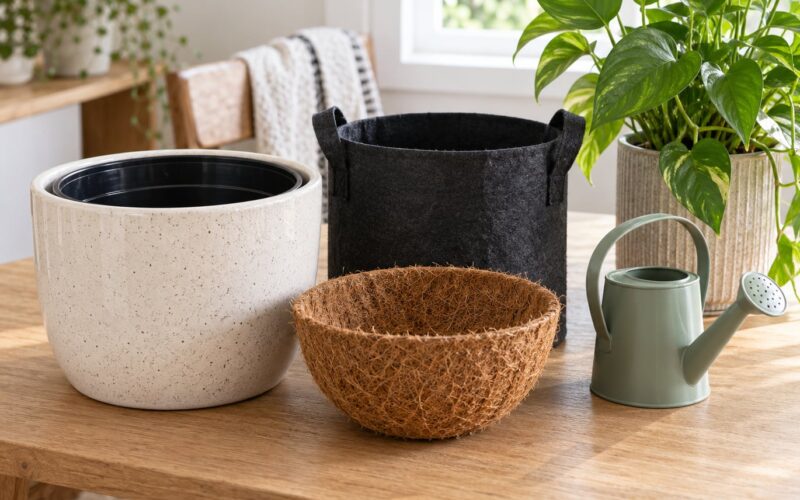
If you want zero paint contact with soil, slip a plastic nursery pot inside the terracotta one. It nests with a little soil or a handful of gravel in between. The clay stays dry, the paint never sees moisture, and the pot looks identical from outside.
Common Mistakes
Painting over damp terracotta. This is the number one cause of peeling and nothing fixes it afterwards. The trapped water turns to vapour under the film and pushes the paint off in bubbles. Fix: wait until the pot feels dry and room temperature all the way through, including the base.
Skipping the primer. Bare clay drinks paint and keeps moving water. Without an adhesion primer, paint starts lifting from the edges within weeks. Fix: always prime bare or previously exposed terracotta, including the interior if you are painting it.
Applying thick coats. One heavy coat cracks as it shrinks, then peels in sheets. Fix: two thin coats, fully dry between them, with no puddles in the base.
Using incompatible paint. Household spray paint and interior-only latex both dry hard and brittle, and clay movement breaks them apart. Fix: flexible exterior acrylic for anything outdoors.
Failing to seal outdoor work. UV fades colour and chalking even where the paint is still attached. Fix: a waterproof, UV-resistant top coat on every outdoor pot, re-applied when the sheen dulls.
Leaving the bottom unpainted around the drainage hole. The area takes constant contact with wet soil and a saucer. Fix: leave drainage paths clear, paint everything else, and seal the outside edges well.
Putting a half-cured pot outside. Handling scuffs a soft film and marks it permanently. Fix: respect the cure time on the label, and count on 48 to 72 hours as a floor for water-based paint.
Painting a pot that is already peeling. This one is repairable. Strip the loose paint back to bare clay with a scraper and wire brush, wash and dry the pot fully, sand the whole surface, spot-prime any bare spots, then apply two fresh thin coats and a new top coat. If paint is lifting in large sheets all over, the pot is telling you the interior was never sealed — start over with a liner.
Covering the whole pot in paint when a design would do. The top-voted advice on the houseplants forum is that small designs on bare clay outlast full coverage, simply because there is less film to fail and the unpainted clay expands and contracts freely around them. That approach suits a decorative pot; for a functional planter, sealing the interior matters more.
Cleaning a painted pot carelessly. No soaking, no abrasive pads, no pressure washing. Use room-temperature water, a soft cloth and mild soap, and dry the pot right away. A pot that stays wet at the base invites the flaking right back.
Frequently Asked Questions
Can you paint a terracotta pot that is already painted?
Yes, as long as the old paint is still firmly attached. Scrape off anything loose with a putty knife, wash the pot, let it dry completely, sand the whole surface to give the new coat something to grip, then prime and apply two thin coats plus a top coat. If the existing paint is lifting in sheets across the surface, strip it back to bare clay and start again, sealing the interior this time.
Should you rinse terracotta pots before painting them?
Rinse, but soak as little as possible. A quick wash with mild dish soap and warm water removes dust, salts and oily residue; scrubbing with a soft brush works better than pressure. Avoid soaking the pot, since porous clay holds water for a long time. The critical part comes after the rinse: let the pot dry fully at room temperature until it no longer feels cool or damp anywhere, base included.
What type of paint is best for outdoor terracotta planters?
A flexible exterior acrylic or exterior acrylic latex paint, applied over an adhesion primer designed for porous mineral surfaces. It stays supple as clay expands and contracts, which keeps it from cracking. Sprays and interior paints dry harder and are more likely to lift. Add a waterproof, UV-resistant top coat outdoors, since sunlight fades and chalks colour even when the paint is still attached.
Can you paint over the drainage hole in a terracotta pot?
No. Keep the drainage hole and the channel leading to it clear of paint, because a sealed hole holds water inside the pot and rots both soil and roots. Paint the rim of the hole if you like, but leave the opening open. Adding a plastic liner inside the pot is the cleaner fix, since it isolates the clay from soil moisture entirely and keeps your finish looking new for years.
How do you stop painted terracotta from fading outdoors?
Finish with a UV-resistant, non-yellowing top coat and reapply when the sheen turns dull, usually every one to two seasons. Direct south-facing sun fades colour faster than any other exposure. Choosing a deeper, more pigmented colour helps because there is more colour to lose, and moving a pot into afternoon shade buys you another season or two of the same finish.
How long should a painted terracotta pot dry before using it?
Plan on 48 to 72 hours before the pot touches soil or water, and treat that as a floor rather than a target. Surface-dry paint can still be soft underneath, and handling it early leaves scuffs that never come out. The cure time printed on the paint can is the authority, and some products need a week or more to harden fully. A light knuckle press that leaves no mark is the simplest readiness check.
Conclusion
Clean the pot, repair any damage and let the clay dry completely before anything else. That single step prevents more peeling than any paint choice, and everything after it is easier: prime for porous mineral surfaces, apply two thin flexible coats, and finish outdoor work with a waterproof, UV-resistant top coat.
That is the short answer to how to paint terracotta pots so the paint lasts — preparation sets the ceiling on how long the finish survives. Follow the drying, curing and outdoor-use instructions printed on your paint and sealer rather than any general guideline, and expect years rather than weeks from a well-prepped pot. If a pot will hold soil all season, a plastic liner removes the moisture problem entirely and buys you the longest life of any method here.