Most houseplants don’t die from repotting itself. They die from going into a pot that’s far too big, from roots torn during the move, and from being watered again while the soil is already soggy. Get those three things right and the job takes about twenty minutes on a table you can wipe down.
Rootbound just means the roots have filled the pot and started circling the root ball. Transplant shock is the droop and leaf drop most plants show for a couple of weeks afterwards, and it’s usually temporary. Knowing those two terms before you start saves a lot of unnecessary panic on r/houseplants.
One more word worth knowing before you start: potting up means sliding the plant, old soil and all, into a slightly larger pot without touching the roots. It’s the lowest-risk option and it’s all some plants need.
Table of Contents
- What You Need
- Step-by-Step: How to Repot a Houseplant Without Killing It
- Step 1: Check Whether the Plant Really Needs Repotting
- Step 2: Prepare the New Pot and Work Area
- Step 3: Remove the Houseplant Carefully
- Step 4: Inspect and Loosen the Roots
- Step 5: Place the Plant at the Right Depth
- Step 6: Fill, Firm and Water the Pot
- Step 7: Give the Plant Time to Recover
- Common Mistakes
- Frequently Asked Questions
- Should I repot indoor plants after buying?
- Are you supposed to put rocks in the bottom of a planter?
- Why are all my plants dying after repotting?
- Can plants recover from repotting shock?
- How much bigger should the pot be when repotting?
- Should I remove all the old soil from the roots?
- Conclusion
What You Need
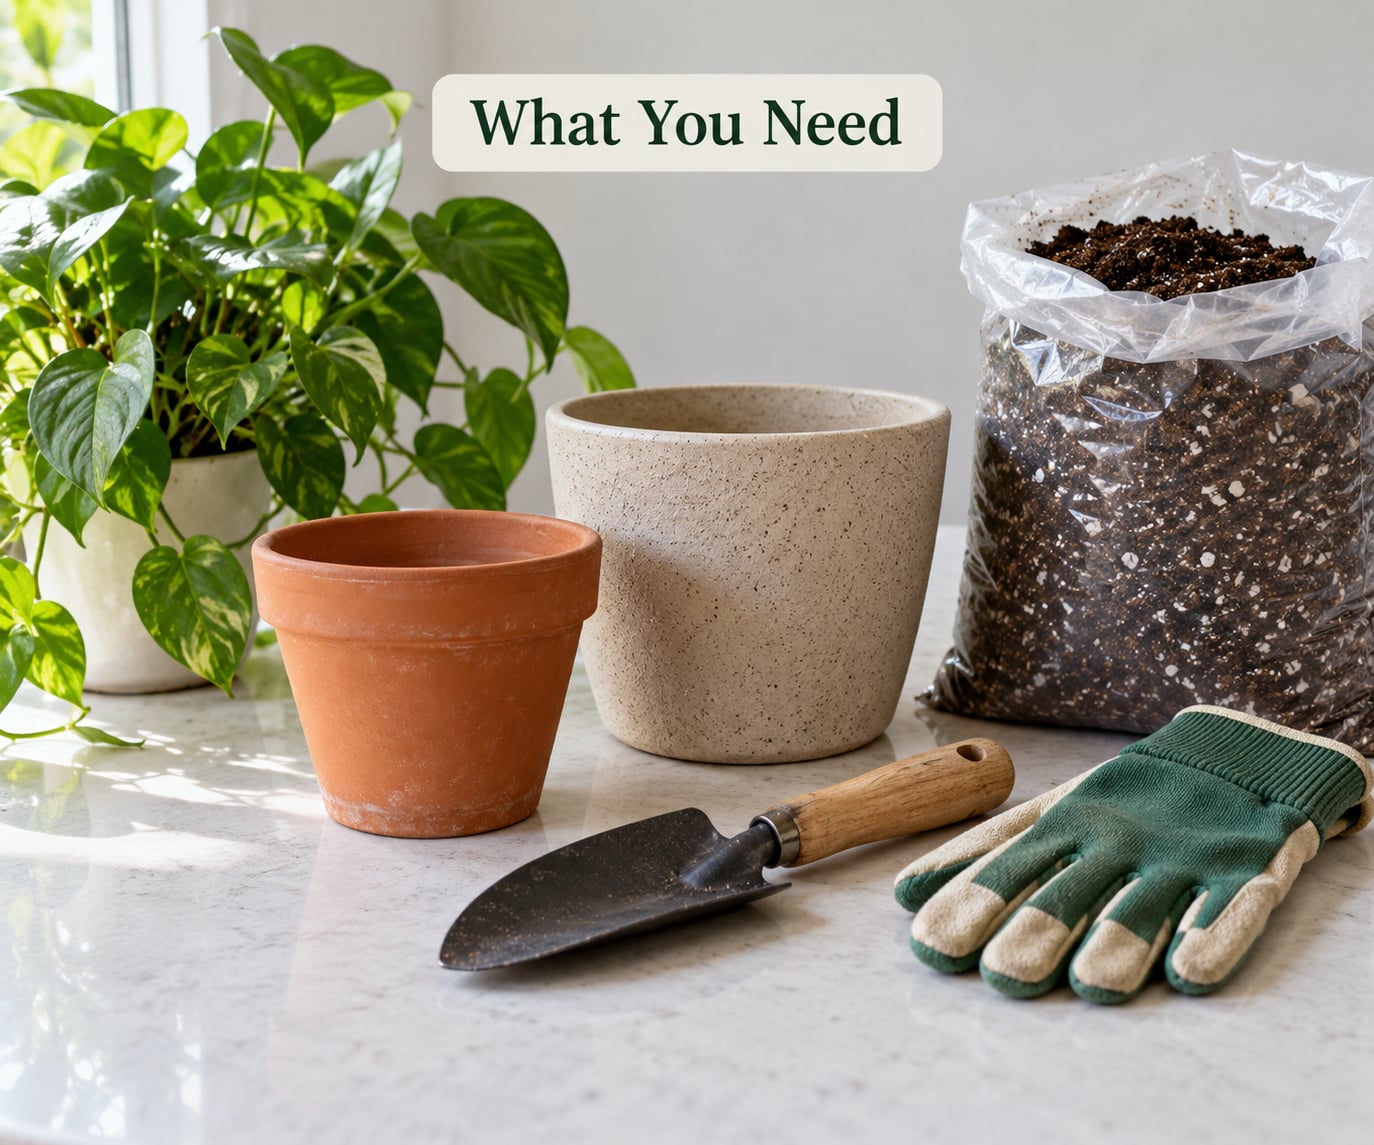
You’ll want a new pot, fresh potting mix, a trowel or a knife, a mat or old newspaper, and a pair of gloves if you’d rather not get soil under your nails. A chopstick or a pencil works nicely for pushing soil into tight gaps. A watering can with a fine rose is helpful but not essential.
The pot is the one decision that matters most. Go up one pot size — roughly 1 to 2 inches wider in diameter, never more than about a third larger than the current pot. Every inch of extra pot holds soil that roots can’t use, and wet soil with no roots in it stays wet far longer than the plant can use.
Check that the pot has drainage holes before you buy it. If you’re reusing a decorative pot as a cachepot, keep the plant in its nursery pot inside it so water can drain into a saucer. Skip the rock layer. A layer of pebbles at the bottom raises the perched water table, which is exactly the soggy zone you’re trying to avoid — the holes do the draining, not the rocks.
On soil, match the mix to the plant rather than reaching for garden soil. A general indoor potting mix with bark, perlite or pumice suits most foliage plants. Succulents and cacti need a grittier mix. I’ll cover the plant-specific differences at the end.
Step-by-Step: How to Repot a Houseplant Without Killing It
Step 1: Check Whether the Plant Really Needs Repotting
Water the plant a few hours before you start if the soil is very dry; a dry root ball crumbles and you lose roots on the floor. Then look for the real signs: roots circling densely or pushing out of the drainage hole, soil that dries out far faster than it used to, water running straight through without soaking in, growth that has slowed or stopped, and a plant that has become top-heavy and keeps tipping over.
You can tell without even unpotting. Lift the plant and check whether roots are visible through the holes, or slide a finger down the side of the pot to feel packed soil. A plant sitting in a decorative cover pot is not rootbound just because the cover has no holes.
A few yellow leaves is not a reason to repot. Neither is a plant you bought last week. Leave store plants in their nursery pot for at least a week so the roots settle first.
Step 2: Prepare the New Pot and Work Area
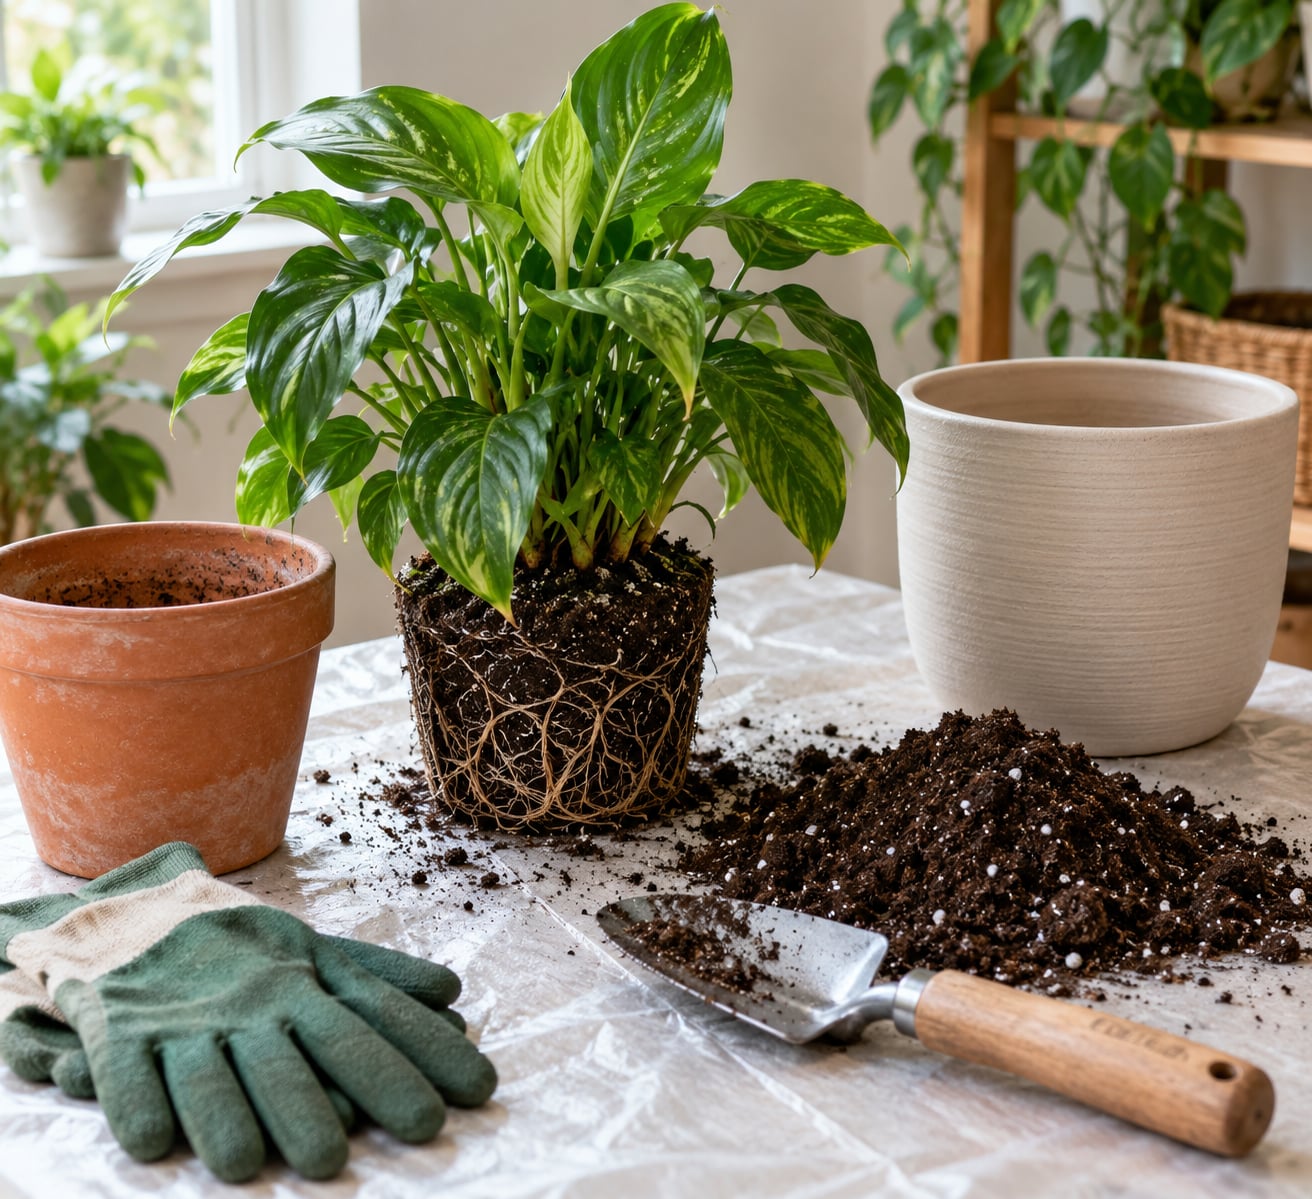
Set out everything before the plant comes out of its pot, because a bare root ball dries fast. Wash your work surface or lay down newspaper. Fill the new pot with a shallow layer of fresh mix so the base is ready to receive the root ball.
If the drainage hole is wide enough that soil escapes, line it with a single square of mesh or a coffee filter. Don’t pack pebbles in. You’ll know the pot is right when the fresh mix is a couple of inches short of the rim — that gap gives you room to water without it running straight out.
Step 3: Remove the Houseplant Carefully
Support the plant at the base of the stem with one hand and tip the old pot on its side, then slide the root ball out. Never pull on the stem. If it’s stuck, run a knife around the inside edge of the pot, or press a spoon between the plant and the pot wall, and try again.
Roots that have grown through the drainage hole can be snipped flush with the pot. Compressed clay pots can be broken rather than fought, which is far kinder to the roots. A plant that lifts out as one solid, slightly compressed cylinder of soil is exactly what you want to see.
Step 4: Inspect and Loosen the Roots
Look at the root ball before you do anything to it. Healthy roots are firm and pale, cream or tan. Mushy, dark, slimy or badly dried roots are dead and should be cut away with clean scissors — leaving them in place invites rot that will spread to the healthy roots.
For a plant that’s genuinely rootbound, tease the circling outer roots apart with your fingers and score the bottom edge a centimetre or so deep, so new roots grow inward rather than around. Don’t strip the plant bare. Most of the advice you’ll read about removing all old soil is wrong for a healthy plant: keep the root ball largely intact, knock off only the loose crust, and leave the soil clinging to the roots alone.
The exception is a plant sitting in dense, water-repellent old soil, or one with a root ball that has gone solid like a brick. Those can be gently teased apart and the dead matted roots trimmed. Succulents and cacti want even less disturbance — brush the dry soil off and don’t tease at all.
Step 5: Place the Plant at the Right Depth
Set the root ball on the base layer of mix and centre it. The old soil line on the stem should sit at exactly the same height it did before. That mark is visible as a faint ring or a change in stem colour.
Backfilling too deeply buries the crown and stem, which is one of the fastest ways to rot a plant that was perfectly healthy. If the root ball keeps sitting above the mix, that’s fine — add a little more mix underneath rather than piling it up the stem.
Step 6: Fill, Firm and Water the Pot
Add fresh mix around the root ball a bit at a time, rotating the pot as you go so the soil spreads evenly and there are no large air pockets. Press it down gently with your fingers — firm enough to hold, loose enough that a finger can still get in. A chopstick pushed down the edge into the corner helps fill stubborn gaps.
Water slowly and thoroughly until water runs out of the drainage holes, then let the pot drain and empty the saucer. The mix should be evenly moist, not dripping. The test: poke a finger two centimetres down. Moist all the way through is right. Standing water in the saucer for more than a few minutes means you’ve gone too far.
Step 7: Give the Plant Time to Recover
Move the plant back to bright indirect light — near a window, out of harsh afternoon sun — and leave it there. Don’t fertilise for two to four weeks. Fresh potting mix has nutrients in it already, and fertiliser on a root system that’s still healing burns new growth.
Water on the same schedule you would normally, and let the top of the mix dry slightly between drinks rather than keeping it constantly damp. Drooping leaves in the first week or two are normal transplant stress, not a death sentence. Growth will usually pause, then restart within a month.
Give it six to eight weeks before you decide anything has gone wrong. If new leaves come in small and pale, or the stem turns soft and dark at the base, the problem is below the soil and the plant needs attention right away rather than another repot.
Common Mistakes
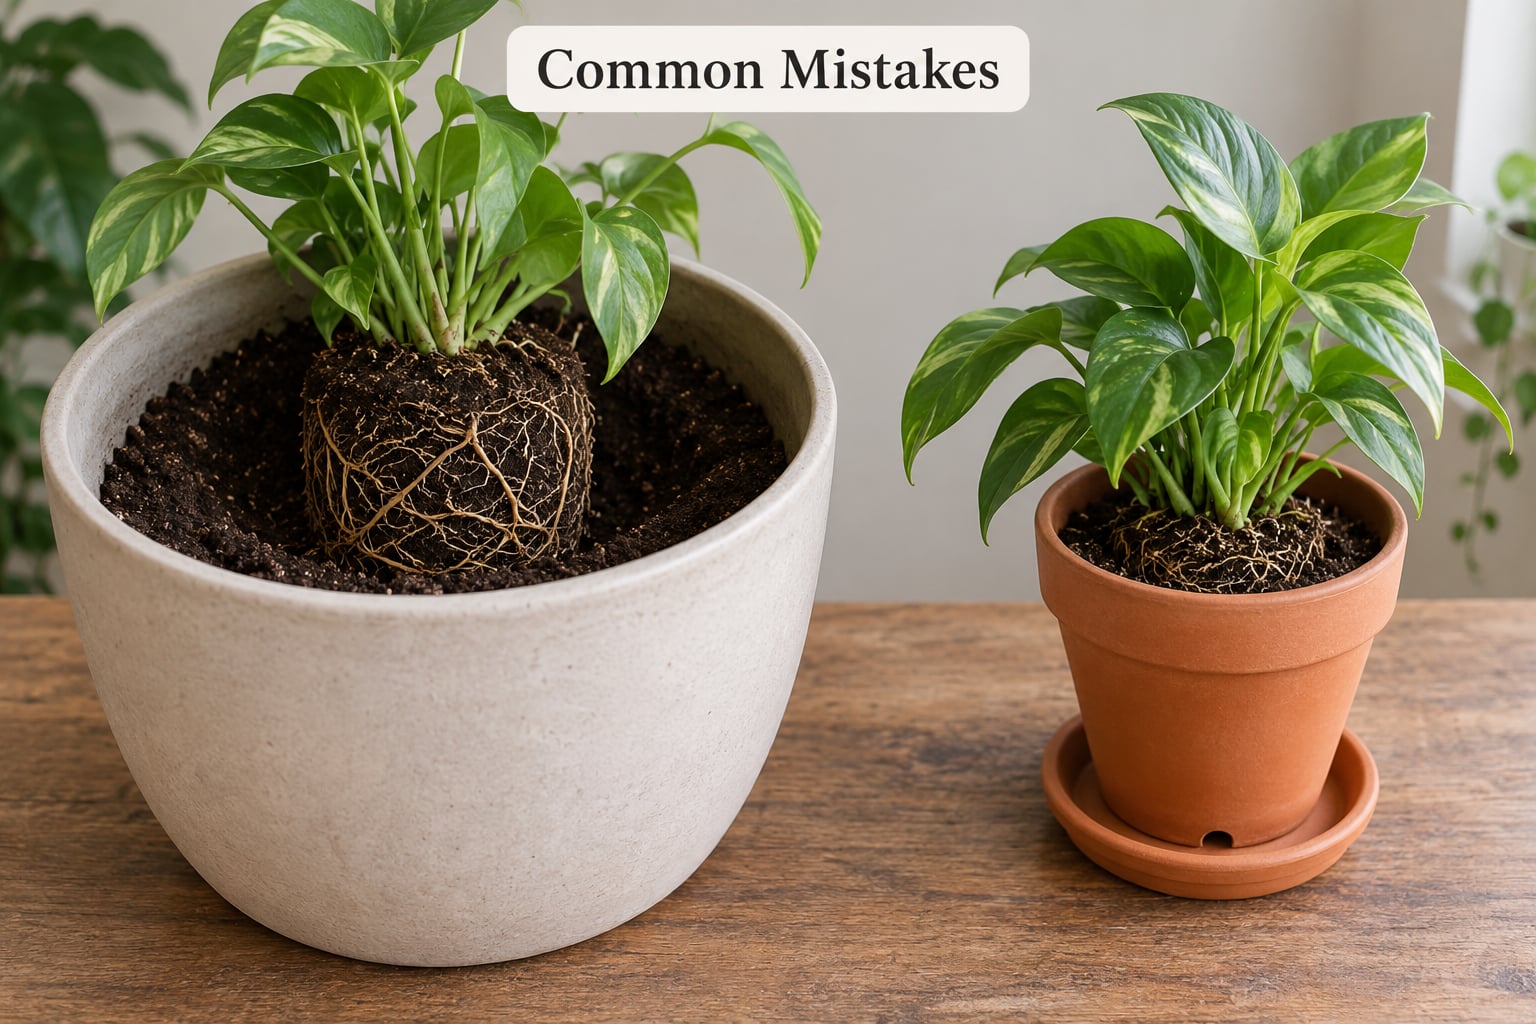
Going up too many sizes. Fix: one pot size, 1 to 2 inches wider. A big pot holds a volume of wet soil that no small root system can drink, and that’s how root rot starts.
Using garden soil or a dense, peat-heavy mix. Fix: a light indoor potting mix with perlite, bark or pumice in it. If the mix holds together in a dense plug when you squeeze it, it’s wrong for a potted plant.
Using a pot with no drainage hole. Fix: a hole, or keep the plant in a nursery pot inside the decorative cover. Rocks at the bottom make drainage worse, not better.
Tearing roots on the way out. Fix: support the stem at the base, tip the pot sideways, and free the sides with a knife or spoon. Never lift by the stem.
Stripping every bit of old soil. Fix: loosen the outer crust and any circling roots. Keeping most of the root ball intact protects the fine feeder roots that do the actual work.
Planting deeper than before. Fix: match the original soil line. Burying the crown invites stem rot.
Watering again two days later because it looks dry. Fix: check two centimetres down first. If the top is dry and the plant is drooping, water thoroughly once, then wait. Repeated shallow watering is worse than one deep soak.
Moving it straight into full sun and feeding it right away. Fix: bright indirect light, no fertiliser for two to four weeks. Repotting a rootbound plant in a sunniest window is a fast way to scorch it.
Repotting a plant that didn’t need it. Fix: if there are no circling roots, no drainage problem and no slowing growth, leave it. The safest repotting is the one you don’t do.
Two quick plant-specific notes. Aroids and most tropical foliage plants like an airy chunky mix, and they tolerate a bit of root disturbance. Ferns do not like direct sun, so keep them in softer light while they settle. Snake plants and other succulents want the gritty mix and minimal handling.
Frequently Asked Questions
Should I repot indoor plants after buying?
Usually not straight away. Leave a new nursery plant in its pot for at least a week so the roots settle and the soil settles, then check whether it is already rootbound. Plenty of store plants arrive in pots far too large, and moving those into an even bigger pot is how root rot starts. Repot only when roots circle the bottom, push through the drainage hole, or the plant dries out unusually fast.
Are you supposed to put rocks in the bottom of a planter?
No. A rock layer raises the perched water table, creating a permanently damp zone at the bottom of the pot where water collects and roots sit in soggy conditions. It also makes the space above it smaller, so the root zone ends up shallower. The drainage hole is what lets water out. If soil escapes through the hole, line it with mesh or a coffee filter instead.
Why are all my plants dying after repotting?
Four causes account for most of it. The pot was too big, so the soil stayed wet and the roots rotted. Soil that does not drain is the second cause. The third is roots torn during removal, leaving too little healthy root to support the plant. The fourth is watering again while the mix was still wet. Soft dark stems mean root rot; yellow lower leaves with firm roots usually mean excess water rather than a dead plant.
Can plants recover from repotting shock?
Yes, almost always. Drooping, soft leaves and a pause in growth are the normal response to root disturbance, not signs of death. Give it two weeks of bright indirect light and no fertiliser, and growth typically restarts within a month. Watch for recovery rather than decline: new leaves unfurling is the clear signal. A softening stem or new growth that comes in black and shrivelled is not.
How much bigger should the pot be when repotting?
One pot size up, which is about 1 to 2 inches wider in diameter and never more than a third larger. That leaves a small ring of fresh mix around the root ball rather than a large empty volume. Many growers keep plants slightly pot bound on purpose, since a cramped root system dries faster and is far less likely to sit in wet soil. If you can see plenty of old soil and no circling roots, stay in the same pot.
Should I remove all the old soil from the roots?
No. Knock off only the loose outer crust and any dead or mushy roots, then loosen circling roots gently. Stripping the whole root ball removes the fine feeder roots that take up water and stresses the plant for no benefit. If the old soil is dense, compacted or water-repellent, tease the root ball apart more thoroughly and trim the dead material, but keep the structure around healthy roots.
Conclusion
Confirm the plant is actually rootbound before you start, because repotting a healthy plant causes more harm than it fixes. When you do go ahead, move up one pot size, keep the root ball mostly intact, match the original soil line, and water once until it drains. Then leave the plant in bright indirect light without fertiliser for two to four weeks and let it settle.