Start about a week before your first hard freeze and work from the soil up: cut watering back, clear dead growth, mulch the surface, then insulate or relocate each pot. Learning how to winterize outdoor pots and planters is less about keeping them warm than about stopping freeze-thaw swings and winter waterlogging, which is what actually kills container plants.
That distinction matters more than any product you buy. A potted shrub rated hardy for your zone still dies in a container because the root ball has no surrounding earth to buffer it, and a pot left standing in a thaw can sit in water for weeks with nowhere to drain.
Here is the order I work in, the materials worth gathering, and how to adjust it if all you have is a balcony instead of a yard.
Table of Contents
- What You Need
- How to Winterize Outdoor Pots and Planters by Material
- Step-by-Step: How to Winterize Outdoor Pots and Planters
- 1. Inspect the planter and drainage holes
- 2. Identify the material before you winterize outdoor pots and planters
- 3. Reduce watering and remove dead plant material
- 4. Protect the root ball and soil
- 5. Insulate or move the container
- 6. Use a breathable cover instead of an airtight seal
- 7. Check the planters during winter
- Common Mistakes
- Frequently Asked Questions
- Can outdoor pots and planters stay outside in winter?
- Should I bring terracotta planters indoors?
- Is it okay to cover outdoor planters with plastic?
- What is the best way to protect pots from freezing?
- Should I water outdoor containers before winter?
- Can I leave drainage holes open during winter?
- What to Do First This Season
What You Need
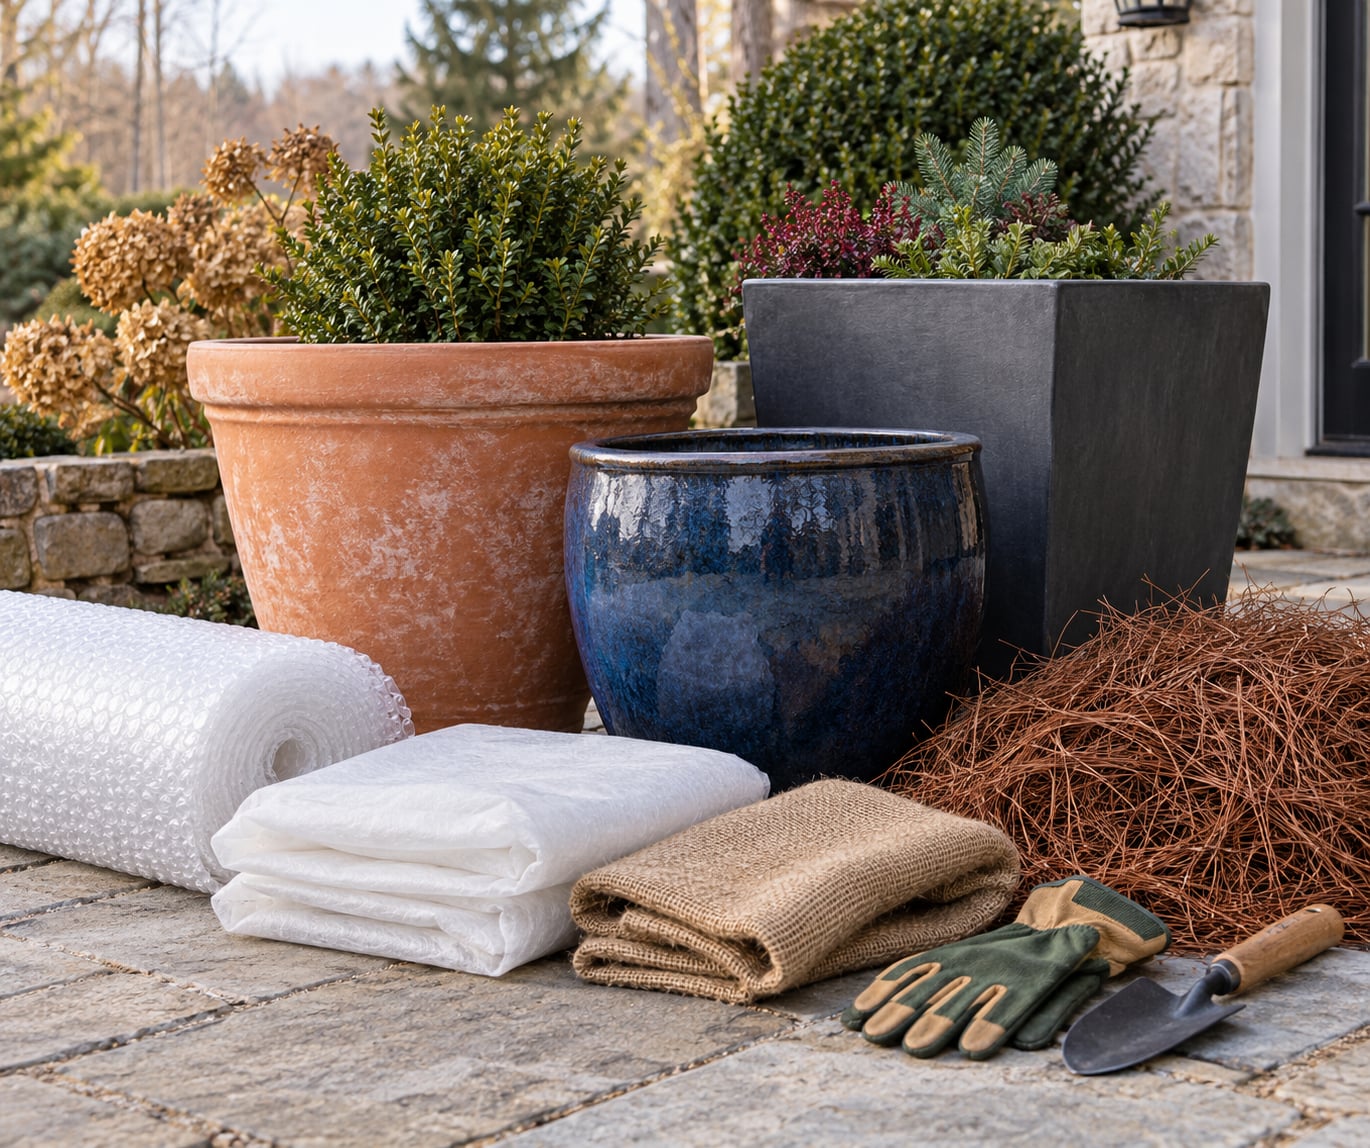
Gather these before the first frost date on your local calendar. Buying insulation in a hurry in November is how people end up with plastic sheeting and no breathable wrap.
Hand tools and moving gear
- Waterproof gloves for handling wet soil and frozen pots
- A trowel and a spade for burying containers
- A hand truck or dolly for planters too heavy to lift alone
- Chalk or a marker for noting which pot is which
Base and drainage materials
- Gravel or horticultural grit for the bottom of burying holes and the base of stored pots
- Pine straw, shredded leaves, straw, or compost for mulching over root zones
- Cardboard discs to set pots on so they do not freeze into the ground
Insulation and covers
- Bubble wrap for wrapping terracotta and glazed ceramic directly
- Frost cloth or row cover for foliage and small clusters
- Burlap or woven landscape fabric for large planters, since premade covers rarely fit odd shapes
- Chicken wire, four stakes, and twine for building a leaf-filled silo
- Twine and hose clamps for pinning covers to the ground against wind
Sanitizing supplies
- Bleach for cleaning empty planters, mixed one part to nine parts water
- A stiff brush and a hose or bucket for rinsing and drying
If you only plan to bring a few small pots indoors, the list shrinks to gloves, a trowel, a watering can, and a bright spot in the house. If you have soil to dig in, add the spade, gravel, and mulch.
How to Winterize Outdoor Pots and Planters by Material
Material changes the method more than climate does. Porous containers drink water, swell when it freezes, and crack. Non-porous ones stay dry, survive freezing, and pass cold straight to the roots.
Terra cotta is the one to watch. Untreated clay absorbs water through its walls, and when that water freezes it expands enough to split a pot. Unglazed ceramic behaves the same way. Glazed ceramic has a sealed surface so it will not absorb, but the wall is thin and brittle, and a freeze-thaw cycle can still craze the glaze or crack the body.
Concrete, fiberglass, and plastic are the forgiving ones. They tolerate freezing without splitting, which makes them good candidates for the bury-or-wrap methods. Plastic conducts almost no cold into the root ball, though it can get brittle in deep cold and crack if it takes a hard knock while frozen.
Wood insulates better than anything else on this list, and untreated cedar or redwood can stay out for years. The failure is rot, not freezing, so the danger is wet soil against the base rather than low temperatures. Metal galvanizes the problem in the other direction: it pulls heat out of the root ball fast, so a metal pot needs more root insulation than a plastic one of the same size.
| Pot material | Cracks when frozen | Absorbs water | Insulates the root ball | Best winter move |
|---|---|---|---|---|
| Terra cotta | Yes, often | Yes | Poor | Double-pot, wrap in bubble wrap, or move indoors |
| Unglazed ceramic | Yes, often | Yes | Poor | Wrap in bubble wrap, set on cardboard, keep out of the wind |
| Glazed ceramic | Can craze or split | No | Poor | Wrap, cluster against a wall, or bring small ones inside |
| Concrete | Rarely | No | Moderate | Mulch the surface, bury or cluster |
| Fiberglass | No | No | Moderate | Bury, cluster, or move to a cold porch |
| Plastic | No, but becomes brittle | No | Moderate | Bury or cluster; keep in place is usually fine |
| Wood | No | Swells, can rot | Good | Raise off the ground, keep soil off the boards, mulch |
| Metal | No | No | None, it conducts cold | Heavy root insulation, ideally a silo or an unheated garage |
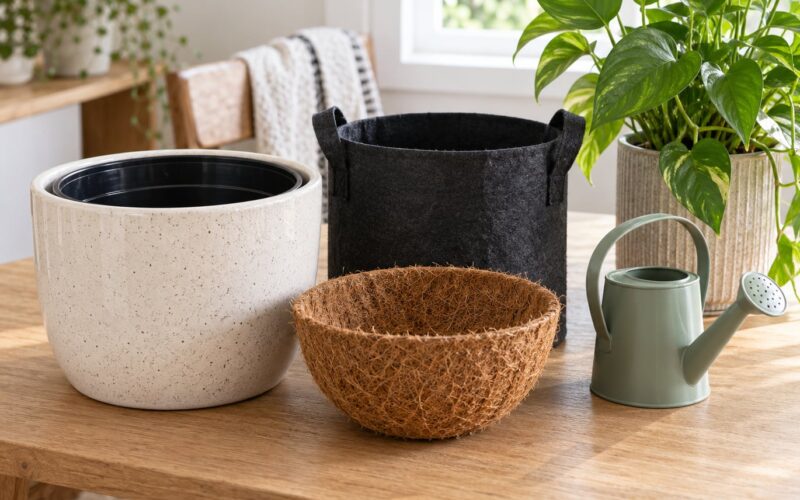
One preventive trick worth knowing: nesting a plastic nursery pot inside a terracotta pot gives you a frost-tolerant container with a decorative outer shell. Do it at planting time in spring, and you never face the crack problem in November.
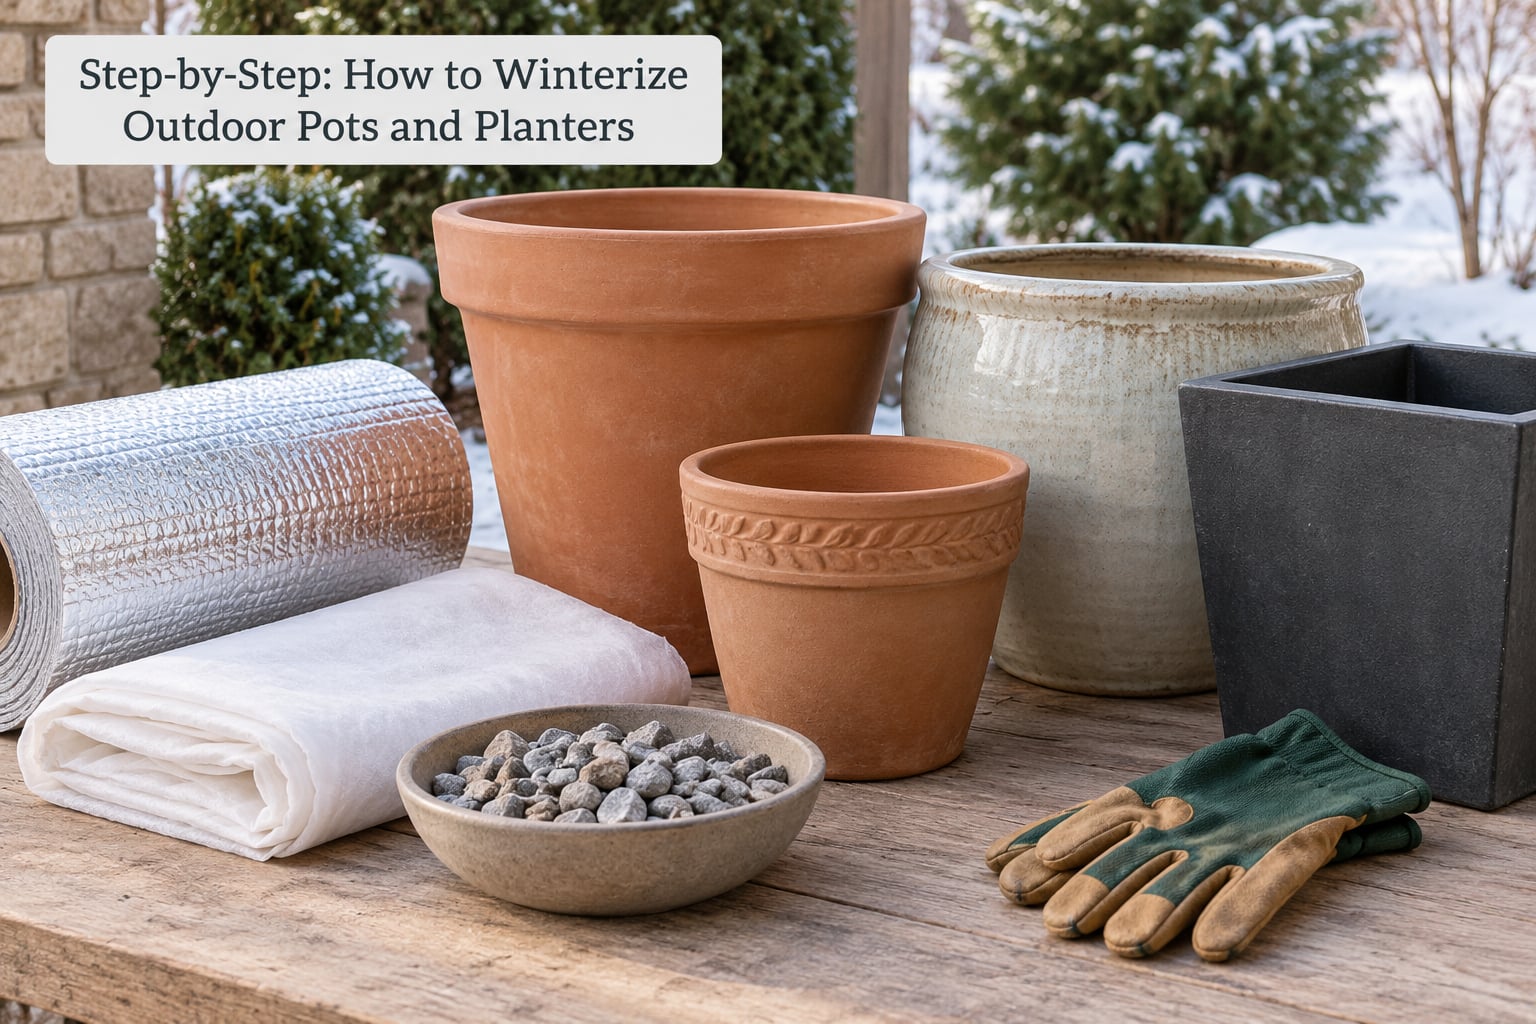
Step-by-Step: How to Winterize Outdoor Pots and Planters
1. Inspect the planter and drainage holes
Start at the bottom of the pot. Push a finger or a thin stick through each drainage hole and clear out the packed soil, root fragments, and gravel that close it up over a season.
Check the rim and body for hairline cracks, especially on terracotta. A crack that is dry in October becomes a split after two freeze-thaw cycles.
Look for standing water or a soggy, sour-smelling root ball. If the soil has been wet for weeks, repot into fresh mix before winter rather than trying to save it under mulch. The step worked if water runs freely through the base within a minute of a slow pour.
2. Identify the material before you winterize outdoor pots and planters
Knock on it. A hollow, dull thud is terra cotta; a clear ring usually means glazed ceramic or a shell made of fiberglass or plastic. Lift a corner and look for a porous, unglazed clay surface, a smooth poured wall, or a seam line that reveals molded plastic.
Metal is obvious by weight and by how cold it is to touch. Wood shows grain and a hollow interior, or a visible board seam on a planter box.
This two-minute check decides the method, and it is the step most people skip.
3. Reduce watering and remove dead plant material
As nights fall below about 50°F, taper off routine watering. Dormant or slowing plants use far less, and a wet root ball that freezes solid is worse off than a slightly dry one.
Pull dead leaves, spent flowers, and any soft or discolored growth. Dispose of diseased material rather than composting it, since the spores will sit in the container all winter.
Do not cut back hard or fertilize now. Late feeding pushes soft growth that has no time to harden before the cold, and it is one of the most common ways a plant that should have overwintered dies in March instead.
Skip a heavy prune and leave healthy stems in place. They shed snow and protect the crown, which sits at or just below soil level and is the most vulnerable part of the plant.
4. Protect the root ball and soil
Spread 3 to 4 inches of mulch over the soil surface once the ground is cold but workable. Pine straw, shredded leaves, straw, or compost all work. Pine needles and small leaves are better than whole oak or maple leaves, which mat down into a wet slab and hold moisture against the crown.
Never pile mulch against stems or above the soil line on a shrub. Keep a small gap, the way you would in a garden bed.
For a pot that stays in place, you can also nestle the container into a bed of leaves or straw, which adds the buffer it lost by not being in the ground.
Skip the gravel drainage layer inside the pot as a winter step. A gravel layer at the bottom of a hole is useful, but gravel inside a container does not improve drainage in a modern potting mix and it reduces root volume.
5. Insulate or move the container
Pick the method that matches what you can actually do, not the one that sounds best.
Bury it. This is the strongest option and the one experienced gardeners recommend most often, but it needs a diggable yard. Dig a hole slightly deeper and wider than the pot, put 2 to 3 inches of gravel in the bottom, set the pot in, and backfill around it with the excavated soil. Leave the rim a little below grade so water runs off, then mulch 3 to 4 inches over the top.
The gravel matters because pot soil thaws faster than native soil, and a buried pot with no drainage beneath it collects exactly that meltwater.
Cluster against a wall. The best no-dig option. Group pots tight together on the north or east side of the house, where the wall gives back stored heat and blocks wind. This costs nothing and works well for one season of protection.
Double-pot or wrap. Slip the pot into a container 4 to 6 inches larger in diameter, then fill the gap with soil, mulch, or shredded leaves. Bubble wrap wrapped two or three times around the pot wall works too, and it is the answer for terracotta you refuse to move.
Build a silo. Drive four stakes into the ground around a cluster, attach chicken wire, and pack the enclosure with loose shredded leaves. Stake the top closed and weight it. A leaf-filled silo holds a surprising amount of still air, and still air is what does the insulating.
Move it. An unheated garage, cold cellar, or enclosed cold porch protects most hardy shrubs and perennials better than anything you can build outdoors. A bright indoor room works for citrus, tropical perennials, succulents, and any plant you want to keep growing, though it means watering on a schedule and watching for pests.
Do not move a plant that needs winter dormancy into a heated room. Warm air, dry humidity, and low winter light push it to grow with no energy to finish, and the result is weak, stretched growth or outright collapse by February.
One forum-tested trick for a hard-freeze night: run outdoor string lights on a low setting near the pots. People report a small but real temperature lift around the containers. Treat it as a backup for a single freeze event, not an all-season habit, and keep the cords off wet ground.
Where each method fails: burying does nothing for a balcony, an unheated garage gets too warm for some fruit trees that need chill hours, and a cluster in an exposed corner still loses plants in a bad year.
6. Use a breathable cover instead of an airtight seal
Cover foliage with frost cloth or row cover, and prop it on hoops or sticks so it does not touch leaves. Direct contact causes frost to burn the foliage underneath.
Put covers on before sunset, because radiation loss is what does most of the damage overnight. Take them off first thing in the morning so plants catch light and the trapped heat does not cook the stems.
Anchor the edges. A single gust turns a loose cover into a sail, and a torn cover is worse than none.
Avoid solid plastic sheets. Sealed plastic traps condensation that keeps foliage wet, promotes rot and mold, and can drop several degrees colder than the air outside once the sun goes down. Burlap, woven fabric, and row cover all breathe. If you must use plastic, leave the sides open and never let it touch foliage.
7. Check the planters during winter
Walk your pots every two to three weeks, and every time the forecast shows a freeze or a thaw.
Watch for pooled water on the soil surface, a pot that has tipped or lifted as the ground froze and thawed, a cover that has come loose, and stems that look blackened or water-soaked. When snow melts quickly, check for saturated soil and standing water, since that logging is what causes most spring losses.
Water on a schedule tied to the weather, not to a fixed day. Give pots a slow drink before a hard freeze, and water again after a thaw, because a frozen root ball that has thawed is dry and vulnerable. If you buried pots, do not water them at all. If you cannot reach them, that is the point.
Once the ground has frozen solid, tip each pot slightly on its side. It breaks the seal between the base and the soil, so meltwater and spring rain drain out instead of sitting inside all spring.
Extra weight on top of a buried pot is fine. Snow load is the bigger enemy on tall or topiary pots, so knock heavy wet snow off before it settles and refreezes.
Common Mistakes
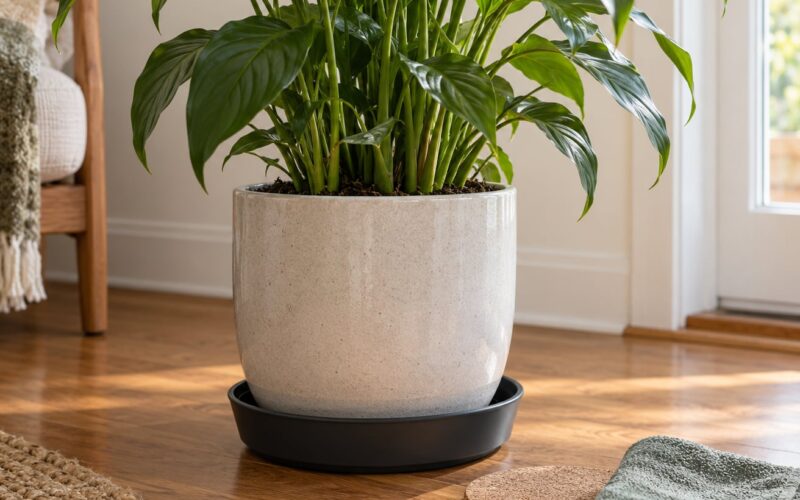
Watering too much in autumn. Plants are slowing down, and a wet root ball in a pot has nowhere to go. Root rot sets in during a warm spell after a freeze. Taper watering, and never leave a saucer full under a pot.
Sealing pots in plastic. Condensation, rot, and colder nights. Fix it by removing the plastic and using frost cloth, burlap, or woven landscape fabric with the sides open.
Leaving containers flat on frozen ground. The base freezes into the soil, and a pot that thaws later gets pushed up and tipped, tearing roots. Set pots on cardboard or pot feet before the ground freezes, and tip them once it does.
Ignoring drainage holes. Sealed holes trap every bit of rain and meltwater. Clear them in fall, and after a heavy melt, check that the hole and the saucer are both free.
Forcing dormancy indoors. A plant that needs winter rest, such as most hardy perennials, rarely survives a heated, dry, low-light room. Give it an unheated space with some light instead, and keep it cool.
Feeding late and mulching against stems. Late fertilizer pushes tender growth; mulch piled on the crown holds moisture and invites rot. Stop feeding by early fall and keep mulch a few inches away from stems.
Pruning hard in fall. Big cuts leave open wounds that lose moisture in wind and remove the stems that were about to shield the crown. Only remove dead or broken material now.
Frequently Asked Questions
Can outdoor pots and planters stay outside in winter?
Most can, as long as you account for the material. Plastic, fiberglass, and concrete tolerate freezing and can stay in place with 3 to 4 inches of mulch over the soil and a cluster against a wall. Terra cotta and unglazed ceramic absorb water and often split, so those need double-potting, a wrap, or an unheated garage. Shrubs and perennials should be rated two USDA zones colder than your area to be dependable in a container.
Should I bring terracotta planters indoors?
Bring small ones inside if you can, because terracotta is the material most likely to crack. Empty them, brush away the soil, and store them dry somewhere frost-free. Large terracotta planters are usually impractical to move, so wrap them two or three times in bubble wrap, nest them in a larger container, and backfill the gap with leaves or mulch. Do not carry a heavy frozen pot, it is far more likely to break than to survive the trip.
Is it okay to cover outdoor planters with plastic?
Not airtight, no. Solid plastic traps condensation that keeps foliage wet and fosters rot, and once the sun drops the trapped air can get colder than the open air around it. Use frost cloth, row cover, burlap, or woven landscape fabric instead, held off the foliage on hoops. If you use plastic for wind protection, leave the sides open, anchor the edges, and take it off the first morning after.
What is the best way to protect pots from freezing?
Burying the pot in the ground gives the most protection, because the surrounding earth buffers temperature swings the way it does for in-ground plants. Dig deeper and wider than the pot, add 2 to 3 inches of gravel at the bottom, backfill with the excavated soil, and mulch 3 to 4 inches over the top. If you cannot dig, cluster pots against a house wall, or nest them in larger pots packed with leaves or straw.
Should I water outdoor containers before winter?
Yes, but modestly. Cut back on routine watering as nights fall below about 50°F, then give pots a slow, thorough drink before a hard freeze, because moist soil freezes softer than dry soil. Water again after a thaw, since a thawed root ball loses moisture quickly. Avoid the opposite mistake, a heavy autumn watering that leaves the mix soggy and leads to root rot once warm weather returns.
Can I leave drainage holes open during winter?
Keep them open. A sealed hole traps rain and meltwater so it sits inside the container, and that standing water is the main cause of spring losses. Clear packed soil from every hole before the ground freezes, and keep saucers empty. Once the soil around a pot is frozen solid, tip the pot slightly on its side to break the frozen seal, then stand it upright again once everything has thawed in spring.
What to Do First This Season
Start with drainage and the watering taper. Clear every hole, empty the saucers, and pull back on watering before the first hard freeze. Everything after that, the mulch, the wrap, the wall cluster, or the buried pot, is a layer on a pot that already drains properly.
Work a week ahead of the first frost date rather than the day of it. Once the ground is frozen, insulation laid on top does very little, and the damage is already done.
Updated for October 2026.