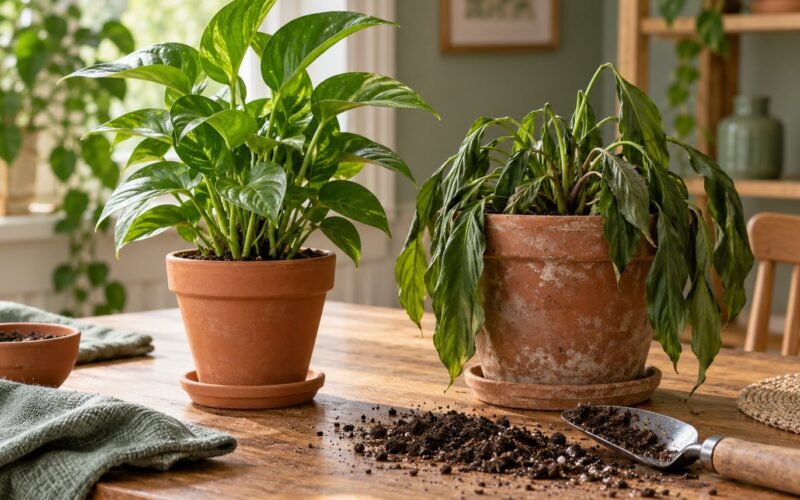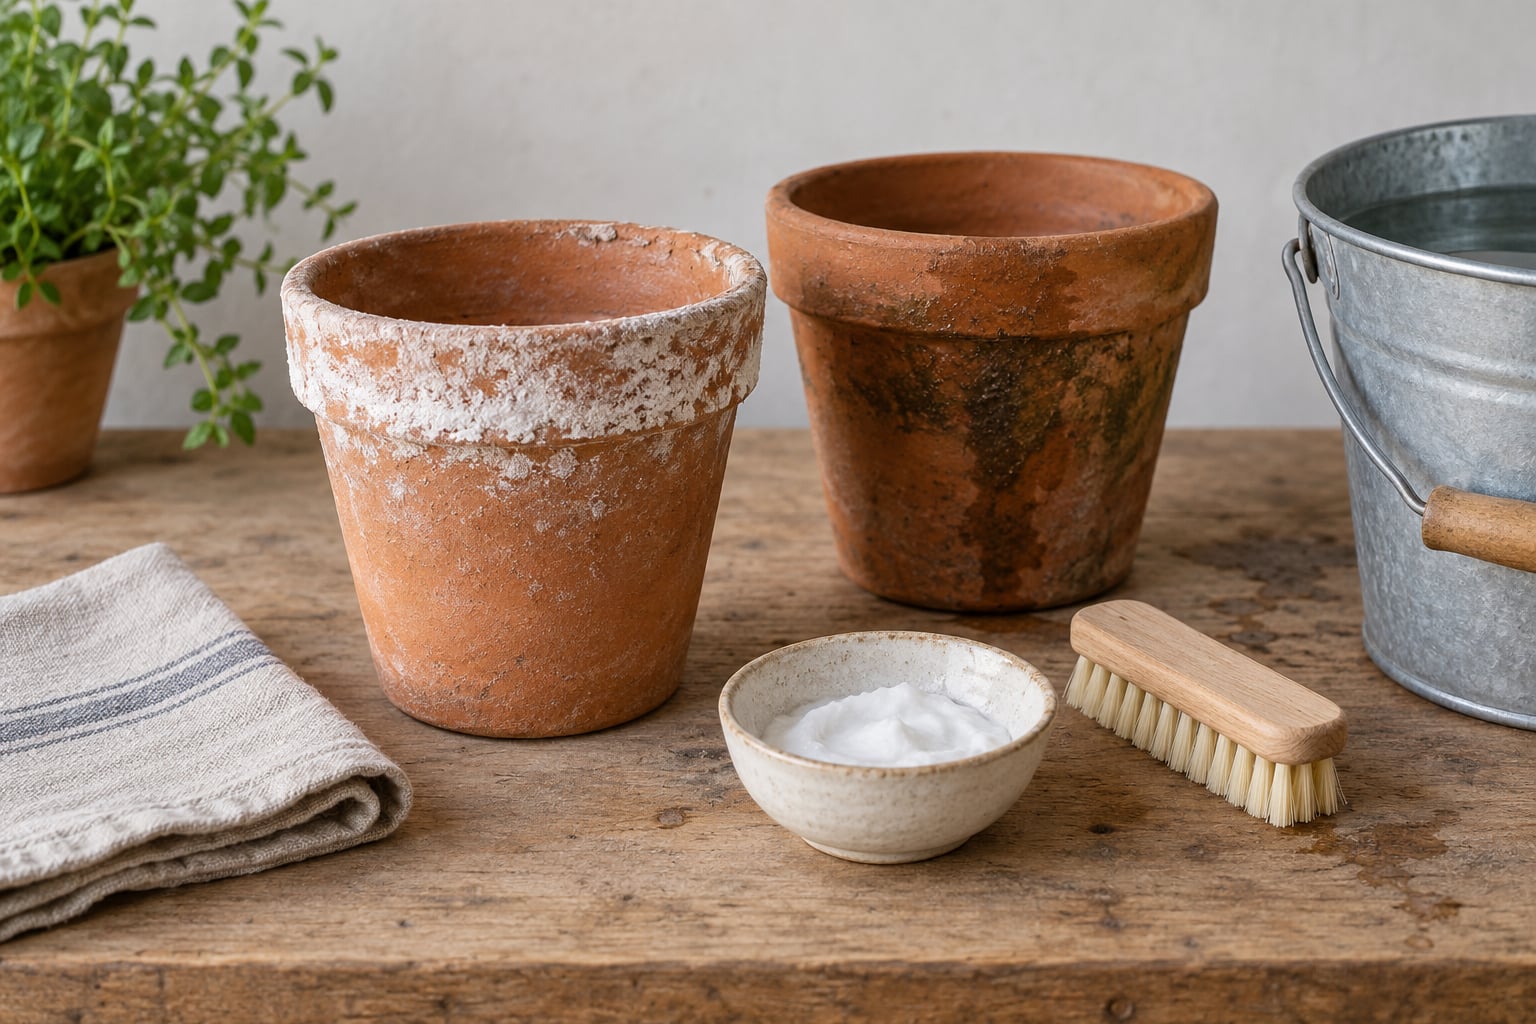
Terracotta pot care and cleaning comes down to three things: identify what the deposit actually is, use the mildest method that shifts it, and let the pot dry fully before you replant. White crust is usually efflorescence, the chalky calcium and mineral salt left behind when water passes through porous clay and evaporates. Green film is algae, black spotting is mould. Each responds to a different cleaner, and about ten minutes of work twice a year handles most pots.
I keep a stack of clay pots on a balcony that gets watered six days a week, so the crust comes back faster than it would indoors. The routine below is the one I settled on after a few seasons of trial and error, and it works on inherited pots as well as cheap new ones.
One thing worth saying up front: a stained pot is not a broken pot. Deposits on the outside are cosmetic, and the darker, mottled look many growers now call aged terracotta is partly what makes the material worth owning. Deposits on the inside are different, because the same salts change the soil pH and can burn roots. That distinction decides how much effort is worth spending.
Table of Contents
- What You Need for Terracotta Pot Care and Cleaning
- Step-by-Step
- 1. Move the plant and inspect the pot
- 2. Brush away loose soil
- 3. Wash the pot inside and out with warm water and mild soap
- 4. Treat mineral stains and stubborn deposits
- 5. Rinse until the water runs clear
- 6. Let the pot dry completely
- 7. Check and maintain the pot, where terracotta pot care and cleaning becomes a habit
- Common Mistakes
- Frequently Asked Questions
- Can I wash a terracotta pot with dish soap?
- What removes white mineral deposits from a terracotta pot?
- How often should terracotta pots be cleaned?
- Is it safe to use bleach on terracotta planters?
- How do I prevent algae and salt buildup on a terracotta pot?
- Can I reuse a terracotta pot after cleaning it?
- Conclusion
What You Need for Terracotta Pot Care and Cleaning
Most of the kit is already in a kitchen. Gather it before you start, because the job goes faster when the pot does not sit half-cleaned on the lawn.
- Soft nylon or natural-bristle brush. An old toothbrush handles the rim and the gap under the lip. Skip anything metal.
- Warm water and a bucket. Warm, not hot. Boiling water can crack a pot that has absorbed cold water.
- Mild dish soap. A small squeeze per bucket is plenty.
- Baking soda. For algae, moss and stubborn mineral film. Mix it with a little water into a paste.
- White vinegar. For efflorescence, diluted 1 part vinegar to 3 parts water. Useful to have on hand but not needed for a routine wash.
- Rubber gloves and a cloth or towel. Gloves if you are handling a pot that held a sick plant. The towel catches drips and gives you somewhere to set the pot down.
- A small nail brush or a stiff bristle pot brush for the drainage holes. Blocked holes cause more root trouble than any stain.
Optional extras: a soft silicone scraper for thick scale, and a hose attachment or pressure rinse for large outdoor planters. Skip pressure washing on antique or thin-walled pots. The water can drive into cracks that were not there before.
Step-by-Step
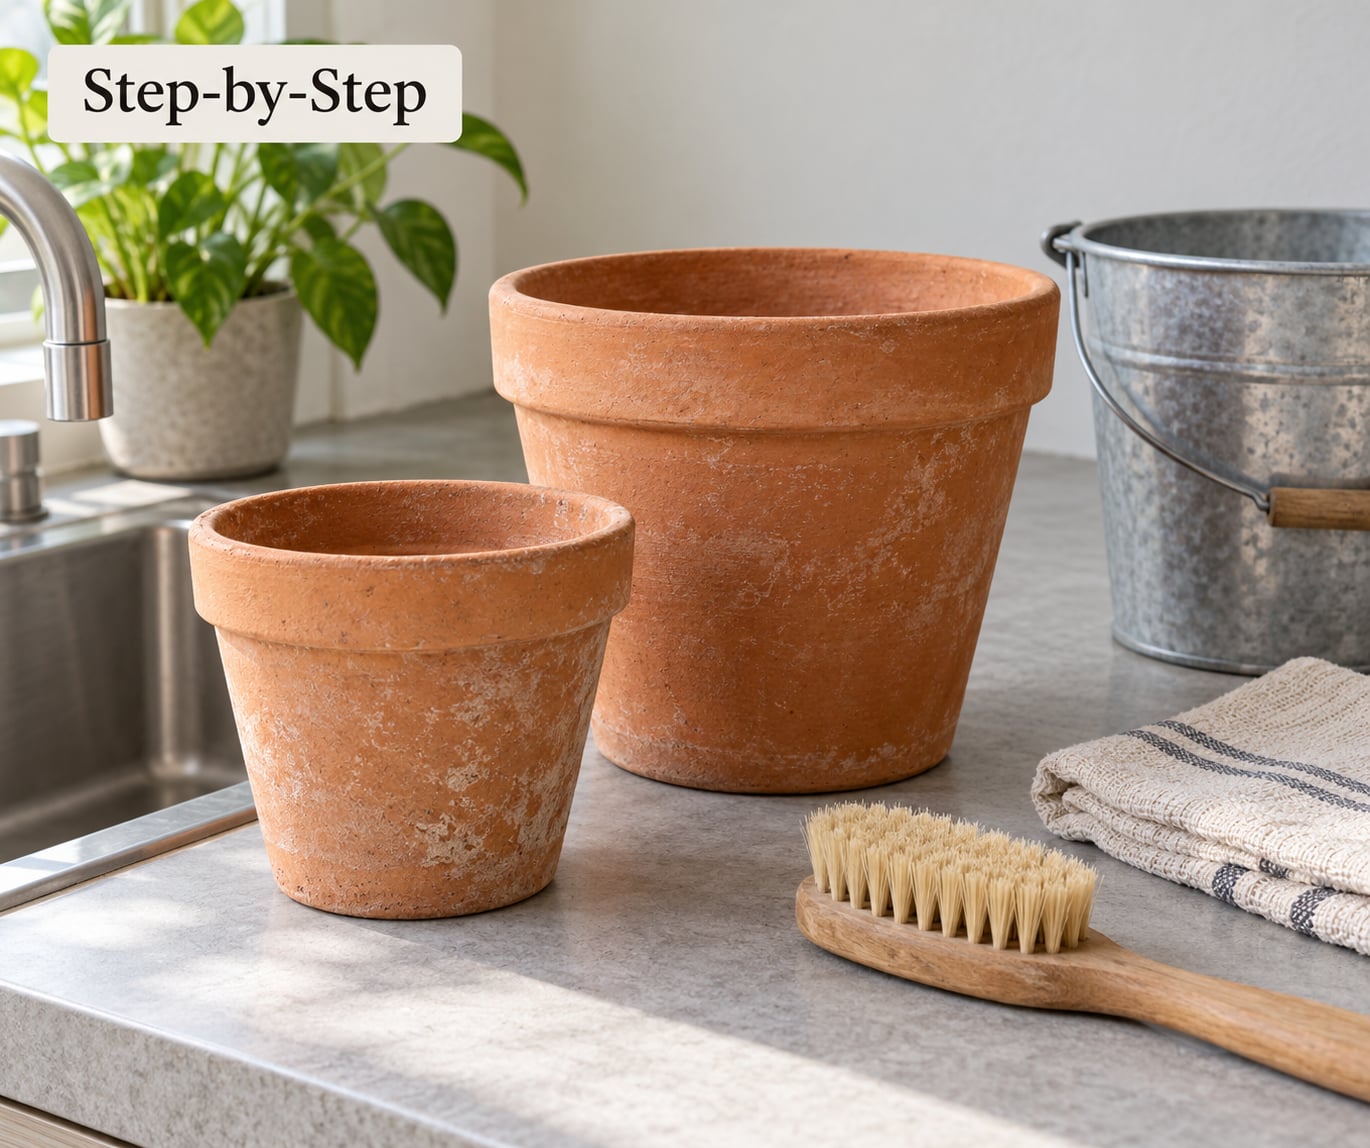
Budget about 15 minutes for a small pot, plus drying time. The order matters. Removing the plant first, and drying last, are the two steps people skip and then wonder why the crust came straight back.
1. Move the plant and inspect the pot
Tip the plant out by supporting the root ball with one hand and inverting the pot with the other. Slide it out rather than pulling on the stem. Set the root ball on a towel or into a bucket of the old soil if it looks fragile.
Now look at the pot before you clean it. Check the rim, the base and the drainage holes for hairline cracks, chips and flaking. Rub a finger over any white crust: powdery and dry means efflorescence, slick and green means algae, dark and fuzzy means mould. Washing a mouldy pot with a plant still in the soil just moves spores into the next pot.
2. Brush away loose soil
Turn out the dry potting mix first. Most of what comes out is loose and needs no water at all. Use a dry or barely damp soft brush, working in small circles so you loosen rather than grind the deposit into the pores.
Outdoors, this is where a stiff nylon pot brush earns its place. Indoors, a plastic card makes a decent scraper for caked-on compost without scratching the clay.
3. Wash the pot inside and out with warm water and mild soap
Fill the pot with warm water and a small squeeze of dish soap, then let it sit for five to ten minutes while you work on the outside. The soak loosens dried-on soil from the interior walls, which is the part most people skip and the part that harbours the most residue.
Scrub the rim, the underside, the foot and the drainage holes with your nylon brush. The rim usually carries the thickest crust because it’s where you lift and where water evaporates fastest. Work on the outside last, since it is the most visible surface.
4. Treat mineral stains and stubborn deposits
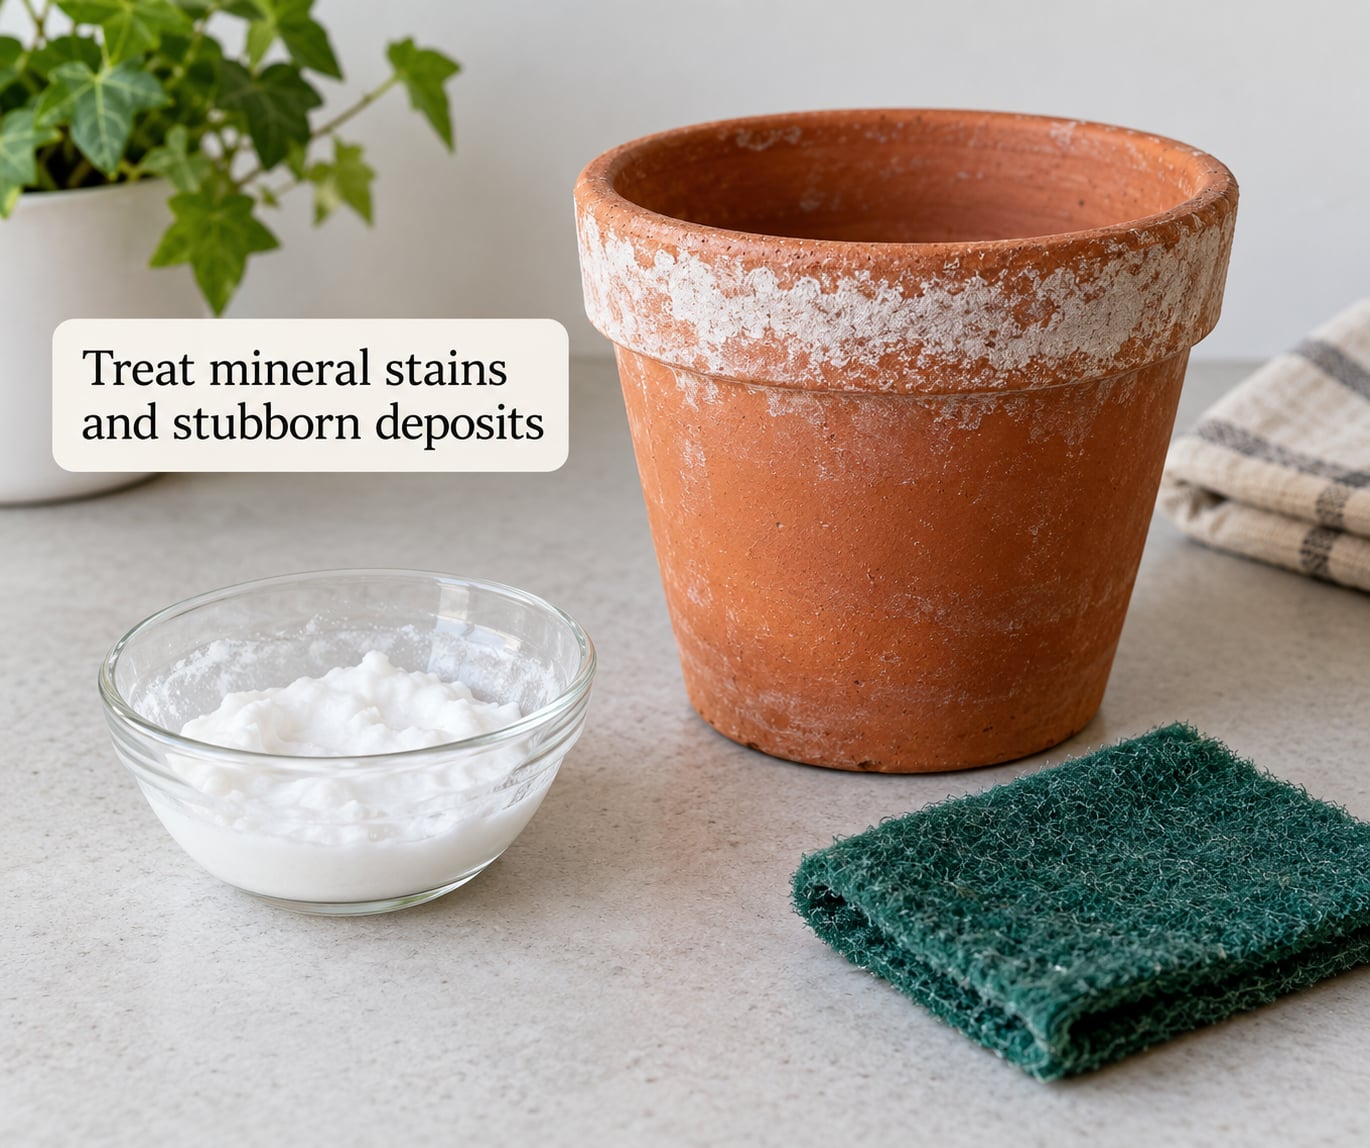
If a chalky film survives the soap wash, work in this order and stop as soon as the pot is clean.
- Baking soda paste for algae, moss and light scale. Mix baking soda with just enough water to make a thick paste, spread it over the damp pot with a soft brush, leave it 15 minutes, then scrub and rinse. The mild abrasive action is what does the work, so keep the pressure light.
- Vinegar for efflorescence. Fill the pot with a mix of 1 part white vinegar to 3 parts water and leave it for 30 minutes to an hour, longer if the crust is thick. Calcium carbonate dissolves in the acid. Rinse thoroughly afterwards, and never pour vinegar into a pot that still has soil and roots in it.
- Hydrogen peroxide for organic growth. 3% peroxide, neat, for 20 to 30 minutes on black or grey mould. It breaks down into water and oxygen, so it leaves no chemical film in the clay.
- Diluted bleach as a last resort. 1 part household bleach to 9 parts water, ten minutes maximum, then rinse several times. Only for a pot that held a diseased plant. Never mix bleach with vinegar or with ammonia; that combination releases toxic gas.
Sunlight is a genuine method rather than a fallback. A pot left in full sun for a day or two, brushed afterwards, loses a surprising amount of light surface staining. Facebook gardening groups use it constantly, and on a balcony in summer it costs nothing.
5. Rinse until the water runs clear
Fill and empty the pot two or three times until the water comes out clear and no longer smells of vinegar or bleach. Pay attention to the drainage hole, where residue collects and where a blocked hole silently ruins the next plant.
If the pot held a diseased plant, this is the moment to sterilise. A ten-minute soak in the 1:9 bleach solution, then a full rinse, covers it. Boiling water is the chemical-free alternative and is what some aquarium hobbyists use on old garden pots.
6. Let the pot dry completely
Set the pot upside down on a towel in moving air until it feels dry inside, not just dry outside. That usually takes 24 to 48 hours indoors. Terracotta is a breathable material and it holds moisture in the wall long after the surface looks fine.
Replanting into a damp pot traps water against the root ball and carries over whatever you just cleaned. A pot that still smells musty when you put your nose near the rim has not finished drying. Wipe the interior with a dry cloth to speed things up, and skip the saucer while it dries so air can reach the base.
7. Check and maintain the pot, where terracotta pot care and cleaning becomes a habit
Once the plant is back in, the maintenance is small. Water less often than you would in plastic, because porous clay wicks moisture out of the soil and buffers against overwatering. If the pot darkens noticeably and stays dark, that is a signal you are watering too much, not that the pot is dirty.
Empty standing water out of saucers rather than letting it sit, and keep drainage holes clear with a quick monthly poke. If you want to cut the crust rate down, use rainwater or filtered water where you can, and avoid overfeeding, since fertiliser salts crystallise the same way calcium does.
Clean in earnest twice a year: a deep clean as growth starts in spring, and another before you bring pots in for winter. Between those, a scrub of the rim whenever the crust becomes visible is enough.
If a pot stays green no matter what you do, decide whether that matters. Glazed or painted pots have a smooth surface where anything growing on the outside is superficial and wipes off, while bare clay is described in long-running grower forums as a breeding ground for micro-organisms you will never fully clear. A well-aged green-grey pot is not a defect. If you want the look of terracotta with less upkeep, a semi-glazed pot is the calmer option.
Common Mistakes
Soaking a pot that does not need it. Prolonged soaking saturates the clay and makes it heavy, and it pushes cleaner deeper into the pores where it keeps working after you have rinsed. A short soak for a soap wash is useful. A weekend in a bucket is not.
Wire brushes and steel wool. They scratch the surface, and scratches are permanent. Every later clean catches on them and the clay holds dirt there from then on. Nylon and natural bristle only.
Undiluted bleach, or bleach and vinegar together. Straight bleach etches the glaze on painted and glazed pots and can leave the clay brittle and chalky. Mixing it with vinegar or ammonia produces toxic gas. Dilute to 1:9, keep to ten minutes, rinse well, and ventilate the space if you use it indoors or around children and pets.
Cleaning a full pot. This is the most common question on r/houseplants and the least well answered. A full vinegar soak is unsafe: the acid reaches the root zone through both the drainage hole and the wall, and it will damage roots. If you cannot take the plant out, limit yourself to wiping the outside with a damp cloth, scrubbing the rim with a dry brush, and watering from the top a few times so the crust dissolves before it can set.
Reusing a pot that is still damp. Trapped moisture carries the smell of the previous plant and the damp conditions that encourage algae right back.
The dishwasher. The heat, the prolonged soak and the detergent will craze terracotta. Wash by hand.
Expecting a bad crack to be repairable year after year. Once water gets into a crack and freezes, the crack runs further. A two-part epoxy or a waterproof silicone sealant will hold a hairline split for a season or two, but a pot that has already survived a freeze is usually a replacement candidate. Chips along a rim are fine to keep. Cracks through the base or a wobbly foot are not.
Frequently Asked Questions
Can I wash a terracotta pot with dish soap?
Yes, and it is the right starting point for a routine clean. Fill the pot with warm water and a small squeeze of mild dish soap, let it sit 5 to 10 minutes, then scrub the rim, foot and drainage holes with a nylon brush. Rinse until the water runs clear. Skip dish soap on a pot you are about to use for edible herbs if you are sensitive to fragrance, and choose an unscented, phosphate-free version for a lighter rinse.
What removes white mineral deposits from a terracotta pot?
White crust is efflorescence, which is calcium carbonate and other salts left behind as water evaporates through the clay. A 1:3 mix of white vinegar to water, left for 30 to 60 minutes, dissolves it. Baking soda paste works on lighter films, and sunlight plus a stiff brush handles surface staining. Rinse thoroughly afterwards, since leftover acid in the pores will mark the pot again the next time you water it.
How often should terracotta pots be cleaned?
A deep clean twice a year is enough for most collections: once as growth starts in spring and once before pots are stored for winter. Between those, wipe the rim and scrub away visible crust as it appears, especially in hard-water areas where it returns within weeks. Check drainage holes monthly. Pots holding herbs or edibles that you water daily will need a rim scrub far more often than a pot on a dry shelf.
Is it safe to use bleach on terracotta planters?
Only diluted, only briefly, and never mixed with vinegar or ammonia. Use 1 part household bleach to 9 parts water, soak for no more than ten minutes, then rinse several times. Undiluted bleach etches glazed and painted surfaces and can leave the clay chalky and brittle. Keep the pot away from children and pets while you work, and rinse it outside or in a ventilated space.
How do I prevent algae and salt buildup on a terracotta pot?
Start with the water. Rainwater or filtered water puts far fewer dissolved minerals through the clay than hard tap water, and watering from the top rather than bottom-watering flushes salts out of the surface instead of leaving them to crystallise on the rim. Empty saucers regularly, do not overfertilise, and give the pot a full sun day or two every few months. An exterior water-repellent siloxane sealer helps, but it needs reapplying every one to two years.
Can I reuse a terracotta pot after cleaning it?
Yes. Let it dry fully first, which takes 24 to 48 hours, then repot as normal. If the pot held a diseased plant, soak it in a 1:9 bleach solution for ten minutes, rinse until the water is clear and odourless, and dry completely before reuse. A pot kept in service for years is usually worth cleaning rather than replacing, unless the base is cracked or the pot has gone soft and crumbly.
Conclusion
Start with the plant out and the pot brushed dry. Everything past that is a matter of matching the cleaner to the deposit: soap for routine grime, baking soda for algae, a 1:3 vinegar soak for white efflorescence, and a ten-minute bleach soak only when a pot held a sick plant.
Then let it dry for a full day before you replant, and stop trying to scrub a well-aged pot back to showroom orange. Two cleanings a year, an empty saucer and a little less fertiliser will keep terracotta pot care and cleaning off your list for the rest of the season.