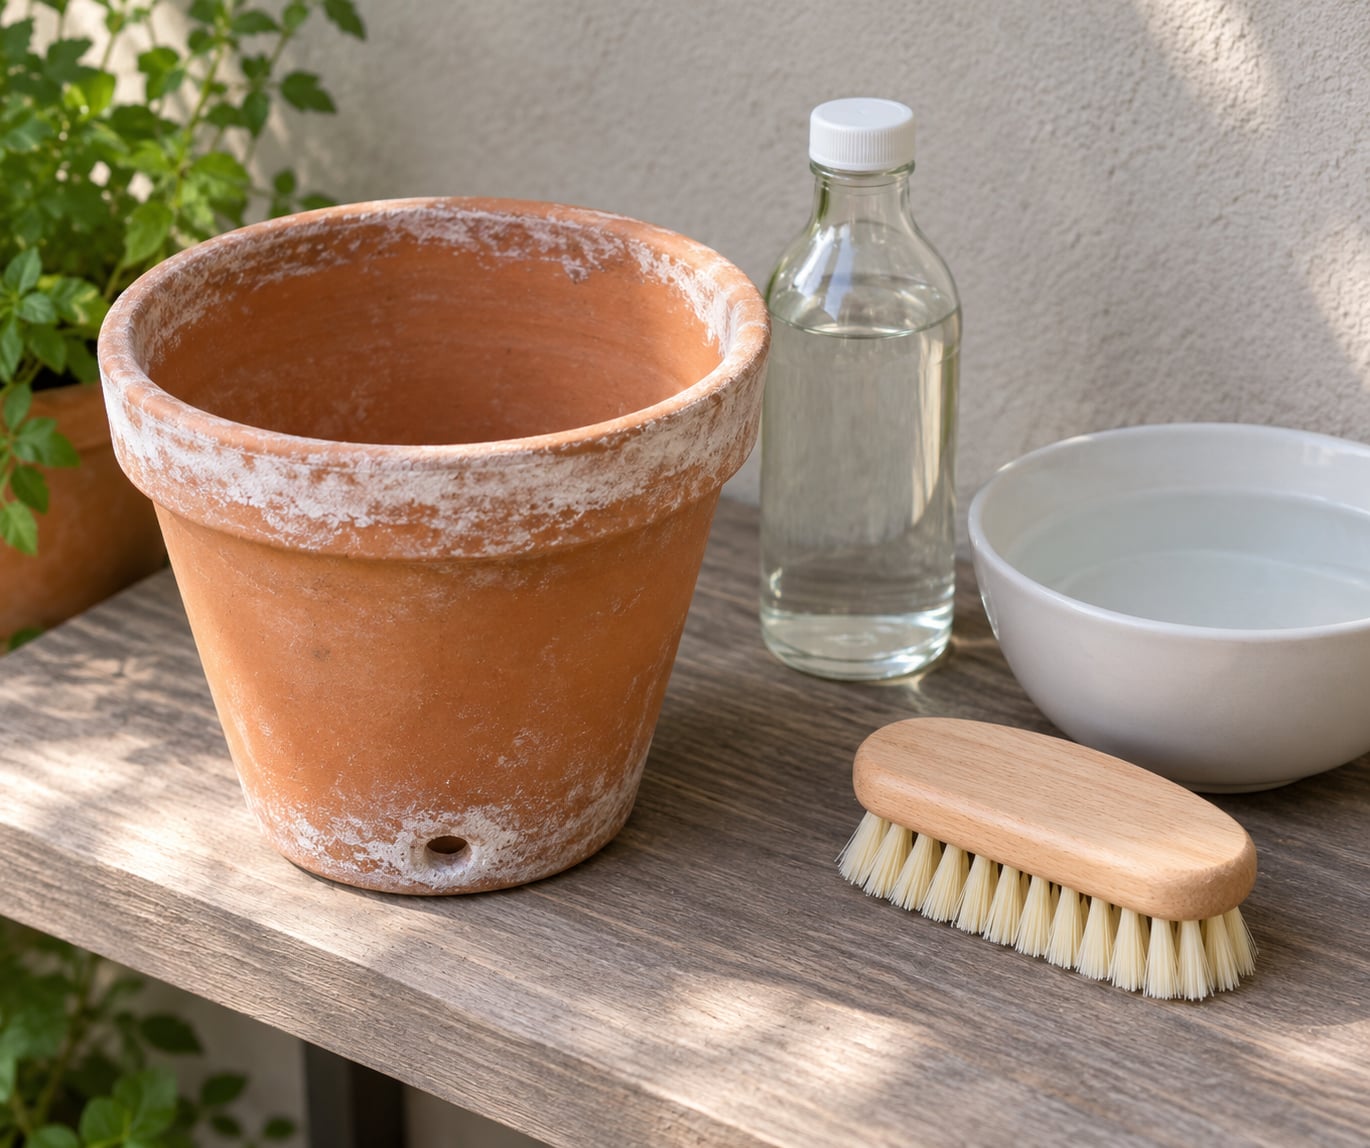
The white residue on terracotta pots is mineral efflorescence, not mold. Water moves through the porous clay, picks up dissolved calcium, magnesium and salts from the soil and your tap supply, then leaves those solids behind as it evaporates off the outside. Wipe it off with a vinegar solution, fix the water or drainage habit that caused it, and it stops coming back.
It is almost always cosmetic. Terracotta growers on r/plantclinic and r/houseplants swap notes on this constantly, and the consensus is the same: minerals, not fungus, and it will not kill your plant. It does, however, slowly seal the pores that let the pot breathe, so cleaning it is less about the plant and more about the pot staying healthy for another decade.
Below is how to stop white residue on terracotta pots for good: the short version first, then the detail.
- Identify it first. Dry crystals that flake off are minerals. Fuzzy, damp, or sour-smelling growth is mold.
- Scrub before you soak. A soft nylon brush or an old toothbrush lifts most dry crust in seconds.
- Use a weak vinegar solution and give it a short dwell time, then rinse until the water runs perfectly clear.
- Dry the pot fully in shade before replanting, then change one habit so it does not return.
Table of Contents
- What You Need to Stop White Residue on Terracotta Pots
- Step-by-Step
- Step 1: Identify What the White Residue Is
- Step 2: Remove the Plant and Prepare the Work Area
- Step 3: Test and Loosen the Residue
- Step 4: Clean the Pot and Rinse Completely
- How to Stop White Residue on Terracotta Pots From Returning
- Step 5: Treat Mold or Fertilizer Buildup Differently
- Common Mistakes
- Frequently Asked Questions
- Is white residue on a terracotta pot mold, salt, or mineral deposit?
- Can white vinegar remove white residue from terracotta without damaging the pot?
- How do I remove hard water deposits from an unglazed terracotta pot?
- Why does white residue keep coming back after I clean the pot?
- Is it safe to use bleach on terracotta pots with plant stains or mold?
- How should I prepare a cleaned terracotta pot before replanting?
- Conclusion
What You Need to Stop White Residue on Terracotta Pots
None of this needs a specialty product. A bucket, lukewarm water, a mild unscented detergent and a bottle of white vinegar cover ninety percent of cases.
A soft-bristled nylon brush or an old toothbrush is the right scrubbing tool. Anything with wire or steel in it will scratch the clay, and scratches are where future deposits start.
Pour out any standing water in the saucer before you begin. If you suspect mold, pull on a pair of nitrile gloves and open a window.
When baking soda is unnecessary: it is a mild abrasive and a base, so it is genuinely useful on dried-on fertilizer or on grime before you paint a pot. Against mineral efflorescence it does almost nothing useful on its own, and mixing it with vinegar in the same soak just wastes both, since they neutralise each other.
What never to use:
- Bleach on unglazed clay. Prolonged contact weakens the fired surface and can leave the pot permanently more porous. If mold is the problem, a very dilute bath for a few minutes is the limit.
- Acidic masonry or concrete cleaners. They are built for limestone and can etch the glaze line or the painted decoration on a terracotta pot within minutes.
- Steel wool, wire brushes and scouring powders. Same reason as above.
- Water above about 90F (32C). Clay cracks from thermal shock, and that crack is permanent.
Step-by-Step
Step 1: Identify What the White Residue Is
Start here, because the treatment changes completely depending on what you are looking at. Scrubbing mold with acid gets you nowhere and pushes moisture further into the clay.
| What it looks like | Where it appears | Rub test | Does it harm the plant |
|---|---|---|---|
| Dry white crystals or powdery crust | Rim, outer wall, drainage holes, pot base | Crumbles or brushes off as powder | No, but it can seal pores over time |
| Hard chalky ring at one height | A distinct waterline on the outer wall or saucer | Hard, almost shell-like, does not wipe | No |
| Fuzzy, damp or velvety growth | Outer wall, base, damp crevices | Stays put, may smell musty | Usually harmless on the pot, but a drainage warning sign |
| Thin white crust on the soil surface | Top of the potting mix | Crumbly, slightly gritty | Can push soil pH up over time |
| Sticky or gritty runoff marks | Rim and saucer after feeding | Tacky, then dries to a hard rim | Only if you keep feeding over-firm salts |
The location is the fastest clue. Mineral efflorescence collects where water evaporates hardest, which is the rim, the drainage holes and the base sitting in a saucer. Mold appears where clay stays damp and shaded. Fertilizer crust shows up almost immediately after feeding and smells sharp.
Roughly two-thirds of the cases people bring to r/houseplants and the Friendly Gardening Forum are mineral, in water that is genuinely hard.
Step 2: Remove the Plant and Prepare the Work Area
Tip the pot on its side and support the root ball with one hand. Ease the plant out sideways rather than pulling upward, which tears fine feeder roots every time.
Discard the old potting mix rather than reusing it. If mold was involved or the pot smelled sour, that mix carries the problem straight back into a clean pot.
Scrape out any crust sitting in the drainage holes with a plastic card, not metal. Then wash the work surface or lay down newspaper, because you are about to handle wet clay that sheds dust.
Step 3: Test and Loosen the Residue
Run a dry toothbrush over a small patch first. If powder comes loose, you have loose salts and a brush may already be enough once the pot is wet. If nothing moves, the deposit is bonded and you need acid.
Match the vinegar strength to the job. Dilute white vinegar is roughly 5 percent acetic acid; more does not work better and only raises the risk of etching a decorated or sealed surface.
| Situation | Mix | Dwell time |
|---|---|---|
| Routine wipe-down, light film | 1 part vinegar to 10 parts lukewarm water | 5-10 minutes |
| Standard pot, moderate crust | 1 part vinegar to 5 parts water | 20-30 minutes |
| Heavy efflorescence or old hard water ring | 1 part vinegar to 3 parts water | 30-60 minutes |
| Large outdoor planter | 1 part vinegar to 4 parts water | 20-30 minutes, then scrub |
Pour the solution in, swirl it, and let it sit. Vinegar works on calcium carbonate because the acid reacts with it and the reaction needs water and time, which is exactly what a soak provides and a quick wipe does not.
Work the softened crust with a soft nylon brush or toothbrush, paying attention to the rim lip and the inside of the drainage holes. Never soak a sealed, glazed, painted or glazed-decorated pot for long, and never leave any pot submerged for hours.
Step 4: Clean the Pot and Rinse Completely
With the deposits loosened, wash the pot properly. Add a small squeeze of mild unscented detergent to lukewarm water, scrub every surface including the inside and the base, then rinse under running water until the water comes out perfectly clear.
Then give it a second, longer soak in fresh plain water. This one step is skipped more than any other, and it matters: leftover acid in the pores keeps leaching into fresh soil and keeps mineral balance off. Thirty minutes in clean water neutralises what the first rinse did not.
You know the job is done when the rim shows no chalky ring, the drainage holes read as clean dark clay rather than white crust, and the pot is even in colour from top to base. An uneven surface is normal on old pots, so judge by the ring and the holes, not by the whole pot matching.
Turn it upside down on a towel and let it air dry completely. Shade is better than direct sun, which can bake the clay and cause the same thermal shock you would get from hot water. Six hours minimum, overnight is better. A pot that feels even slightly cool to the palm still holds water in the wall.
How to Stop White Residue on Terracotta Pots From Returning
This is the half most guides skip. Removal is housekeeping; prevention is the actual fix, and it lives in four habits.
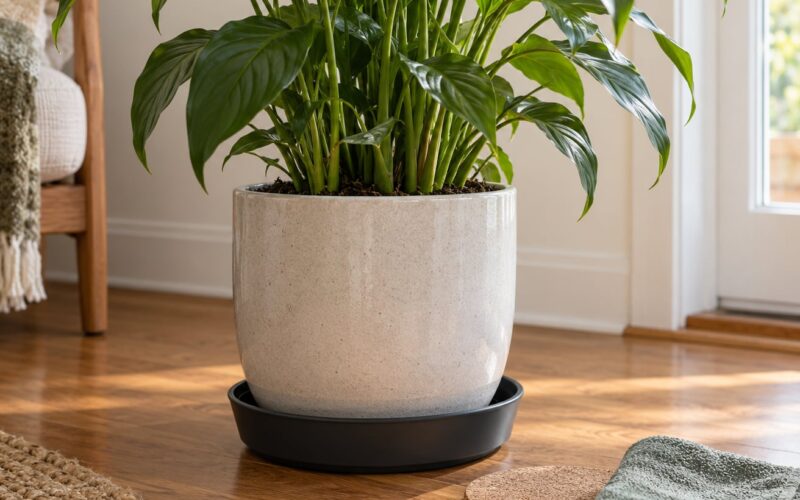
Empty the saucer every time you water. A pot standing in a pool of runoff keeps the base damp, which concentrates minerals at exactly the point where they crust fastest. Lifting the pot on feet or a trivet also lets the underside air dry instead of sweating against your deck.
Water thoroughly, then let it drain fully. Light frequent splashes leave salts concentrated at the surface because the water never pushes the old stuff out. A slower, fuller pour that runs right through the drainage holes flushes salts downward where they stay.
Flush the potting mix on a schedule. Once a month, run plain water through the whole pot for about ten minutes and let a surprising amount drain out. That leaches accumulated fertiliser salts before they crystallise through the wall.
Feed within the label rate. More fertiliser is not more plant. A crust that appears on the soil surface a week after every feeding is fertiliser salt, not tap water, and no amount of scrubbing fixes the cause.
Check your water. Hard water is usually reported as somewhere above 120 to 180 parts per million of dissolved solids, which is where visible mineral film starts on porous clay. You can buy a hardness test strip at a hardware store, or put a dry, unglazed pot aside for a week and see whether it films over. If it does, switch the problem plants to rainwater collected in an open container, or to distilled or filtered water for the heaviest feeders. Rainwater needs an open container or it grows its own film.
Decide about sealer last. A clay pot sealer genuinely does stop residue, and forum members on Houzz recommend it for a reason. The honest trade-off is that sealing cuts the air exchange that makes terracotta terracotta and holds more water against the roots. Herbs, succulents and anything that hates wet feet often suffer in a sealed pot. Seal unglazed planters you use for outdoor displays; leave functional indoor pots breathable and manage them with watering discipline instead.
Step 5: Treat Mold or Fertilizer Buildup Differently
Mold is biological, so it responds to killing the organism rather than dissolving a mineral. Scrape the loose growth off outside, then spray the affected area with 3 percent hydrogen peroxide and leave it a few minutes before wiping. Forum gardeners report it working on moss and mildew rings without any residue left behind.
If the growth is heavy, a dilute bleach bath of one part standard bleach to nine parts water, ten to fifteen minutes maximum, then a very thorough rinse, is the ceiling. Do not repeat it, and do not leave it sitting in the pot.
Black spots, damp patches that never dry, or an odour that returns within days mean the problem has moved into the soil, not the clay. Stop scrubbing and replace the potting mix, check the drainage hole is actually open, and look at whether the pot sits in a saucer it should not.
Common Mistakes
- Using bleach as a first resort. It kills nothing useful at household strength on a mineral crust, and it damages fired clay on contact. Reach for vinegar first, and save bleach for confirmed mold in a short, well-rinsed bath.
- Soaking for hours. Long acid soaks etch decorated and sealed surfaces and can loosen a chalky, degraded pot. Cap a soak at an hour and stay well under that for anything vintage.
- Scrubbing with steel wool. One pass leaves micro-scratches that make the next deposit stick harder than the last.
- Pouring straight vinegar into the pot. Full-strength vinegar on wet clay can etch a surface. Always dilute, and always keep the cloth or brush between the acid and the pot.
- Skipping the rinse. A single rinse leaves acid in the pores and you are back to a film within a month. Rinse until clear, then soak again in plain water.
- Cleaning only the rim. Most deposits sit at the base and inside the drainage holes, where they block flow and stay hidden.
- Replanting into wet or salty soil. Old mix goes out, fresh mix goes in, and the pot dries fully first. Otherwise you are sealing the problem in with a lid.
The prevention side follows from the diagnosis. If it came back within days, it is your watering or your fertiliser. If it comes back after a month or two, it is your water supply. If it appears only after rain or a holiday week, look at whether the saucer is being emptied at all.
Frequently Asked Questions
Is white residue on a terracotta pot mold, salt, or mineral deposit?
Almost always mineral efflorescence: dissolved calcium, magnesium and salts carried through the porous clay by water and left behind as it evaporates. It is dry, powdery and comes away with a brush, usually at the rim, drainage holes and base. Mold is fuzzy or velvety, stays damp, and often smells musty. Neither is a disease in the clay, but mold does signal that the pot is staying wetter than it should.
Can white vinegar remove white residue from terracotta without damaging the pot?
Yes, used diluted. Vinegar’s acetic acid reacts with calcium carbonate, which is what most of the film is, and the reaction needs a few minutes of dwell time. Mix one part vinegar with five parts lukewarm water for a normal pot, one to ten for a light film, and keep any soak under an hour. Skip it on glazed, painted or sealed pots, and always rinse twice.
How do I remove hard water deposits from an unglazed terracotta pot?
Soak the pot in one part vinegar to three parts lukewarm water for 30 to 60 minutes, then work the softened crust away with a soft nylon brush or old toothbrush. Rinse under running water until it runs clear, then soak in fresh plain water for another 30 minutes to neutralise any acid left in the pores. Let the pot air dry upside down in shade, overnight if you can.
Why does white residue keep coming back after I clean the pot?
Because cleaning removes the deposit but not the cause. Repeat offenders are usually watering lightly so salts concentrate at the surface, leaving the pot standing in a saucer full of runoff, feeding heavier than the label, or using very hard tap water. Try a monthly ten-minute flush of plain water through the pot, empty the saucer every time, and test your tap water. If it films a spare dry pot over a week, switch to rainwater or filtered water.
Is it safe to use bleach on terracotta pots with plant stains or mold?
Only sparingly, and never for mineral deposits, which bleach does nothing about. One part standard bleach to nine parts water, ten to fifteen minutes maximum, then rinse thoroughly. Prolonged contact weakens the fired clay surface and can leave the pot permanently more porous, so never leave bleach sitting in it. Hydrogen peroxide at 3 percent is the gentler option and works well on mold rings.
How should I prepare a cleaned terracotta pot before replanting?
Rinse until the water runs perfectly clear, then soak the pot in fresh plain water for about 30 minutes to neutralise any vinegar left in the pores. Turn it upside down and let it dry completely in shade, overnight for a large planter, so no cool damp wall remains. Do not use it the same day. Replace the old potting mix rather than reusing it, especially if mold was involved.
Conclusion
Identify the residue first, because mineral film, mold and fertiliser crust need three different treatments. Clean with the gentlest method that matches what you found, then fix the one habit that put it there, usually the watering, the saucer or the water supply.