To light a living wall with grow lights, match LED fixtures to the wall’s height and leafy area, then mount them in layers instead of one row overhead. Aim for roughly 10,000-20,000 lux across the foliage, keep fixtures 6-12 inches from the leaves, and run them 12-16 hours a day on a timer. A small wall takes an afternoon.
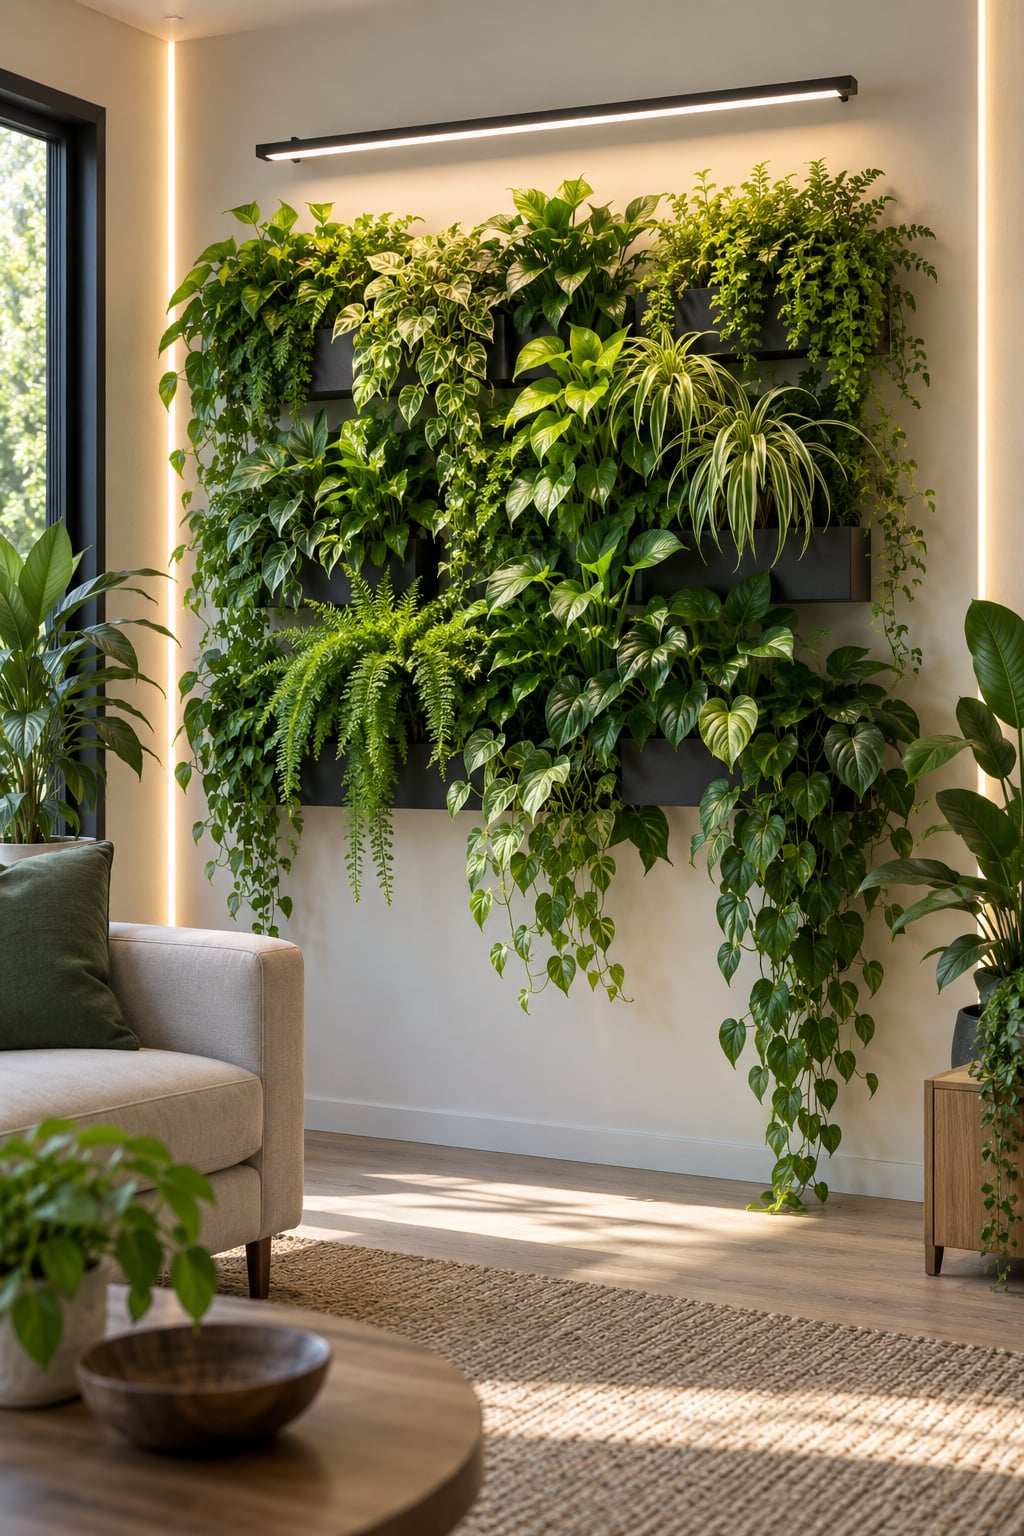
A living wall is a hard lighting problem, and the reason is geometry rather than brightness. Every tier shades the tier below it, so a single ceiling light tends to burn the top row while the bottom goes pale and spindly. The fix is overlap: a fixture above the wall for overall coverage, plus strips mounted down the face or between shelves so light lands sideways on the lower plants.
That layout is not a theory. Two separate discussions on r/IkeaGreenhouseClub arrived at the same answer independently, combining a plant top light with waterproof LED strip lighting down the vertical corners, because a narrow channel wall leaves no room for a normal fixture. This guide turns that idea into a plan you can follow with a tape measure and a timer.
Updated for October 2026.
Table of Contents
- What You Need to Light a Living Wall with Grow Lights
- Step-by-Step
- 1. Assess the wall and identify plant light needs
- 2. Choose grow lights with the correct spectrum and output
- 3. Calculate coverage and position the fixtures
- 4. Mount the lights safely and connect the controls
- 5. Set a schedule and check plant response
- 6. Maintain the system and adjust seasonally
- Common Mistakes
- Frequently Asked Questions
- What type of grow light works best on a vertical garden?
- Do living wall plants still need sunlight if they have grow lights?
- How many hours a day should grow lights stay on for a living wall?
- How far should a grow light sit from living wall plants?
- Should grow lights feel hot, and will they burn my plants?
- Are grow lights enough on their own for a living wall?
- Conclusion
What You Need to Light a Living Wall with Grow Lights
Before you buy a single fixture, gather four things: the wall’s dimensions, the light demands of what is growing in it, a way to reach power, and a plan for mounting hardware. Get those right and the fixture choice becomes easy.
- Wall measurements — height, width, and the depth from the wall face to the front of the planting pockets. Depth matters more than most people expect, because it decides how far forward your lights must sit.
- Plant light requirements — are these mostly foliage plants, herbs and leafy greens, or something that flowers and fruits? Each group wants a different intensity.
- Daylight record — note which hours the wall gets sun, and from which direction. A wall beside a south window needs far less runtime than one in a hallway.
- Grow light fixtures — slim LED bars or panels for the top, and waterproof strip lights for the vertical faces of tiers.
- A timer or smart controller — a mechanical timer with a clock, or a smart plug with a schedule. Set it once and stop thinking about it.
- Mounting hardware — rated shelf brackets, C-clamps, magnetic mounts, or a track system above the wall. Renter-friendly options are called out in step 4.
- Electrical access — an outlet within reach of the wall, and cable clips or conduit so cords do not hang across the room.
- A measuring tool — a tape measure and, if you want numbers rather than guesses, a light meter app on your phone.
Two variables decide everything else: how much daylight the wall already receives, and what is planted in it. A wall of pothos and ferns next to a window can run on a modest fixture for fewer hours. The same wall of basil in a windowless corner needs stronger output and a longer day.
Step-by-Step
1. Assess the wall and identify plant light needs
Start by measuring, not by shopping. Write down the wall height, the width, and how far the foliage projects from the wall. Then divide the leafy area into a rough square footage — width times the average depth of the planting.
Next, stand in front of the wall at three different times of day and note what light already arrives. Direct sun through a window, or a bright wall opposite, changes your whole plan. Bright, indirect light for a few hours is a bonus; reflected light off a white ceiling is worth less than most people assume.
Look at the plants themselves. Long gaps between leaf pairs, stems reaching, and small pale leaves at the top of a plant all point to too little light. Crisp, bleached patches on the leaves nearest a fixture mean the opposite. You are looking for the plant that has had the worst of it, because that one sets your design target.
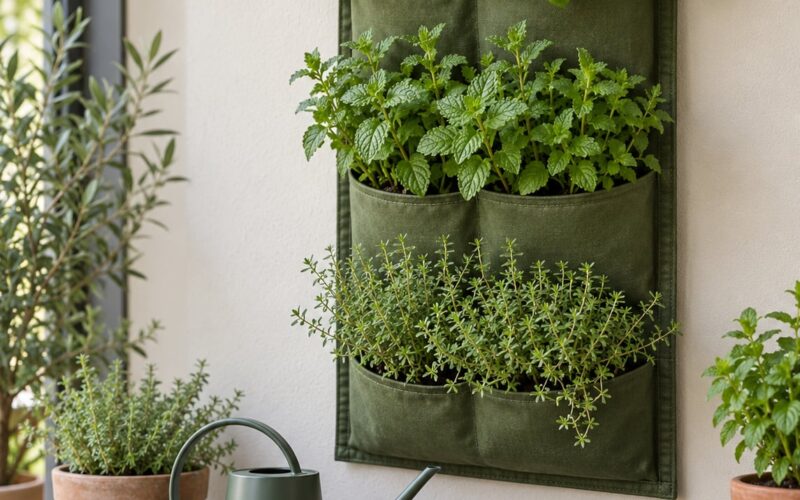
Sort the wall into two groups. Moderate-demand plants like pothos, philodendron, ferns and most foliage houseplants are content with a maintenance level of light. Higher-demand plants like basil, mint, lettuce, strawberries and anything flowering or fruiting need roughly twice the intensity and a longer day. Mixing both on one wall is why a single timer setting rarely works.
2. Choose grow lights with the correct spectrum and output
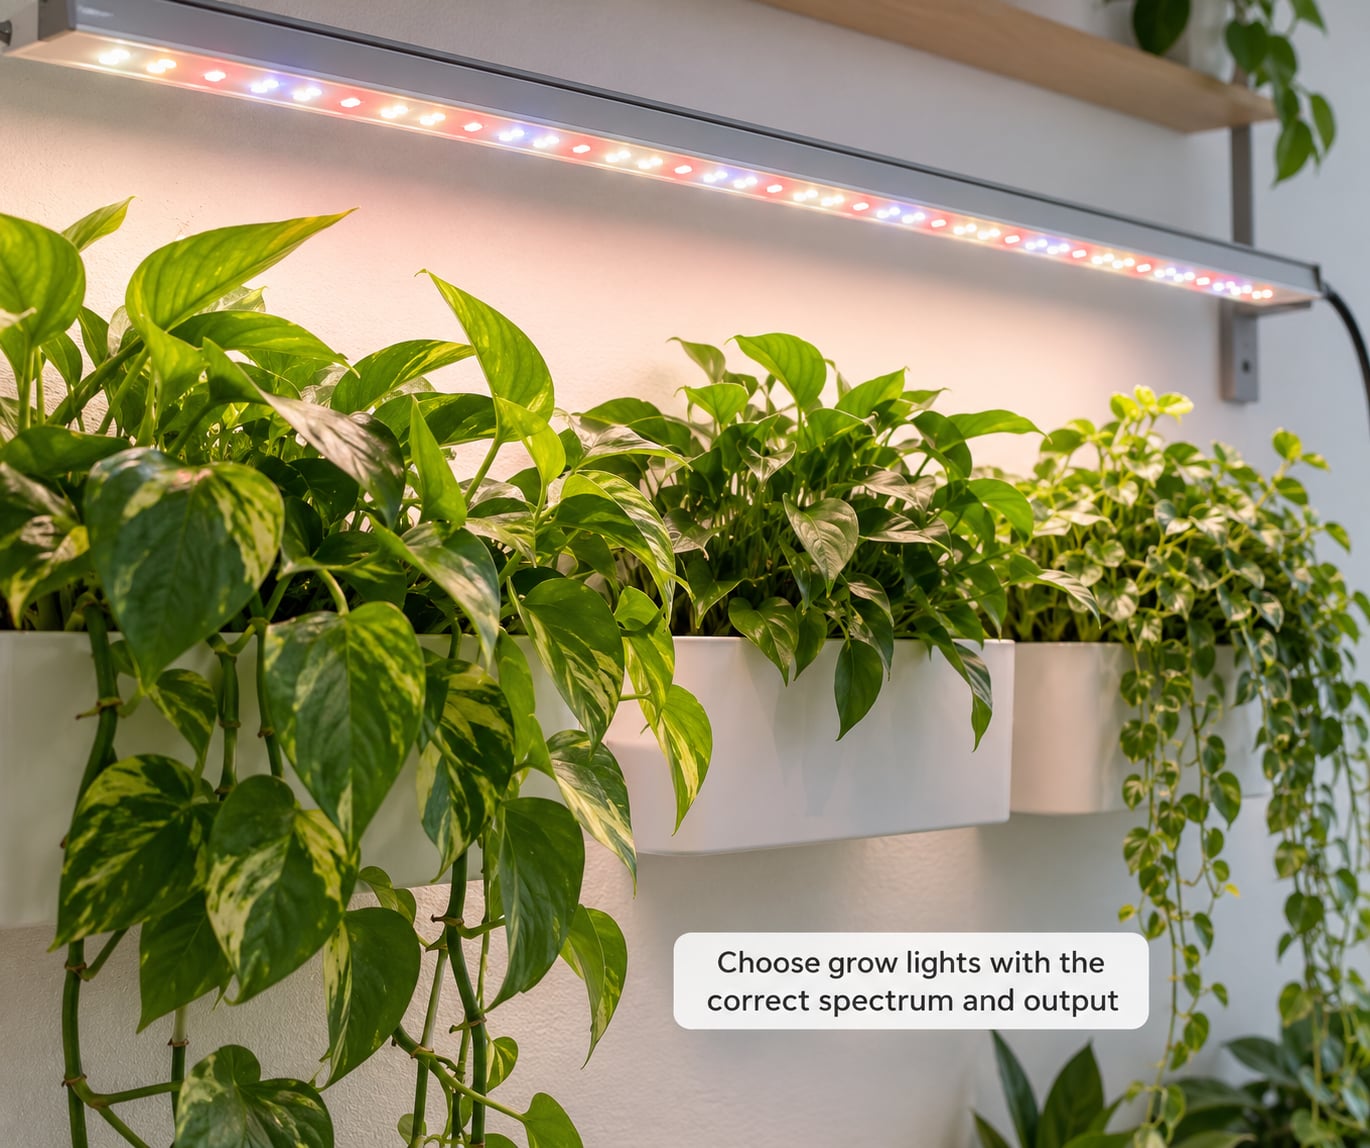
Choose by wavelength range, beam spread, heat, and coverage rather than by raw wattage. There is no single wattage that suits every living wall, because output that is comfortable for a bright windowsill can scorch a shaded corner.
Look for fixtures covering roughly 400-700nm, the range plants use for photosynthesis. Many are sold as “full spectrum” white with a slight pink or violet cast from a small amount of red and blue added to white diodes. That pink glow is why people object to grow lights in a living room, and warmer-white fixtures exist if appearance matters more to you than a bloom spectrum.
Beam spread decides uniformity. A narrow beam gives you a bright hotspot directly underneath and darkness six inches to either side. A wide beam spreads the same output across a wider footprint, which is exactly what a flat vertical wall needs. Optical lenses and reflectors improve spread at the cost of some intensity.
Consider heat next. LEDs run cooler than the metal halide and high-pressure sodium fixtures older guides still recommend, but a fixture mounted close to a dense wall of foliage still raises the leaf temperature. Any fixture with a metal heat sink and a fan will be louder than a fanless one, which is a real trade in a living room.
Dimmable output is worth paying for. It gives you a way to cut intensity without moving the fixture, which is far easier than re-hanging hardware each time the season changes. It also lets one fixture cover plants with different needs on the same wall.
3. Calculate coverage and position the fixtures
Break the wall into zones you can light one at a time. For a tiered shelf, each shelf is a zone. For a pocket-planter wall, each horizontal band of pockets is a zone. A zone you can measure is a zone you can light evenly.
Estimate what each fixture actually covers rather than what the packaging claims. Manufacturers rate coverage on an empty surface at a stated distance, usually as a square footprint. A wall of foliage is not an empty surface, and leaves at the top of a canopy intercept light before it reaches the ones below.
Position fixtures above the wall and slightly forward of the planting pockets, tilted down and out at roughly 20 to 45 degrees. That angle lets light reach the front face of the foliage instead of sliding down the wall face. Mounting them flush against the wall wastes a surprising amount of light on masonry.
| Wall type | Best fixture geometry | Mount location | Why |
|---|---|---|---|
| Pocket-planter wall | Slim LED bar or two | Above and 12-18 inches forward | Forward offset clears the wall face and lights the pocket fronts |
| Tiered shelf garden | One bar per shelf | Under the shelf above, or on a bracket at the front lip | Each tier gets its own source, so upper plants stop shading lower ones |
| Vertical tower | Top light plus vertical strips | Above the tower, strips down the front corners | The tower is a cylinder, so side light is the only way to reach the middle |
| Narrow channel wall | Waterproof strip lights | Inside the channel, facing outward | No overhead clearance, so vertical light is the only option |
Even spacing matters more than any single number. Overlap each fixture’s footprint with its neighbour’s by about a third, and check the gaps. If you have a light meter, map each zone on a three-by-three grid and compare the darkest reading with the average. A minimum-to-average ratio of 0.75 or better, and a variation of 15 percent or less, tells you the wall is evenly lit. Anything below that and the plant problem is distribution, not intensity.
4. Mount the lights safely and connect the controls
Use hardware rated for the load, fixed to structure rather than to a loose shelf panel. A C-clamp on a sturdy steel shelf, a magnetic mount on a steel frame, or a bracket screwed into studs all work. Anything hanging from a cable alone will drift, and a drifting light means uneven coverage.
Keep clearance from plants and water. Leave at least 6 inches between a fixture and the nearest leaf, and never position a light where irrigation water can drip or spray onto it. If your wall has a reservoir or drip lines above the planting, mount the lights to the side of the wall or below the reservoir rather than over it.
Route cables along the wall or up a corner, not across the face where people walk. Clips or conduit every foot or so will keep a bundle tidy, and one power strip mounted out of sight is neater than six cords converging on a single outlet. This is the single most common complaint about multi-fixture walls, and it is entirely solvable at the planning stage.
Follow the manufacturer’s instructions for the fixture, keep every connection dry, and use a qualified electrician for any fixed wiring you are not certain about. If you rent, skip drilling into walls and ceilings entirely: clamp to the shelf frame, use magnetic mounts on steel, or stand a fixture on a shelf above the wall.
Connect a timer or smart controller last, and set the schedule before you turn anything on. Digital timers survive power cuts and hold their program; cheap mechanical ones often reset to the wrong state after an outage, which is how walls end up lit around the clock.
5. Set a schedule and check plant response
Start with a photoperiod that suits the plant group, then judge results over several weeks rather than days. Foliage plants usually do well on 12 to 14 hours. Herbs and leafy greens want 14 to 16. Flowering and fruiting plants often need 16, sometimes 18.
Add the daylight the wall already receives to that number rather than replacing it. A wall getting four hours of morning sun needs fewer hours from the fixtures than one in a dark hallway. Running lights for far longer than the plants need is a genuine mistake and not a harmless one; one long-time grower traced months of problems on a shelf to a timer set far above the recommended hours.
| Plant group | Target intensity | Fixture distance | Hours per day |
|---|---|---|---|
| Foliage houseplants | 10,000-15,000 lux (about 150-200 PPFD) | 8-12 inches | 12-14 |
| Herbs and leafy greens | 20,000-30,000 lux (about 300-400 PPFD) | 8-18 inches | 14-16 |
| Fruiting or flowering plants | 30,000-45,000 lux (about 400-600 PPFD) | 12-24 inches | 16-18 |
| Succulents and cacti | 30,000-45,000 lux, short days | 12-24 inches | 10-12 |
Do the hand test before you walk away. Hold the back of your hand at leaf height, directly under the fixture, for about a minute. Warm and comfortable means fine. Uncomfortably hot means the leaves are cooking, and you should dim or move the fixture. It takes five seconds and it settles most arguments.
Then watch the plants over the following weeks. Stems stretching with pale, small leaves means too little light or too much distance. Bleached or crisp patches mean too much. A yellowing plant under lights is usually overwatering rather than overlighting, and that misdiagnosis costs people a lot of time. Brown or algae-like film on the wall face near a fixture means the surface is staying wet and dim, which needs airflow and more light on that area.
Change one variable at a time. Move the distance, or the hours, or the dimming level, then give it a week before judging. Raising all three at once makes it impossible to know what fixed the problem.
6. Maintain the system and adjust seasonally
Put a short routine on your calendar. Wipe dust off the fixtures every few weeks, because a dusty lens throws a surprising share of the light onto the wall behind it. Remove dead leaves from the pockets, since they trap moisture against the panel and encourage algae on the face of the wall.
Check the water situation while you are up there. Confirm that runoff is not dripping onto a fixture, and that no cable has been pulled loose by a plant that grew into it. Glance at the timer to confirm the schedule still matches what you intended.
Rotate and prune the wall. Plants on the lit side of a wall grow faster than those on the dim side, so swap or trim them to keep the wall even instead of letting one corner run away.
Adjust for the seasons. In winter the wall gets less usable daylight, so add an hour or raise the dim level a notch. In spring and summer, if the wall is near a window, cut back or dim to avoid scorch. As plants grow taller, move the fixtures up or out; the distance you set in week one is a starting point, not a permanent setting.
Track energy use with a simple formula: watts multiplied by hours per day, multiplied by 30, divided by 1000, gives kilowatt-hours per month. Multiply that by your utility rate. Fixtures on a 12-hour timer cost roughly half of the same fixtures left on 24 hours, which is why the timer is not an optional accessory.
Common Mistakes
Nearly every problem with a lit living wall comes down to placement, timing, or water. Each of these has a straightforward fix.
- Mounting lights too far away. A fixture twice as far away delivers roughly a quarter of the light. Bring it closer, add a second strip, or both, before you conclude the wall needs more hours.
- Aiming everything at the centre of the wall. The middle gets bright while the edges go bare. Angle fixtures to overlap, then check the corners with a light meter or by eye in a darkened room.
- Using one timer for plants with different needs. Foliage and fruiting plants on the same wall pull in opposite directions. Use two timers, or dim the high-demand plants.
- Ignoring the front face of the wall. Light straight down a vertical surface does very little. Add strips down the face or between tiers so leaves get light from the side.
- Overheating the foliage. Symptoms are bleached or crispy patches on the leaves nearest the fixture. Dim, raise the fixture, or increase airflow around the wall.
- Mounting over irrigation or a reservoir. Water and electricity do not mix. Offset the lights so nothing drips or sprays onto a fixture or a connection, and keep all joints dry.
- Changing the photoperiod without watching the plants. Every adjustment takes a week to read. Change one thing, note the date, then look.
- Leaving it too dark to judge. Check the wall at night, or turn off the room lights, so dark pockets become obvious. Fix the distribution before adding intensity.
Two habits keep results consistent. Re-check the coverage map whenever you rearrange plants, since foliage position changes the shade pattern. And keep a short note of what you changed and when; six weeks later you will not remember, and the plants will not tell you.
Frequently Asked Questions
What type of grow light works best on a vertical garden?
Slim LED bars or panels above the wall handle overall coverage, while waterproof LED strip lights mounted down the face or between tiers solve the self-shading that ruins the lower rows. Full-spectrum fixtures covering about 400-700nm suit most plants. Wide beam spread matters more than raw wattage on a flat wall, and dimmable output lets one setup serve plants with different needs.
Do living wall plants still need sunlight if they have grow lights?
Yes, and you should plan around whatever daylight the wall already gets. Grow lights supplement rather than replace natural light where it exists, so cut fixture hours by the daylight hours your wall reliably receives. In a windowless room, fixtures become the only source and you should aim for an even, all-day distribution rather than a few intense hours.
How many hours a day should grow lights stay on for a living wall?
Foliage plants usually do well on 12 to 14 hours, herbs and leafy greens on 14 to 16, and flowering or fruiting plants on 16 to 18. Count the daylight the wall already receives and subtract it from the target rather than adding to it. Running far longer than the plants need causes problems, and a good digital timer removes the temptation.
How far should a grow light sit from living wall plants?
Keep slim bars and strips 6 to 12 inches from the nearest leaves, and flat panels 12 to 24 inches away, since panels spread light more widely. Do the hand test: hold the back of your hand at leaf height for a minute. Warm and comfortable is right, uncomfortably hot means the leaves are scorching and you should dim or move the fixture up.
Should grow lights feel hot, and will they burn my plants?
A little warmth is normal, since LEDs still release heat through their sink, but leaves should never feel hot to the touch. Plants can receive too much light even when the air temperature is fine. If you see bleached or crispy patches on the leaves nearest a fixture, dim the output, increase the distance, or add airflow rather than removing the light entirely.
Are grow lights enough on their own for a living wall?
No. Light is one input among several, and a wall that scorches at the top while going pale at the bottom often has a watering or root problem underneath. Pair the lighting with steady irrigation, a well-draining substrate, and occasional feeding. If foliage is uniformly yellow across the whole wall, check your watering schedule before touching the timer or the fixtures.
Conclusion
Start by measuring the wall, sorting the plants by how much light they actually need, and designing coverage that overlaps from top tier to bottom. Buy the fixtures after that, not before. A living wall succeeds on plant type, daylight, safe placement and patient adjustment, not on a universal wattage or a fixed schedule.