To stop a living wall leaking onto the floor, catch the water first, then find out whether it is coming out of the irrigation system or through the wall itself. Most leaks are an irrigation over-delivery or a missing base gutter, and both are fixable in an afternoon. Water that appears only during heavy rain, or that keeps dripping with the system switched off, points to waterproofing instead — and that is a job for the installer.
The difference matters because an irrigation fault is a maintenance problem and a waterproofing failure is a build fault. Getting that call wrong is how a small drip turns into a replacement floor. Work through the steps below in order, and resist the urge to tighten fittings that you have not actually tested.
Table of Contents
- What You Need
- Step-by-Step: How to Stop a Living Wall From Leaking Onto the Floor
- 1. Protect the floor and nearby finishes
- 2. Identify where the water is entering
- 3. Shut off and inspect the irrigation system
- 4. Correct drainage and waterproofing faults
- 5. Test the repair and maintain the wall
- Common Mistakes
- Frequently Asked Questions
- Is a little water dripping from a living wall normal?
- Can I repair a leaking living wall without removing all the plants?
- What should I do if living-wall water is running near an outlet?
- How do I stop a living wall from leaking after watering?
- Can condensation behind a living wall cause water damage?
- When should I call a professional to fix a leaking living wall?
- Conclusion
What You Need
Tools depend on where the water is coming from, so gather the basics for all four possibilities before you start. If you only own a bucket and a towel, you will end up back at square one.
Floor protection: plastic sheeting or a roll of waterproof membrane, old towels or absorbent matting, a stack of flat cardboard to raise furniture legs, and a small containment trough that fits under the base of the wall. A waterproof matting roll is better than towels because it does not let water wick back into the flooring underneath.
Irrigation work: an adjustable wrench and a flathead screwdriver for fittings, a bucket to catch residual pressure, clean water for flushing lines, and an optional clamp tool if the tubing is rigid. A pressure gauge is useful if your wall runs from a pumped reservoir, but a small test cup is enough for most setups.
Drainage and waterproofing: a level, a stiff brush or pipe rod for clearing outlets, and the sealant or membrane specified for your wall system. Only use products approved for the panel material — silicone-based sealants and standard painter’s caulk will not hold against constant moisture.
Documentation: your phone for photographs of the puddle, the base of the wall and any staining before you move anything, plus the installer name and the wall’s warranty paperwork.
Also plan for the plant side. Remove a few modules at a time rather than stripping the wall, keep grow media damp in a sealed bag so it does not dry out, and have a second person help if the panels are heavy. If any water is near a socket, an outlet or lighting above the wall, isolate that circuit before you touch anything wet.
Step-by-Step: How to Stop a Living Wall From Leaking Onto the Floor
Five steps, in this order. Each one tells you what to look at, what a good result looks like, and when to stop and call the wall manufacturer or a qualified contractor.
1. Protect the floor and nearby finishes
Before diagnosis, stop the damage. Photograph the puddle and the wall base while it is still there — that record is worth more later than anything you will describe from memory.
Slide the sheeting under the affected area, tuck it a few centimetres up the skirting, and lay the matting or cardboard on top. Move rugs, furniture and planters out of the zone, and lift anything wooden off the floor entirely. If a rug must stay, put a tray or tray-and-towel sandwich under it rather than a folded towel, which pushes water sideways into the boards.
Do not block the wall while you work. Leave any vents, access panels and drainage outlets at the base completely clear, or you will create a second problem on top of the first. If a containment trough works for your setup, use it — but treat it as a temporary measure while you fix the cause, not as a permanent fix.
2. Identify where the water is entering
Trace it from the floor upward. Dry the floor, wait, and watch where the water reappears. That first point tells you which part of the system to look at next.
Check the base of the wall first. A puddle concentrated under one panel means water is leaving that module or its irrigation line. A thin film running the full width points to a base gutter that is blocked, missing, or discharging to a drain that cannot keep up. A damp patch on the skirting with no puddle underneath suggests the wall face or a joint behind the panels.
Then separate three things that look identical from the floor. Active dripping beads at a fitting or module base and falls. Condensation forms on cold glass or a chilled panel face, gathers, and then drops — it appears more on humid mornings and near air conditioning. Water tracking from elsewhere often reappears at the same spot every time, which points to a source above or behind.
A useful test: switch the irrigation off entirely and leave it for a couple of hours. Dripping that stops was irrigation. Dripping that continues is condensation or an external source. If water only appears during rain, skip ahead — that is an outdoor wall problem.
3. Shut off and inspect the irrigation system
Isolate the relevant zone before you open anything. On a multi-zone controller, switch the leaking zone to off and watch whether the water stops; if it does, you have found the circuit. On a single-zone wall, close the isolation valve on the supply line instead.
Relieve pressure slowly by opening a downstream fitting or running the last emitter into a bucket until the flow weakens to a trickle. Then walk the lines with your hands along the full run. Look for wet couplings, kinks, split tubing at bends, mineral crust around emitters, and clamps that have worked loose.
Pressure-compensating emitters are the usual culprit in a chronic leak. When one sticks open or floods, it runs continuously instead of on the drip cycle, and no amount of runtime adjustment fixes that. Replace the emitter, flush the line, and check whether the same failure happens again at the same point — repeated failures usually mean a pressure problem upstream rather than a faulty part.
Also check valves and connections. A dribbling solenoid near the control panel wastes water around the clock, and one irrigator found a rising water bill before ever noticing a puddle on the floor. Clean mineral deposits off valves rather than forcing them.
4. Correct drainage and waterproofing faults
With delivery fixed, anything still reaching the floor is a drainage or waterproofing problem. Work down the list of what your wall type actually has.
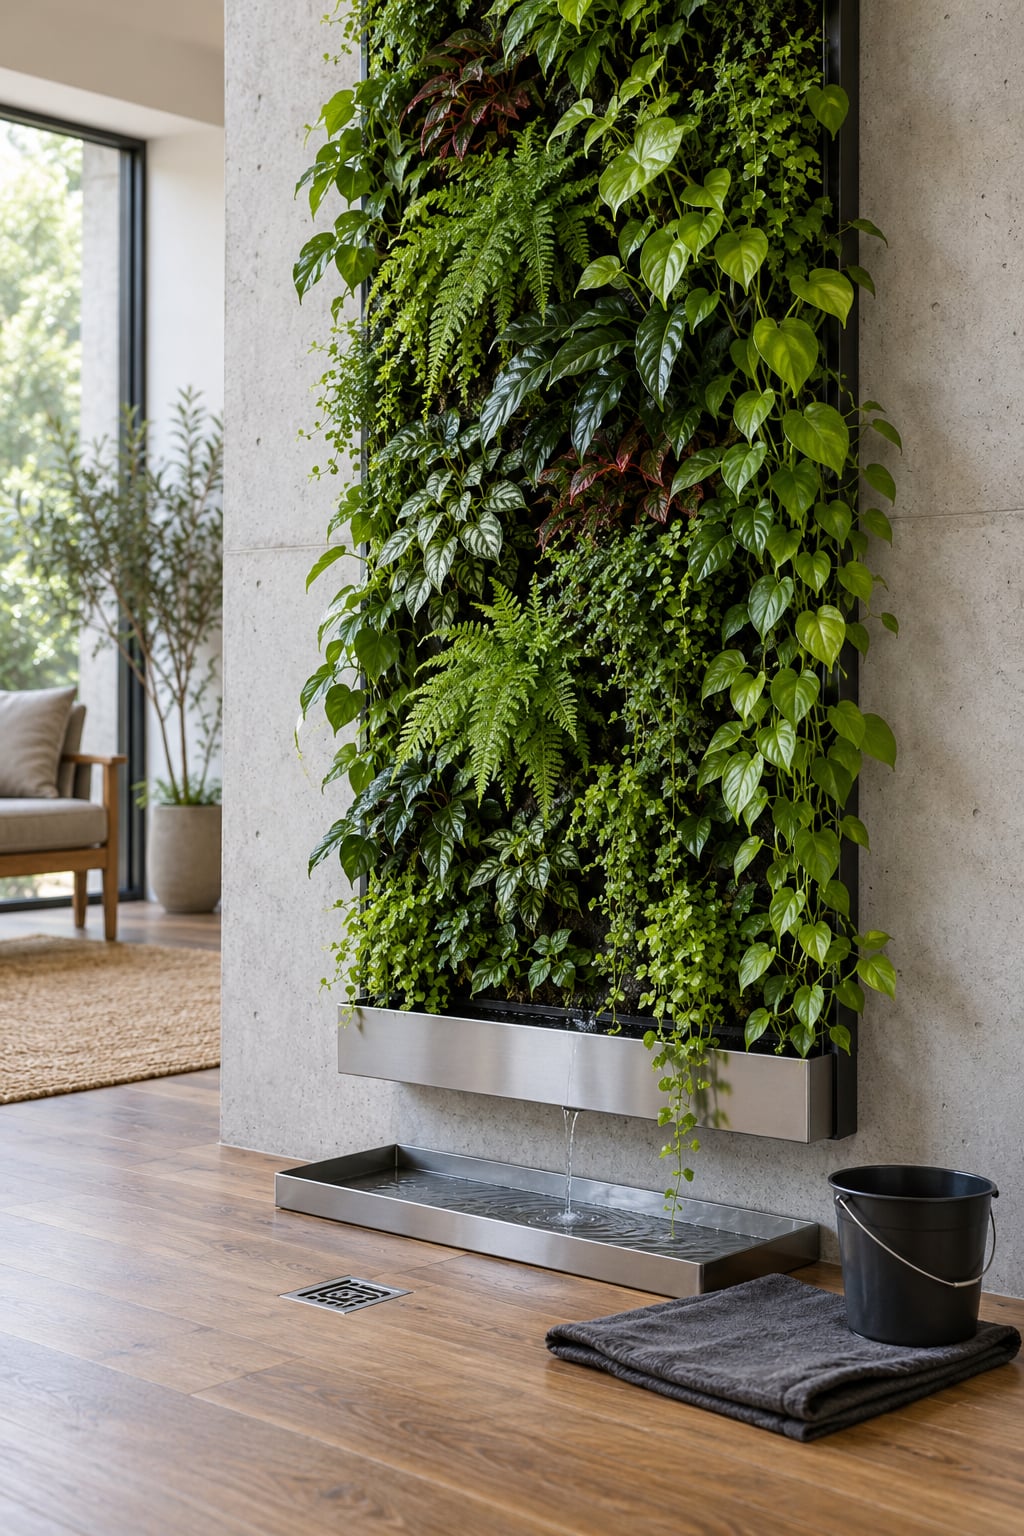
Reseat any module or cassette sitting proud of its neighbours, because a shifted module breaks the seal and drips straight down the face. Clear base outlets and the drip tray with a stiff brush, and remove the sludge that collects in tray systems — tipped soil and leaf debris decay into a blocking layer. Confirm the base gutter has a fall toward its outlet and that the outlet discharges into a drain that can take the full discharge, not a decorative channel.
If the wall was installed with no gutter, drip tray or drip edge at all, that is a design fault rather than wear. Ask the manufacturer whether a retrofit base gutter or correctly sized drip edge is permitted on your panel system before adding one; a drip lip fitted where it was not designed to go can just divert water onto another panel.
Waterproofing failures sit behind the panels or in the substrate wall. Sealant work on the face is a temporary measure, not a repair, and a wet substrate should never be sealed over. Stop here and go to the manufacturer or a qualified waterproofing contractor for anything structural, anything involving a membrane behind the wall, and anything near electrical fittings.
For outdoor walls, check the additional causes: rain hitting the wall face directly, wind-driven rain pushing water into joints, and blocked scuppers. Regrade or reseal only within the system warranty, and confirm with the manufacturer before drilling or adding anything to the facade.
5. Test the repair and maintain the wall
With the fix in, reset the wall to a known-good baseline and watch it. This is the step that tells you whether the job is done, and it is the one most people skip.
Run a single zone for a short cycle — a few minutes is enough — with the floor dry and the base gutter visible. Watch the outlet and the floor together. If water arrives at the gutter faster than it leaves through the outlet, you have a capacity or blockage problem, not a delivery problem.
Then run a full cycle and check the floor again after fifteen minutes and again the next morning. A slow drip from a wet panel is normal; water pooling at the base is not. Record what you changed, the run time and the result, and keep the photos.
For prevention, run a monthly routine: check the floor under the wall when the system is off, clean base outlets, look at emitters for crust, and trim back anything shading the drip lines. Reset irrigation to measured run times rather than an inherited default — enough to wet the grow media and see drainage, with no pooling at the base. Our own rule of thumb is to change one variable at a time, because adjusting four settings at once makes the next leak untraceable.
Common Mistakes
Most damage comes from a sensible-looking response that solves the wrong problem. Here are the ones worth correcting.
Leaving a bucket or towel under the drip. It works until someone moves it, and it hides the rate of the leak. Use it as temporary containment while you diagnose, then remove it.
Sealing a wet surface. Sealant and paint over damp material traps moisture instead of stopping it, and the failure moves somewhere less visible. Let the area dry fully before any sealing.
Tightening fittings that look suspicious. Replacing one joint under pressure at a time leads to a flood and a longer repair. Isolate the zone and relieve the pressure before touching a single coupling.
Blocking the drainage route. A tray packed with felt, or a gutter stuffed with leaf litter, forces water over the edge. Clear the route before you do anything else to the wall.
Reducing plant health to reduce water. Withholding water to stop runoff causes root stress, and stressed plants drop the canopy the wall depends on. Fix the delivery and drainage instead of starving the planting.
Using incompatible caulk. General-purpose sealants fail on wet panel faces and can stain porous substrates. Use only what the system manufacturer specifies for the panel material and the joint.
Tiling or boxing in a damp floor. Sealing a wet floor traps the moisture against timber and subfloor and voids most flooring warranties. Dry the substrate first and photograph it before any finish goes down.
Frequently Asked Questions
Is a little water dripping from a living wall normal?
Small drips immediately after a watering cycle are normal, because excess water percolates through the grow media and collects at the base of the wall. What is not normal is water pooling on the floor, a puddle that stays put, or dripping that continues with the irrigation switched off. If water reaches the floor faster than the base gutter can drain it, the wall is delivering or draining more than it was designed to handle.
Can I repair a leaking living wall without removing all the plants?
Usually yes. Most irrigation faults, blocked emitters and drainage blockages can be reached panel by panel, removing a few modules at a time and keeping the rest of the wall moist and in place. Sealant work behind the panels or a waterproofing membrane failure usually means removing the full wall, which is a job for the manufacturer or an approved installer.
What should I do if living-wall water is running near an outlet?
Isolate the circuit at the consumer unit before you touch anything wet, and keep everyone away from the area. Do not wipe or move water near a live socket, and do not work on the wall while it is powered. Once the power is off and the floor is dry, work through the same diagnosis, and have an electrician check the fittings before the system runs again.
How do I stop a living wall from leaking after watering?
Reduce the water delivered rather than the water the wall needs. Shorten the run time in small increments, check that no emitter is stuck open, and confirm the base gutter and outlet can carry the full discharge. If the wall has no base gutter, the runoff has nowhere to go except the floor, so measure where the water lands and fit a properly sized drip edge only where the manufacturer permits it.
Can condensation behind a living wall cause water damage?
Yes, but it is a different problem from a leak. Warm humid room air meets a chilled panel face or cold glazing behind the wall, water forms, collects and eventually drops onto the floor. The signs are a puddle on humid mornings, water on the glass rather than at a fitting, and dripping that continues while the irrigation is off. Fix it with airflow and temperature control, not sealant.
When should I call a professional to fix a leaking living wall?
Call the manufacturer or installer when water appears during heavy rain, when it comes through the substrate wall rather than the panels, when the waterproofing behind the wall has failed, or when the wall was installed with no base gutter or floor drain. Structural work, anything involving electricity and extensive waterproofing always belong with a qualified professional, and doing them yourself usually voids the installation warranty.
Conclusion
To stop a living wall from leaking onto the floor, protect the floor first, then run the irrigation test that tells you whether you are dealing with the system or the wall. Most people find a stuck emitter, an over-long run time or a blocked base outlet, and fix it the same afternoon. If water shows up in the rain or comes through the substrate, stop at diagnosis and call the installer.