To grow herbs on a vertical wall in the kitchen, mount a frame of stacked pockets or shelves on the brightest wall you have, fill each pocket with a light, free-draining potting mix, then match every herb to the light level of its row. Water pocket by pocket at the base, because the top row dries out days before the bottom one does.
A vertical herb wall lets you raise 12 or more plants in the footprint of a single windowsill pot, and it puts the leaves within arm’s reach of the hob. It also fails in a specific way that catches nearly everyone out: people pick the emptiest wall rather than the brightest one, fill it with sun-loving Mediterranean herbs, and lose most of them within a month.
This guide is indoor-first, because that is where the real questions are. The 2026 version of this method is the same one I would use in a rental flat with a north-facing window as in a house with a big south glass door. You are working with measured light, honest drainage, and a watering rhythm that suits a stack instead of a flat row of pots.
The whole build takes an afternoon. The part that takes real thought is deciding, before you buy anything, how much light the wall actually receives.
Table of Contents
- What You Need Before You Start
- Step-by-Step: How to Grow Herbs on a Vertical Wall in the Kitchen
- How to grow herbs on a vertical wall in the kitchen: assess the light first
- Choose a support that matches the space and the wall
- Select herbs that suit their position on the wall
- Prepare the containers and the growing medium
- Plant from the bottom upward
- Water without overwatering the lower rows
- Maintain the wall and rotate plants
- Harvesting and keeping the wall productive
- Common Mistakes Growing Herbs on a Vertical Wall
- Frequently Asked Questions
- How much light does a kitchen herb wall need?
- What kind of pots work best on a vertical kitchen wall?
- How often should I water a vertical herb wall?
- What is the easiest herb to grow indoors?
- Can you grow herbs on a vertical wall indoors?
- Conclusion
What You Need Before You Start
Gather these seven things first. Most failed herb walls are missing one of the first three.
- A wall chosen by light. Not by how empty it looks. Measure or observe it, as covered in the first step below.
- A support system matched to your wall type and to the weight of loaded, wet soil. Saturated potting mix is roughly twice the weight of dry mix, and that is the number that surprises people.
- Containers with drainage holes. Every single one. A pocket that holds water at the base will rot its plant.
- Lightweight, free-draining peat-free potting mix. Avoid garden soil and anything that stays wet for days.
- A long-spout watering can or a squeeze bottle for controlled delivery at the base of each pocket.
- A light meter or lux phone app, plus a grow light if the measurements come up short.
- Plant labels and a pencil. You will not remember which top-row pocket held marjoram after the first replanting.
Also useful: a waterproof catch tray or saucer for the lowest pocket, a small hand trowel, and a pair of secateurs or clean scissors for pinching.
Step-by-Step: How to Grow Herbs on a Vertical Wall in the Kitchen
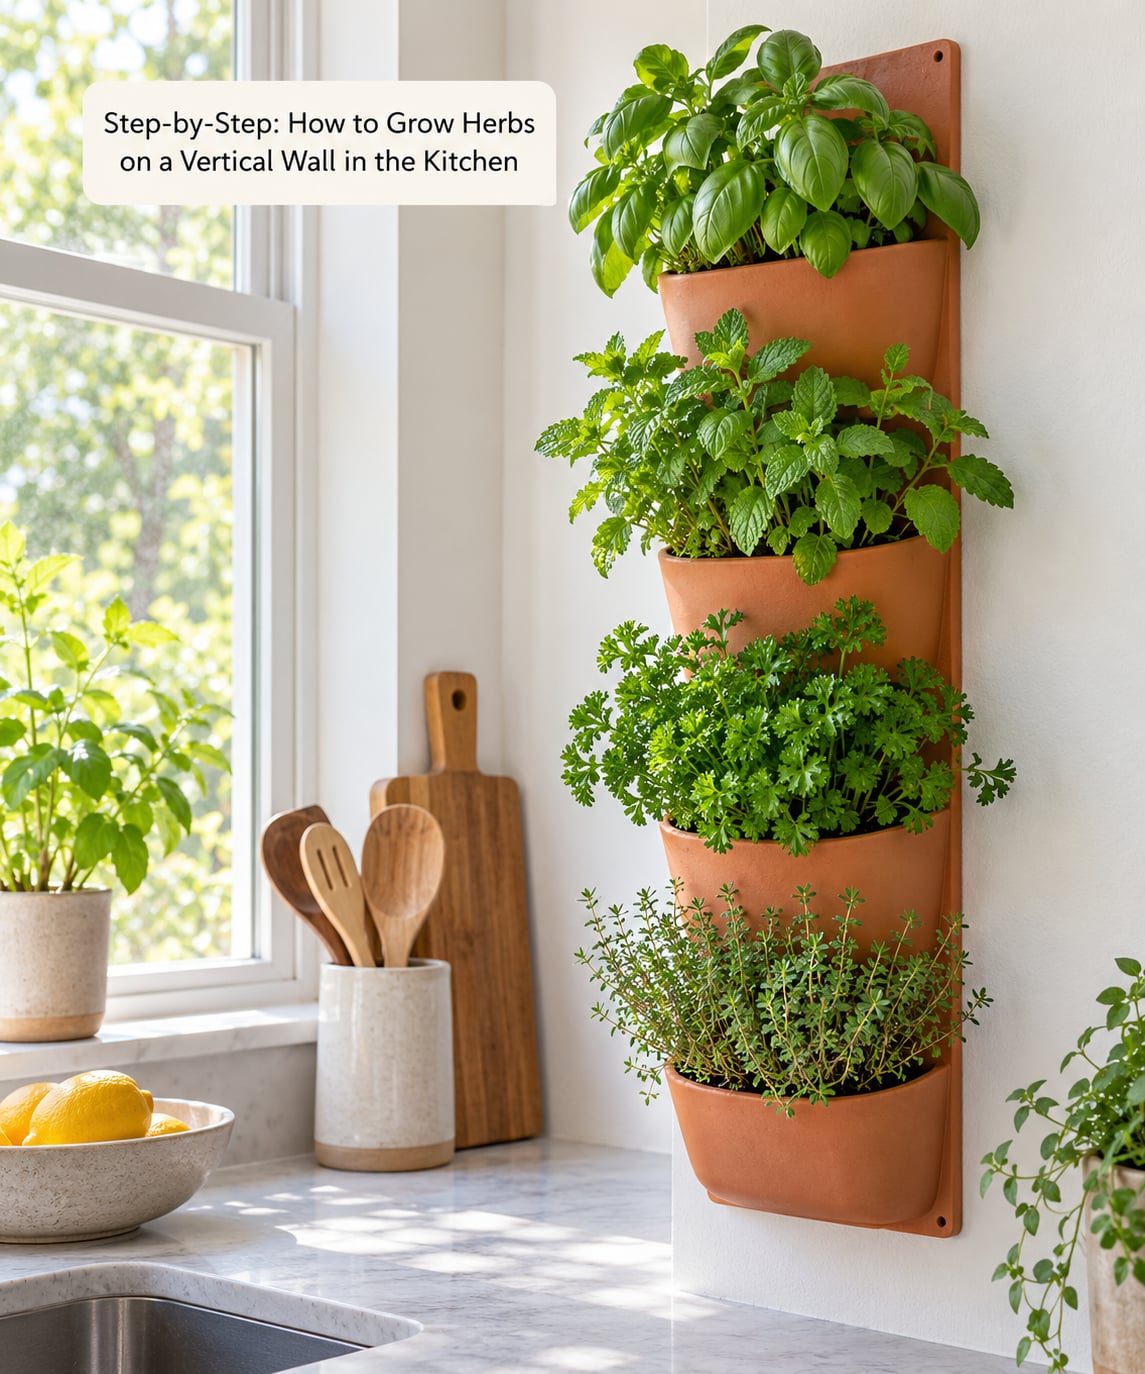
How to grow herbs on a vertical wall in the kitchen: assess the light first
Assess light before you buy a single planter, because no system, grow light or watering trick rescues a plant that wants sun and sits in a shadow. Three terms explain what plants actually need, and you only need the first one to make a decent decision.
Lux hours per day is the simplest useful measure for a home kitchen. Multiply the reading in lux by the number of hours that spot is genuinely lit. Below about 2,500 lux hours a day, most culinary herbs will grow slowly and stretch. Above 6,000, you are in good basil and rosemary territory.
PPFD is photosynthetically active photon flux density, measured in micromoles per square metre per second. It counts only the light plants can actually use, which is why two lamps with identical wattage can produce very different results. DLI, daily light integral, is PPFD multiplied by the lit hours in a day. As a rough target, leafy herbs want roughly 6 to 8 mol of DLI a day, and Mediterranean herbs prefer 10 to 12.
| Measured lux | What it describes | What to plant |
|---|---|---|
| Under 2,500 lux hours | Low light, often a wall a couple of steps back from a window or a north-facing room | Parsley, chives, mint, cilantro, lemon balm |
| 2,500 to 6,000 lux hours | Bright indirect light, the most common good kitchen wall | Basil, parsley, chives, oregano, mint, cilantro, sage |
| 6,000 to 10,000 lux hours | Near a sunny window or a glazed door, lightly shaded glass | Basil, rosemary, thyme, sage, oregano, marjoram |
| Over 10,000 lux hours | Direct sun for several hours | Rosemary, thyme, sage, oregano, basil, all Mediterranean herbs |
Check the wall at three different points on a clear day: morning, midday and early evening. A wall that reads well at midday may be fine, and a wall that looks bright on a photoshoot reads 800 lux at the edges.
Two situations come up constantly. First, the north-facing window that sits high in the wall. The glass helps, but the light falls off fast below the sill, so measure at the height you plan to hang plants rather than at the window. A 2 by 1 metre wall above a kitchen table often ends up graded row by row rather than loaded with more plants.
Second, the windowless kitchen. There is no honest way to grow sun-loving herbs there without a fixture. Mount a slim, wall-bracketable LED grow light 20 to 30 cm above the top row, running 12 to 14 hours a day. Most grow lights on the market are designed to hang over a greenhouse canopy, so check for a bracket or an adjustable arm rather than planning to dangle it from a ceiling hook.
One more thing measurement does not tell you: heat. Kitchens with a hob pump out hot, dry air in bursts, and the extractor fan pulls a steady draught across the wall. Skip basil next to a hob, and keep leafy herbs out of the direct line of a downdraft.
Choose a support that matches the space and the wall
Pick the support before the plants, and match it to your wall type. A system that holds 20 kg wet safely into a stud will rip out of a plasterboard partition, so the honest options are freestanding or properly anchored.
| System | Load | Light | Best for |
|---|---|---|---|
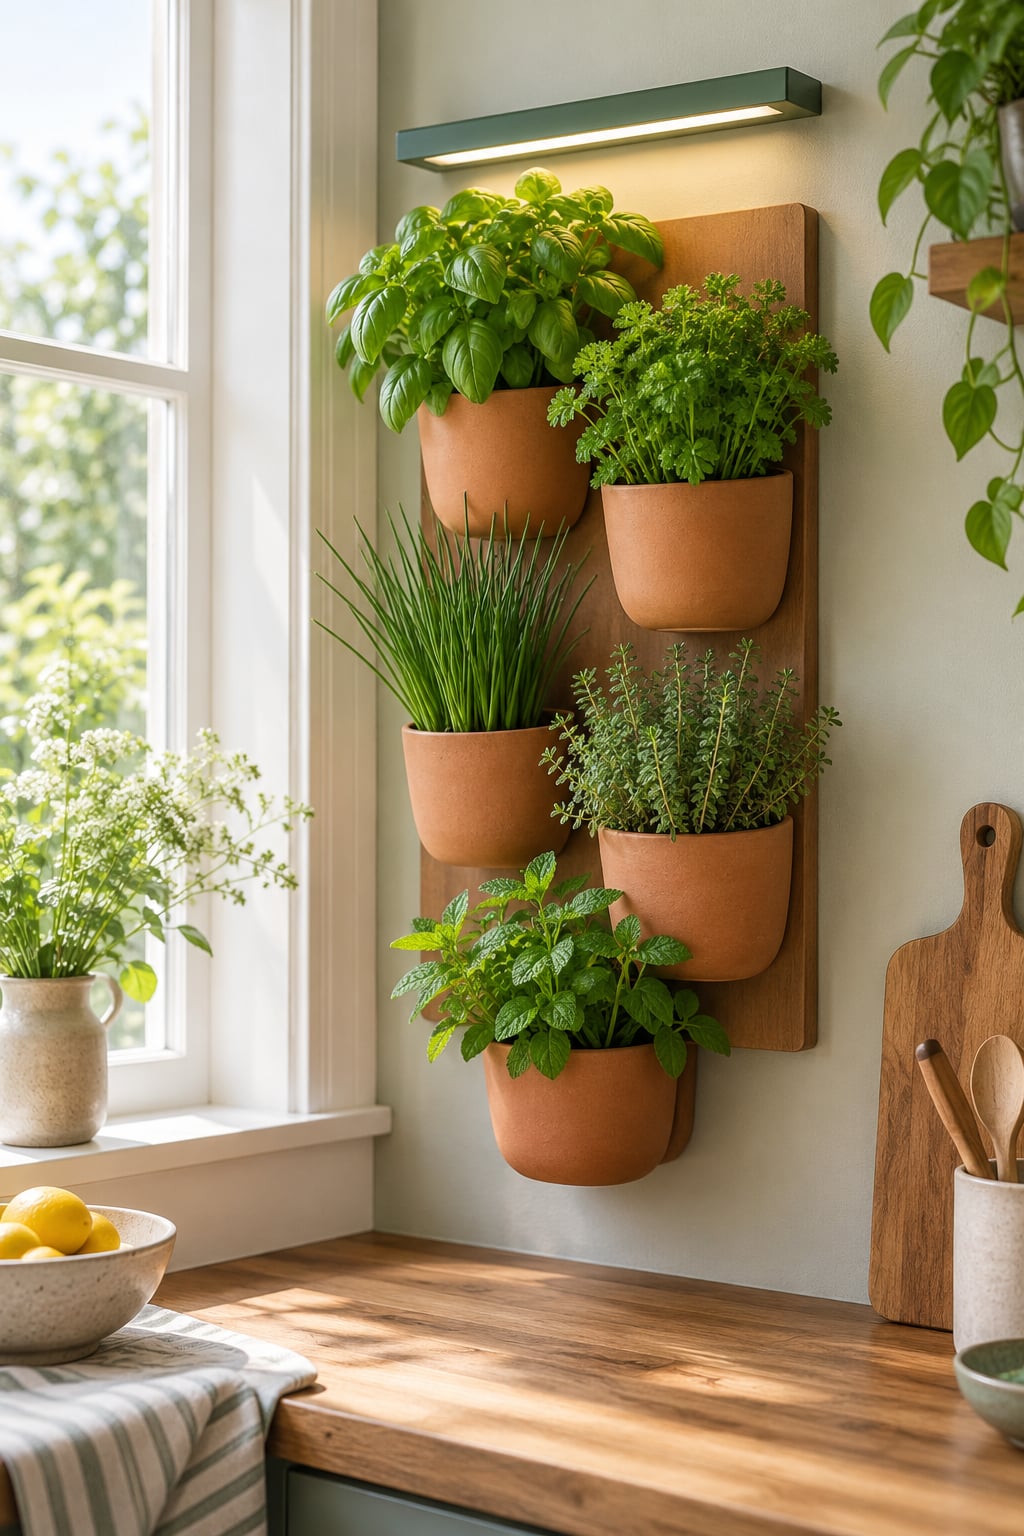
| Wall-mounted pocket planter frame | Heavy when wet; needs studs or masonry anchors | Good | A permanent wall with 15 or more plants |
| Wall-mounted shelf or rail with hung pots | Moderate, easier to remove one pot at a time | Very good, pots get air on all sides | Up to 8 to 10 plants, easy repotting |
| Over-the-door rail or adhesive-hook rack | Light | Fair, depends on door position | Renters, no drilling, a movable wall |
| Leaning ladder or A-frame tiered stand | Freestanding, no wall fixing needed | Good, and rotatable | Renters, awkward walls, moving the garden with the season |
| Hydroponic tower | Stand plus reservoir weight and water | Good if a light is added | Fast, high-yield greens and herbs, more setup and electricity |
Estimate the load honestly. A 15 cm pot of mix, plant and wet soil weighs roughly 1.5 to 2 kg. Ten of those is 15 to 20 kg, and wet soil gets heavier over months of watering cycles than it does on day one. Fix into studs where you have them, use masonry anchors in brick, and never rely on a drywall anchor rated for a picture frame.
Plan drainage into the design before you drill. The lowest pocket needs a waterproof catch tray so runoff does not stain the wall or the counter behind it, and the wall itself should be sealed with a kitchen-safe paint or a clear splashback panel if your system sits anywhere near a sink.
Select herbs that suit their position on the wall
Choose herbs whose care needs match the row they will live in, not the ones that look best in a photo. Group by water need and light demand, and you can water a whole row in one pass.
| Herb | Light need | Best row | Minimum pot | Note |
|---|---|---|---|---|
| Basil | High | Top | 15 cm plus | Bolts fast in heat and next to extractors |
| Rosemary | High | Top | 20 cm, deep | Hates wet feet and tiny root room |
| Thyme | High | Top | 12 cm | Drought tolerant, ideal for the driest row |
| Oregano | Moderate to high | Upper | 15 cm | Spreads, keep it trimmed back |
| Sage | Moderate to high | Upper | 18 cm | Sulfury leaves age on the plant, cut often |
| Marjoram | Moderate | Middle | 12 cm | Delicate, dislikes cold drafts |
| Parsley | Moderate | Middle | 15 cm | Tolerates more shade than people expect |
| Chives | Moderate | Middle | 12 cm | Cut to the base to keep new growth coming |
| Cilantro | Moderate | Lower | 15 cm | Bolts on heat, sow again every few weeks |
| Mint | Low to moderate | Lower | 15 cm, own pocket | Never shares a pocket or a pot with anything |
| Lemon balm | Low to moderate | Bottom | 15 cm | Vigorous, trim it or it takes the row |
Read the rows as a gradient, and it works well: light-demanding Mediterranean herbs high, tolerant leafy herbs low. This is the same logic people use on a grated wall with hooked-on pots, ranking rosemary at the top, then thyme, then sage, with mint at the bottom.
Two herbs deserve a separate word. Mint should never share a pocket with another herb, and that is not a preference. Mint runners fill a shared pocket within a season and choke the neighbour, and a wall planter gives it nowhere to be contained. Lemon balm behaves the same way and is grown mostly for its leaves in tea and dressings rather than for cooking volume.
Prepare the containers and the growing medium
Check every container for drainage holes before you fill anything, and reject any pocket with a solid base. Fill them with a lightweight, free-draining peat-free potting mix rather than garden soil, which is too heavy for a wall and too dense for pockets.
Mix in a little perlite or fine grit if the mix holds together when you squeeze it. That extra air is what keeps the bottom rows alive through a wet week, and it is much cheaper than replacing a rotted plant.
Set a saucer or reservoir under the lowest pocket, and leave gaps between the wall and the frame where you can so air moves behind the system. Kitchen air that sits still and damp encourages mould between the wall and the planter backs.
Plant from the bottom upward
Plant the bottom row first and work up. Spilled mix then falls onto clean, empty pockets instead of onto finished ones, and you avoid leaning a loaded system over to reach the base.
Set each plant at the same depth it sat in its nursery pot, firm the mix gently with your fingers, and water in once to settle it. Label each pocket as you go, including the date, because that is what tells you later whether a decline is seasonal or a mistake.
If you are moving nursery-grown plants indoors, harden them off outdoors in shade for a week first, then bring them in. Moving a warm-nursery plant straight onto a cool wall shocks it, and transplant losses are the single most common reason people start over.
Water without overwatering the lower rows
Water at the base of each pocket, not over the top of the wall, so the lower pockets are not receiving the run-off from everything above them. Use the finger test rather than a schedule: push a finger 2 to 3 cm into the mix and water only if it comes out dry.
The top row will dry first, sometimes two or three days ahead of the bottom. Check it daily in warm weather and check the bottom row weekly even when the top looks desperate, because the bottom is where root rot starts.
Three habits keep a vertical stack even:
- Water each row separately on its own rhythm rather than soaking the whole wall in one pass.
- Empty any saucer 20 minutes after watering so the roots sit in air, not in a bath.
- Add a thin drip line along the top row for holiday weeks, leaving the lower rows to their much longer cadence.
Self-watering and wicking planters help with the top rows. Wicking irrigation is a fabric or rope strip that draws water from a reservoir below into the mix by capillary action, and it smooths out the swings that make a wall hard to manage. It does not rescue a pocket with no drainage hole.
Maintain the wall and rotate plants
Give the wall a short weekly routine. Pinch basil, mint, oregano and thyme above a leaf pair to keep them bushy rather than leggy. Trim lemon balm hard or it takes the whole lower row in a month.
Turn any movable section a quarter turn every week or two so growth stays even and you catch early signs of mildew on the shaded side. Check a declining plant honestly: if it has not improved in three or four weeks after a repot, replace it rather than nursing it. A wall is a display, and one struggling plant spoils the whole thing.
Harvesting and keeping the wall productive
Harvest from the outside in, taking no more than a third of a plant at a time, and always cut above a leaf pair so it regrows from that node. Cutting bare stems back to nothing is the most common reason a wall stops producing.
Rotate herbs rather than stretching one plant all year. Cilantro and chives bolt or exhaust in six to eight weeks indoors, so start a fresh pot or module as the old one fades. Keep a rotation going and the wall never has a gap.
Common Mistakes Growing Herbs on a Vertical Wall
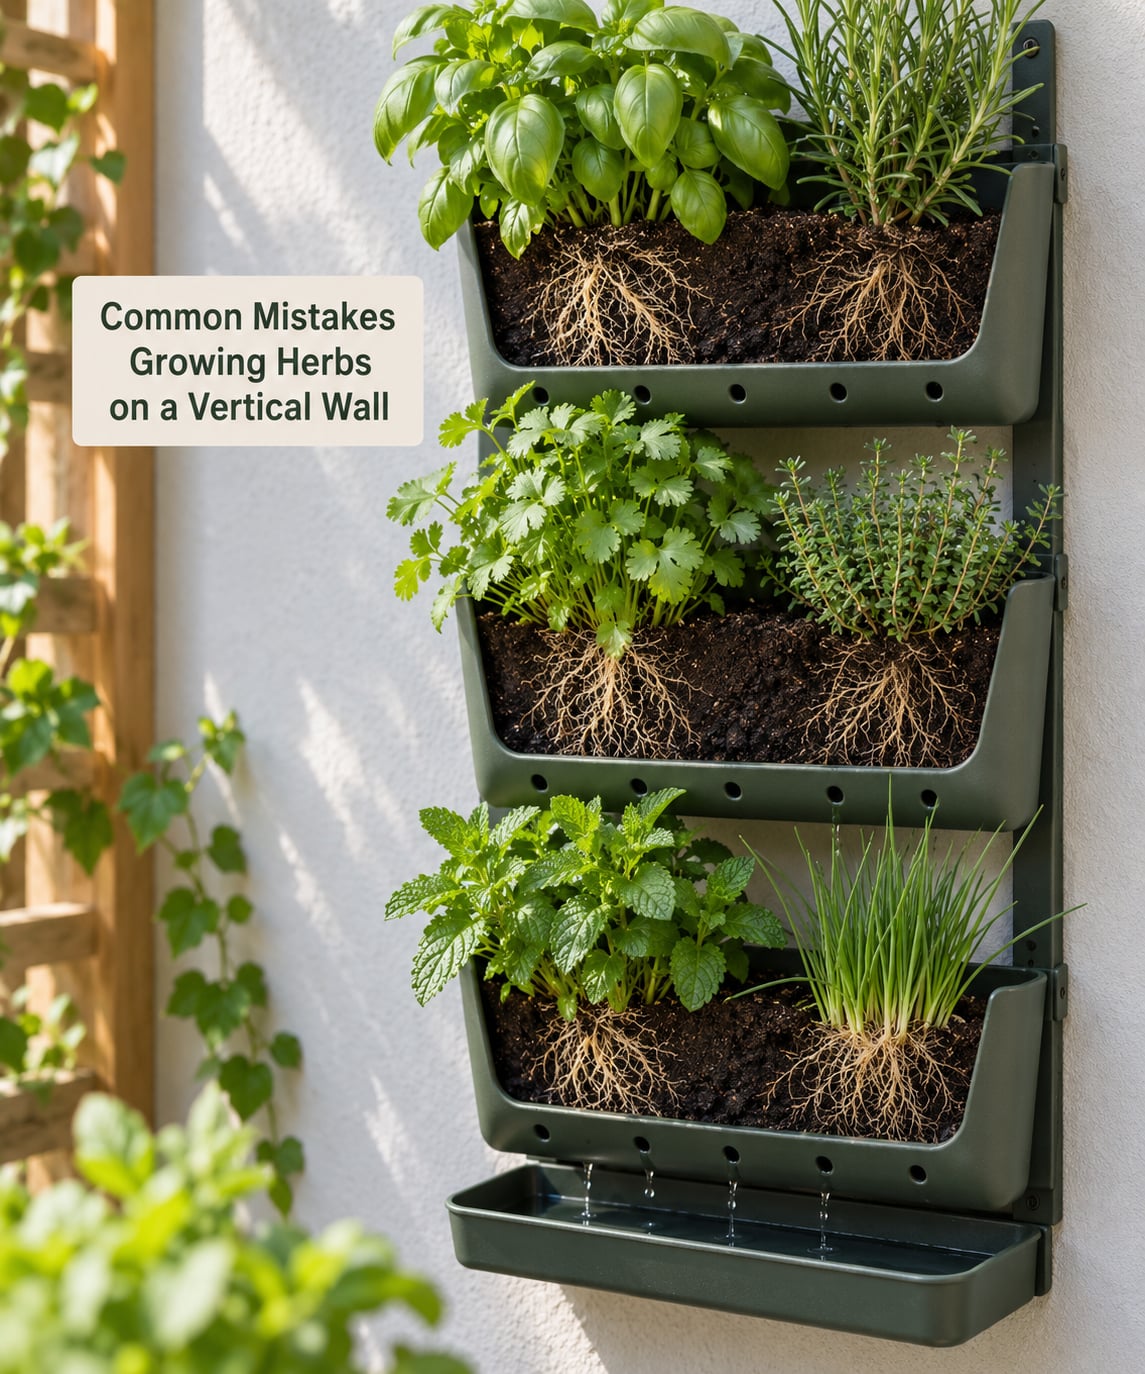
Almost every failed kitchen herb wall comes down to one of the eight mistakes below. The fixes are cheap, and several can be corrected in an afternoon without buying anything.
- Picking the wall for its empty space. Fix: measure light first and move the whole system if the numbers are low.
- Using potting soil or a mix that holds water. Fix: switch to a light peat-free mix with grit or perlite mixed in.
- Pockets without drainage holes. Fix: drill or replace. Do not add a layer of gravel; it does not create drainage.
- Overcrowding. Two or three plants in one pocket compete for light and root space, and the crowded combination wilts even when correctly watered. One herb per pocket, always.
- Mint sharing a pocket. Mint runners take over the container and the neighbour. Fix: its own pot, its own module, trimmed regularly.
- Basil next to the hob or in the extractor draught. It bolts in weeks. Fix: move basil to the coolest bright spot away from heat and airflow.
- Leaving plants root-bound for seasons. A root ball circling the pot drains badly and stays wet. Fix: check root drainage yearly at repotting time.
- Fixing a loaded system into drywall alone. Wet soil is heavy and grows heavier. Fix: studs or masonry anchors, or go freestanding.
Use this table to identify what you are actually looking at.
| Symptom | Likely cause | Fix |
|---|---|---|
| Top row dries out, bottom looks fine | Heat and airflow rising, plus top-priority watering | Check the top daily, add a drip line, move it away from a hob |
| Yellow lower leaves on lower rows | Waterlogging from run-off above and no drainage | Water at the base only, clear standing water, check drainage holes |
| Tall, stretched, floppy stems | Not enough light | Move to a brighter wall or add a 12 to 14 hour grow light |
| Mould between the wall and planter backs | Stale damp air behind the system | Air gap behind the frame, better airflow, wipe and dry monthly |
| Everything wilts within a day of watering | Root rot from staying wet too long | Repot into fresh free-draining mix, prune dead roots, water less |
| Cilantro or chives going to seed | Heat, or the plant is simply exhausted | Sow a fresh module and remove the bolting plant |
Frequently Asked Questions
How much light does a kitchen herb wall need?
Aim for at least 4 to 6 hours of strong light, which works out to roughly 2,500 lux hours a day for leafy herbs like parsley, chives, mint and cilantro. Basil, rosemary, thyme and sage want 6,000 lux hours or more, which usually means a spot close to a sunny window or a wall bracket grow light. Measure the wall rather than the window, because light falls off quickly a metre or two back. If the wall reads under 2,500 lux hours, growing herbs there without a grow light will disappoint you.
What kind of pots work best on a vertical kitchen wall?
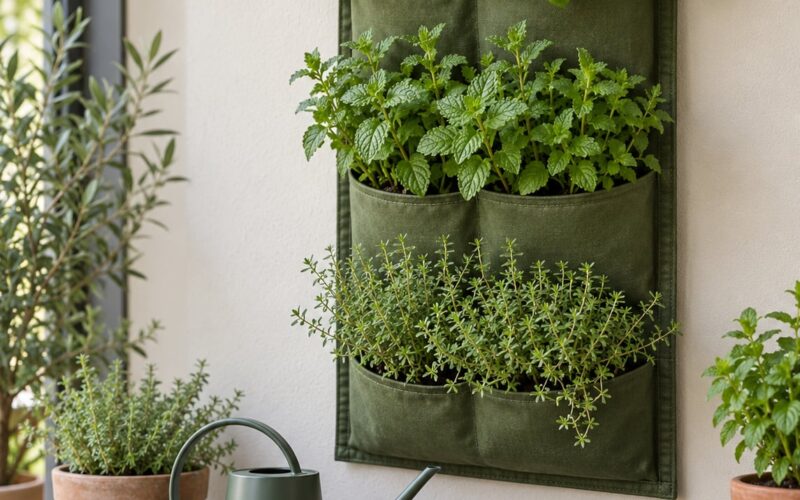
Lightweight containers with drainage holes in the base. Fabric or felt pockets are the lightest and hold air well, terracotta and glazed ceramic dry out faster, and plastic keeps mix moist longer, which suits the lower rows. Avoid solid-bottomed pockets, oversized pots full of dense soil, and anything too heavy for your fixing. Most herbs do well in 12 to 20 cm widths, and Mediterranean herbs such as rosemary need the larger end of that range.
How often should I water a vertical herb wall?
Check daily and water based on the soil, not the calendar. Push a finger 2 to 3 cm into the mix and water only when it feels dry. In a warm kitchen the top row may need water every two to three days while the bottom row holds moisture for a week or more. Water at the base of each pocket so upper run-off does not waterlog the rows below, and empty any saucer about 20 minutes after watering so roots do not sit in water.
What is the easiest herb to grow indoors?
Chives are the most forgiving: they tolerate moderate light, sulk less than most herbs when slightly underwatered, and regrow after cutting to the base. Mint is equally tough but needs its own container because of its runners. Parsley is a close third and handles more shade than most guides suggest. Basil is popular but fussier, requiring steady warmth, strong light and frequent pinching to stay bushy.
Can you grow herbs on a vertical wall indoors?
Yes, and it is one of the best uses of a small kitchen wall, since you can raise 12 or more plants in the space of one windowsill pot. Choose the wall by measured light, use a support fixed into studs or a freestanding frame, and give every pocket a drainage hole. Mint needs its own pocket, and basil should sit away from hob heat and extractor airflow. Expect to water the top rows far more often than the bottom ones.
Conclusion
Four actions decide whether your kitchen herb wall works, and none of them involve buying plants. Check the light on the wall with a meter and be honest about the number. Choose a stable system that suits the wall type and the weight of wet soil. Group herbs by care needs so light-demanding varieties sit high and tolerant ones sit low. Then start with a handful of healthy plants rather than a full grid, because the first season teaches you your kitchen’s rhythm better than any guide can.
Once the first wall settles, expanding it is easy. Add a rail, plug in a grow light for the top row, and let a low-light-tolerant bottom row carry the herbs you actually use most.